How to adjust the timing on a 1969 Pontiac GTO Judge?
When working on classic cars like the 1969 Pontiac GTO Judge, it’s essential to ensure that the engine timing is correctly set. Incorrect timing can lead to engine performance issues such as rough id…
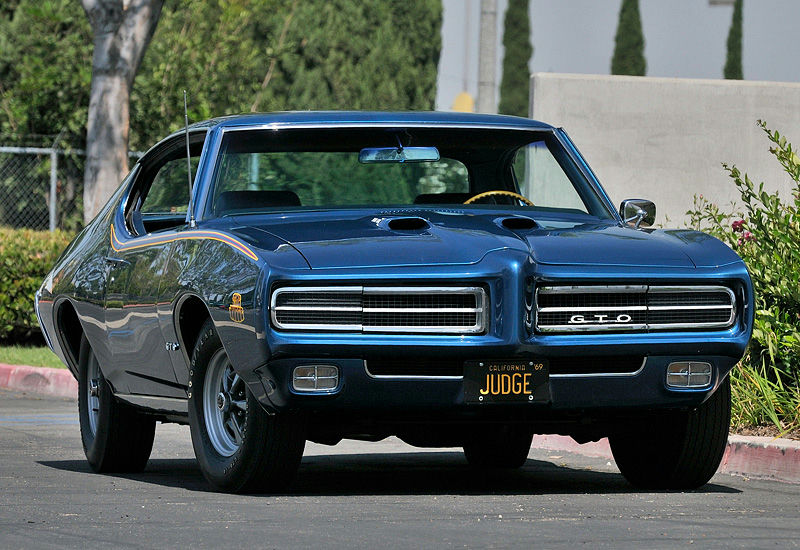
- Model
- 1969 Pontiac GTO Judge
When working on classic cars like the 1969 Pontiac GTO Judge, it’s essential to ensure that the engine timing is correctly set. Incorrect timing can lead to engine performance issues such as rough idling, loss of power, and potential long-term damage. Typically, timing issues become noticeable when the car has poor acceleration, misfires, or runs inefficiently. Here is how to solve this issue.
Step 1: Gather Necessary Tools and Materials
Ensure you have the following tools:
- Timing light
- Wrench set
- Distributor wrench
- Chalk or a white marker
Step 2: Locate the Timing Marks
Open the hood and locate the harmonic balancer, which is at the front of the engine. You will see timing marks on the balancer and a timing tab on the timing cover. Clean these marks so they are easily visible. Use chalk or a white marker to highlight the timing mark on the harmonic balancer.
Step 3: Connect the Timing Light
Find the spark plug wire for cylinder number one. This is usually the front wire on the driver’s side of the engine. Attach the timing light's inductive pick-up to this spark plug wire. Then connect the timing light’s power leads to the battery – red to positive and black to negative.
Step 4: Warm Up the Engine
Start the engine and let it reach the normal operating temperature. This ensures that the engine is running in normal conditions.
Step 5: Adjust the Timing
Loosen the distributor hold-down bolt slightly using the distributor wrench. Do not remove it, just loosen enough so you can rotate the distributor. Point the timing light at the harmonic balancer timing marks and the timing tab. The light will flash in sync with the engine, making the marks visible.
Rotate the distributor slowly. Turning the distributor clockwise will retard the timing, while turning it counterclockwise will advance the timing. Align the timing mark on the harmonic balancer with the desired degree mark on the timing tab as specified in the service manual of your GTO Judge.
Step 6: Tighten the Distributor
Once the timing marks are correctly aligned, tighten the distributor hold-down bolt. Ensure the distributor does not move while tightening.
Step 7: Re-Check Timing
After tightening the distributor, re-check the timing with the light to make sure the setting has not shifted. If it has, adjust again slightly as needed.
Step 8: Secure Everything Back
Disconnect the timing light and secure any loose parts or tools. Perform a final visual check around the engine bay to ensure everything is in place and there are no loose connections or tools left behind.
Step 9: Test Drive
Take the car for a test drive to ensure it runs smoothly and that the symptoms of poor timing (e.g., rough idling, poor acceleration) have been resolved.
By following these steps, you can effectively adjust the timing on your 1969 Pontiac GTO Judge, ensuring it runs at optimal performance.