Step 1: Gather Necessary Tools and Supplies
Before starting, make sure you have the following items:
- New oil filter
- 5 quarts of high-quality motor oil (check the owner's manual for specifications)
- Oil filter wrench
- Oil drain pan
- Socket wrench set
- Funnel
- Clean rag
- Car jack and jack stands
Step 2: Prepare the Vehicle
First, ensure that your Camaro is parked on a flat, level surface. Engage the parking brake for safety. If necessary, use a car jack to lift the front of the vehicle and place it securely on jack stands to gain better access to the oil pan.
Step 3: Locate the Oil Drain Plug and Drain the Oil
Underneath the car, locate the oil pan, which is a large, flat metal container on the bottom of the engine. The oil drain plug is a bolt located at the lowest point of the oil pan. Position your oil drain pan beneath the drain plug. Use your socket wrench to carefully remove the drain plug, allowing the old oil to flow into the drain pan. Be cautious as the oil may be hot.
Step 4: Replace the Oil Filter
While the oil is draining, locate the oil filter. It is typically a cylindrical, metal canister attached to the engine block, often on the side. Use the oil filter wrench to loosen and remove the old oil filter. Some residual oil may spill out, so be prepared with your drain pan or a rag. Before installing the new oil filter, lightly coat the rubber gasket on the top of the filter with fresh oil to ensure a proper seal. Screw the new filter into place by hand until it is snug, then tighten it an additional quarter turn.
Step 5: Reinstall the Oil Drain Plug
Once the old oil has completely drained, clean the drain plug and the area around the oil pan opening with a rag. Reinstall the drain plug and tighten it securely with your socket wrench.
Step 6: Add New Oil
Lower the car if it was raised. Open the hood and locate the oil cap, which is typically found on the top center of the engine, marked with a yellow oil can symbol. Remove the oil cap and place a funnel into the opening. Pour in the recommended amount of new oil (usually around 5 quarts, but check your manual). After adding the oil, replace the oil cap, ensuring it is tightly secured.
Step 7: Check the Oil Level
Start the engine and let it run for a few minutes to circulate the new oil. Turn off the engine and wait a few moments for the oil to settle. Use the dipstick (usually located near the front of the engine bay, with a yellow or orange handle) to check the oil level. Pull out the dipstick, wipe it clean with a rag, reinsert it fully, and then pull it out again to check the level. The oil should be within the marked area on the dipstick. If necessary, add more oil to reach the proper level.
Step 8: Dispose of Old Oil and Filter Properly
Collect all used oil and the old oil filter, and take them to an appropriate recycling center or auto parts store that accepts used oil. Do not dispose of these materials in the trash or down the drain.
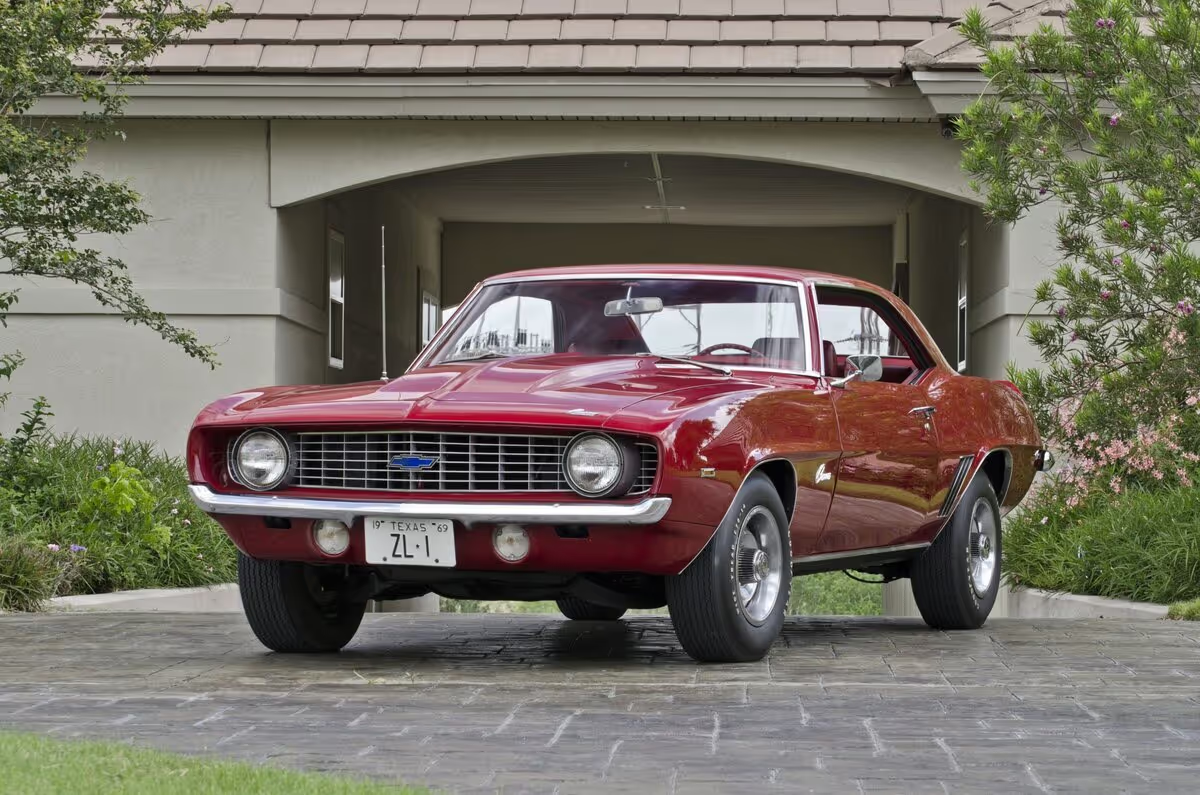
By following these steps, you can successfully change the oil on your 1969 Chevrolet Camaro ZL1 and keep your engine running smoothly. Regular oil changes are crucial for maintaining the health and longevity of your vehicle.


Heading 1
Heading 2
Heading 3
Heading 4
Heading 5
Heading 6
Lorem ipsum dolor sit amet, consectetur adipiscing elit, sed do eiusmod tempor incididunt ut labore et dolore magna aliqua. Ut enim ad minim veniam, quis nostrud exercitation ullamco laboris nisi ut aliquip ex ea commodo consequat. Duis aute irure dolor in reprehenderit in voluptate velit esse cillum dolore eu fugiat nulla pariatur.
Block quote
Ordered list
- Item 1
- Item 2
- Item 3
Unordered list
- Item A
- Item B
- Item C
Bold text
Emphasis
Superscript
Subscript


