How to use the heater controls in 1970 Dodge Challenger R/T?
Owning a classic car like the 1970 Dodge Challenger R/T is a joy, but it can sometimes present challenges, especially when it comes to operating vintage controls such as the heater system. If you fin…
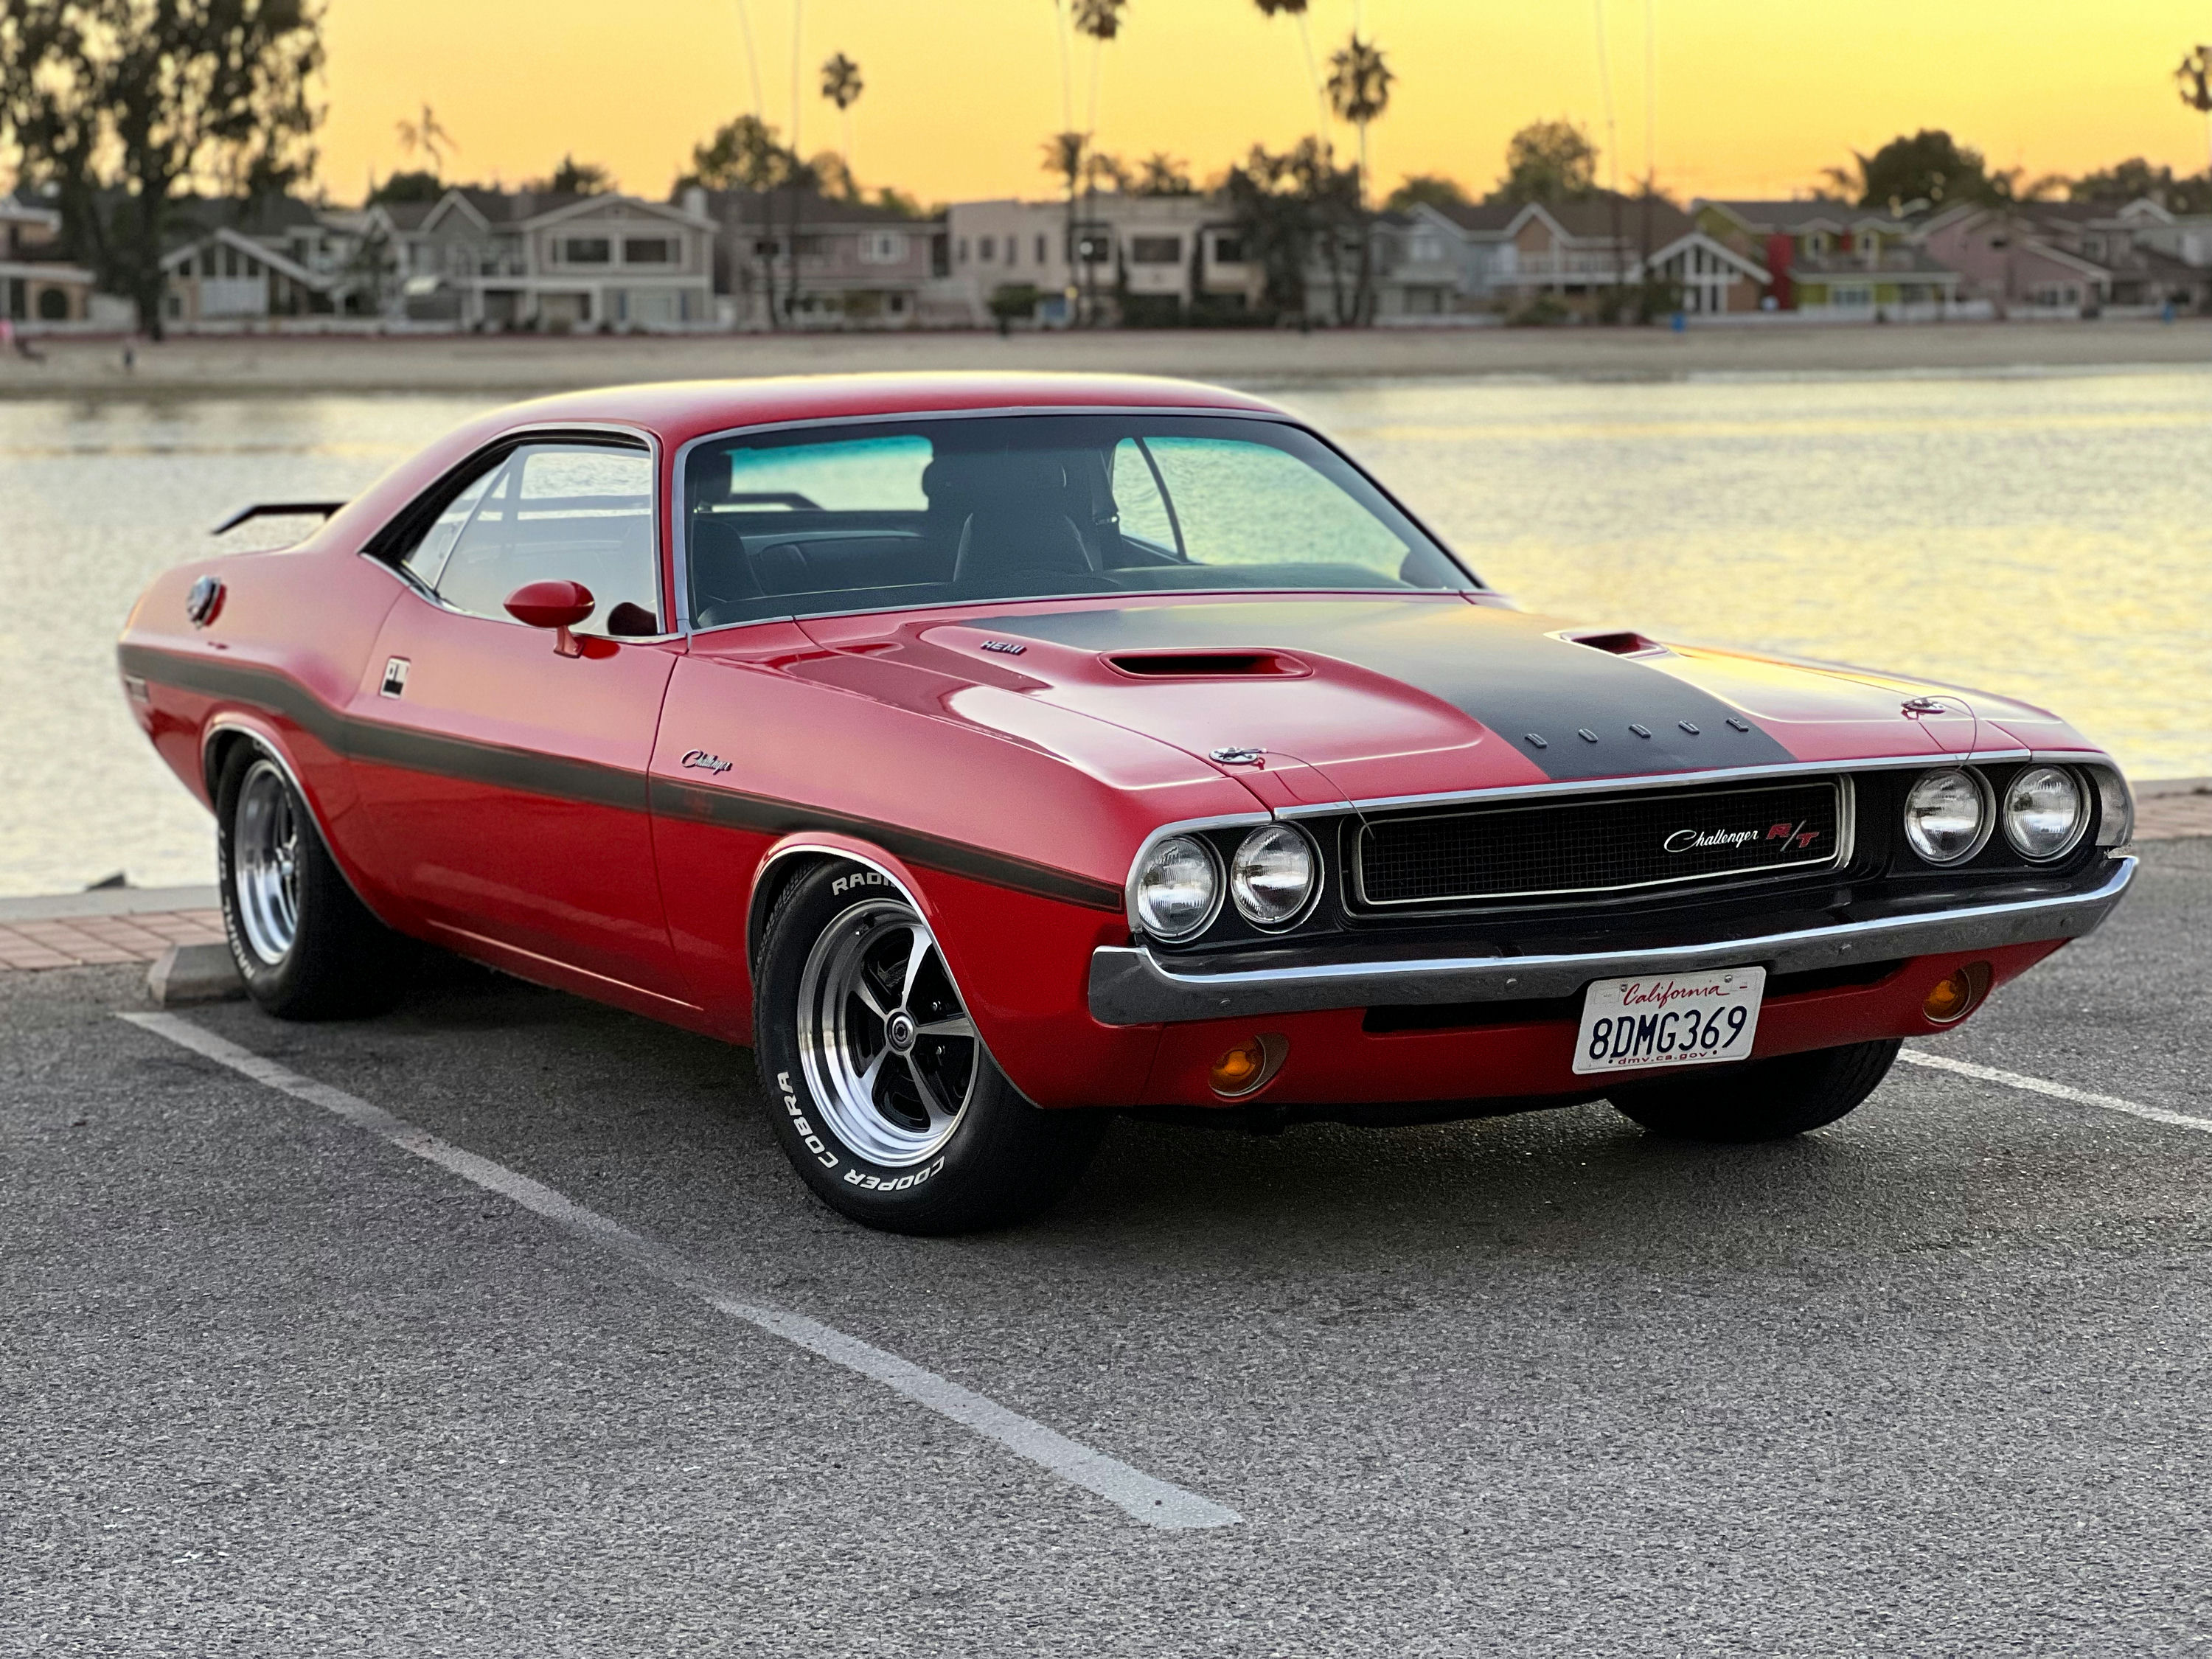
Owning a classic car like the 1970 Dodge Challenger R/T is a joy, but it can sometimes present challenges, especially when it comes to operating vintage controls such as the heater system. If you find yourself struggling to figure out the heater controls in this iconic muscle car, don’t worry—you’re not alone. Here is how to solve this issue.
Join the AutoFame community. Become a member for free, add your car to the garage and tell its story. Join AutoFame.
Step 1: Locate the Heater Control Panel
First, familiarize yourself with the heater control panel. In the 1970 Dodge Challenger R/T, the heater controls are integrated into the dashboard, situated to the right of the steering wheel and beneath the radio. The panel typically includes three sliders or levers and one or two rotary knobs, all of which are clearly marked.
Step 2: Understand the Functions of the Sliders and Knobs
Temperature Control Lever: Typically found on the left side of the control panel, this lever adjusts the temperature. Sliding it to the right or up (towards the "Red" zone) increases the heat, while sliding it to the left or down (towards the "Blue" zone) reduces it.
Fan Speed Lever: The fan speed lever or knob usually sits in the center. It has multiple settings, such as Low (L), Medium (M), and High (H). Move this lever or rotate the knob to the desired fan speed.
Air Flow Control Lever: Located on the right side of the panel, this lever lets you direct the air to various parts of the cabin, such as the windshield for defrosting (position marked "DEF"), the dashboard vents (position marked "VENT"), and the floor vents (position marked "FLOOR").
Step 3: Adjust the Controls
Once you have located and understood the controls, use them as needed:
If it's cold and you want to heat up the cabin quickly, slide the temperature control lever to the "Red" zone.
Set the fan speed lever/knob to "High" if you want maximum airflow.
Direct the warm air to where you need it most using the air flow control lever. For instance, set it to "FLOOR" to warm your feet, or to "DEF" to clear a foggy windshield.
Step 4: Fine-Tune the Settings
After the initial adjustments, you may want to fine-tune the settings for comfort. This might involve lowering the fan speed once the cabin has warmed up or redirecting air to another area. Adjust the temperature control lever slightly towards the "Blue" zone if the cabin becomes too hot.
Step 5: Additional Features
Some models come equipped with a rotary knob for turning on and off the heater. Ensure it's in the "On" position when operating the heater.
The AC button, if available, can be used in conjunction with the heater to dehumidify the air, which helps in defrosting windows more effectively.
Have a car with a story like this? Become an AutoFame member and share it with people who love cars as much as you do.
By following these steps, you will be able to efficiently use the heater controls in your 1970 Dodge Challenger R/T, ensuring a comfortable ride regardless of the weather.
About AutoFame
AutoFame is a home for people who love cars and the stories behind them. Every car on a show field or in a garage has a history: who built it, who saved it, the road trips, the late nights in the shop and the people who helped along the way. AutoFame gives those stories a place to live, so they are not lost when the hood closes or the car changes hands.
Membership is free. Once you join, you can add your car to your own AutoFame garage with photos, specs and the story only you can tell. Restorations, survivors, daily drivers, race cars and family heirlooms all belong here. Other members can find your car, follow its progress and connect with you over the details that matter to car people.
Beyond member garages, AutoFame publishes stories, guides and features on the cars, builders and history that shape car culture. You will find buying and restoration guides, car parts explainers, special editions, the newest models and the classics that started it all. The AutoFame Gallery puts member cars on display for anyone to browse, and the AutoFame YouTube channel adds owner interviews, show highlights and the conversations that happen around a good car.
AutoFame is also built for the people who run car shows. Organizers use it to manage entries and judging, and judges score each car category by category on their phones, with a written guide for every category so nothing gets skipped. After a judged show, owners can see what their car was scored on and how it compared. Shows across the Texas Gulf Coast have run on AutoFame, including the Moody Gardens Car Show in Galveston, Good Grub and Gears, and Keels and Wheels at Lakewood Yacht Club.
AutoFame was founded by Kevin Brady, whose own life in cars began long before he started building tools for the hobby. The idea is simple: the people who love these cars should have one place to share them, learn from each other and keep the stories going.
Whether you own a show winner, a project that is still in pieces or simply love reading about great cars, there is room for you here.
Be part of the AutoFame community. Join free and become a member today.