How to use the heater controls in 1967 Shelby GT500?
The heater controls in a 1967 Shelby GT500 are essential for ensuring passenger comfort during colder weather. However, if you're unfamiliar with vintage car controls, it might be confusing to manage…
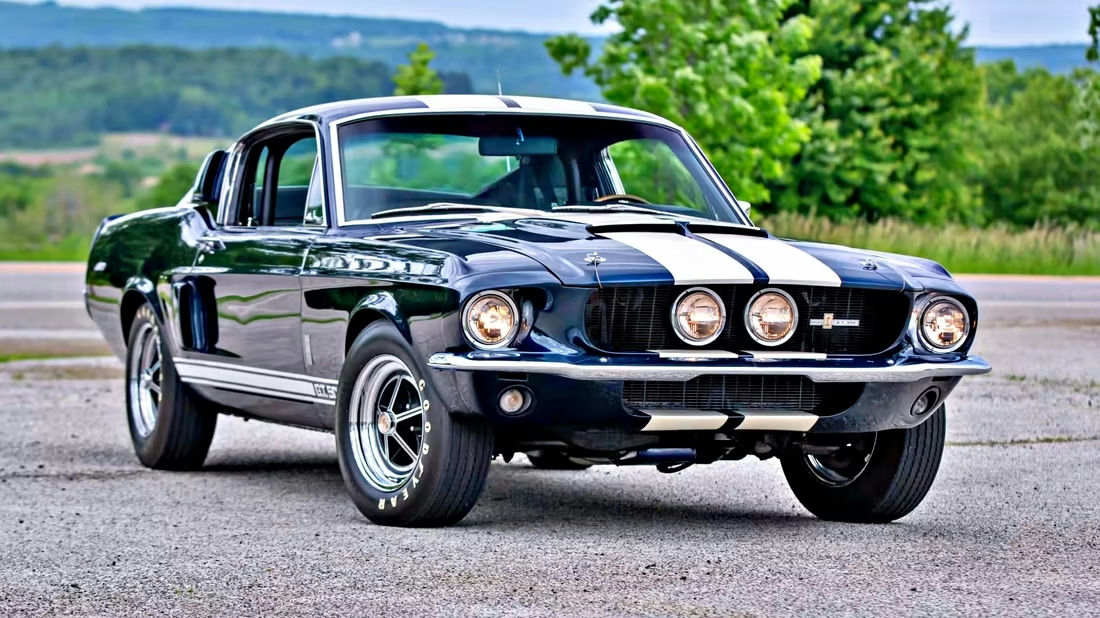
The heater controls in a 1967 Shelby GT500 are essential for ensuring passenger comfort during colder weather. However, if you're unfamiliar with vintage car controls, it might be confusing to manage the heater settings effectively. These old-school mechanisms can seem a bit complicated due to their manual nature and the lack of modern indicators. Here is how to resolve this issue and efficiently use the heater controls in your classic Shelby GT500.
Join the AutoFame community. Become a member for free, add your car to the garage and tell its story. Join AutoFame.
Step 1: Locate the Heater Control Panel
The first step in managing your car's heater is to find the heater control panel. In the 1967 Shelby GT500, the heater controls are typically situated in the center dash area of the car, just below the radio. The control panel consists of a series of levers that manually regulate the temperature and airflow inside the car.
Step 2: Understanding the Control Levers
Once you've located the control panel, note the arrangement and functionality of the levers:
Temperature Lever: This lever is usually marked with "Temp" and may have gradient markings from cool to warm. Sliding this lever up increases the temperature, while sliding it down reduces the temperature.
Airflow Direction Lever: Typically marked with symbols or terms like "Defrost," "Floor," and "Vent," this lever controls where the airflow is directed. Move the lever to align with the desired airflow location.
Fan Speed Lever: Often marked with indications like "Low," "Medium," and "High." This lever is used to set the speed of the heater fan. Move the lever through its positions to see the speed increase or decrease accordingly.
Step 3: Setting the Temperature
To warm up the cabin, slide the Temperature Lever up toward the warm end. The exact amount you need to slide it will depend on how cold it is and how much warmth you need. The more you slide it up, the warmer the air will become.
Step 4: Directing Airflow
Next, use the Airflow Direction Lever to decide where you want the warm air to be directed. For instance, if your windshield is fogged up, move the lever to the "Defrost" position. If you want to warm your feet, move it to the "Floor" position. For general cabin warming, select "Vent" or the equivalent middle-position setting.
Step 5: Adjusting Fan Speed
Finally, adjust the Fan Speed Lever to control the airflow rate. Moving it to "Low" will provide a gentle circulation of warm air, while "High" will blow more air quickly. This is useful for rapidly heating up the cabin or defrosting the windshield more swiftly.
Step 6: Fine-tuning for Comfort
After the initial settings, you might need to make minor adjustments to ensure maximum comfort. Slightly tweak the temperature or change the airflow direction to balance between warmth and comfort.
Have a car with a story like this? Become an AutoFame member and share it with people who love cars as much as you do.
In summary, mastering the heater controls in your 1967 Shelby GT500 involves identifying and understanding the functions of the control levers. By methodically adjusting the temperature, airflow direction, and fan speed, you can create a comfortable environment inside your classic car.
About AutoFame
AutoFame is a home for people who love cars and the stories behind them. Every car on a show field or in a garage has a history: who built it, who saved it, the road trips, the late nights in the shop and the people who helped along the way. AutoFame gives those stories a place to live, so they are not lost when the hood closes or the car changes hands.
Membership is free. Once you join, you can add your car to your own AutoFame garage with photos, specs and the story only you can tell. Restorations, survivors, daily drivers, race cars and family heirlooms all belong here. Other members can find your car, follow its progress and connect with you over the details that matter to car people.
Beyond member garages, AutoFame publishes stories, guides and features on the cars, builders and history that shape car culture. You will find buying and restoration guides, car parts explainers, special editions, the newest models and the classics that started it all. The AutoFame Gallery puts member cars on display for anyone to browse, and the AutoFame YouTube channel adds owner interviews, show highlights and the conversations that happen around a good car.
AutoFame is also built for the people who run car shows. Organizers use it to manage entries and judging, and judges score each car category by category on their phones, with a written guide for every category so nothing gets skipped. After a judged show, owners can see what their car was scored on and how it compared. Shows across the Texas Gulf Coast have run on AutoFame, including the Moody Gardens Car Show in Galveston, Good Grub and Gears, and Keels and Wheels at Lakewood Yacht Club.
AutoFame was founded by Kevin Brady, whose own life in cars began long before he started building tools for the hobby. The idea is simple: the people who love these cars should have one place to share them, learn from each other and keep the stories going.
Whether you own a show winner, a project that is still in pieces or simply love reading about great cars, there is room for you here.
Be part of the AutoFame community. Join free and become a member today.