How to troubleshoot starting issues on a 1969 Chevrolet Camaro ZL1?
Experiencing starting issues with a 1969 Chevrolet Camaro ZL1 can be frustrating, especially given the car's legendary status and performance pedigree. These problems can manifest in several ways: th…
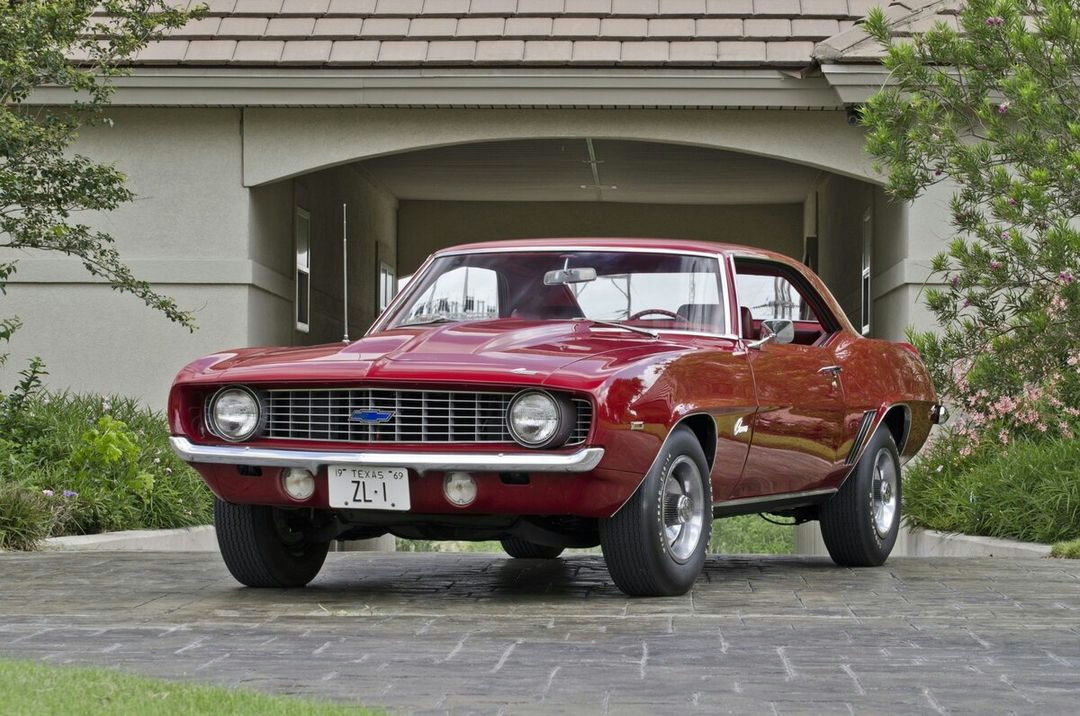
- Model
- 1969 Chevrolet Camaro ZL1
Experiencing starting issues with a 1969 Chevrolet Camaro ZL1 can be frustrating, especially given the car's legendary status and performance pedigree. These problems can manifest in several ways: the engine may not crank, it might crank but fail to start, or it may start and then immediately stall. This could stem from a variety of issues, including battery problems, ignition issues, fuel delivery problems, or starter motor faults. Here's how to solve this issue step-by-step:
Step 1: Check the Battery
First, ensure the battery has a proper connection and sufficient charge.
- Location and Appearance: The battery is located in the engine bay, typically on the front driver's side. It is a rectangular box-like component with two terminals marked '+' (positive) and '-' (negative).
- Action: Inspect the terminals for corrosion—a whitish or greenish residue. If corroded, clean them using a battery terminal cleaner or a mixture of baking soda and water. Ensure the connections are tight. Use a multimeter to check the voltage; a fully charged battery should read 12.6 volts or above.
Step 2: Inspect the Starter Motor
If the battery is fine, the next component to check is the starter motor.
- Location and Appearance: The starter motor is located at the lower part of the engine, near the transmission bell housing. It’s cylindrical with an elongated shape.
- Action: Listen for a clicking sound when turning the key. A single click might indicate a faulty starter solenoid, while multiple clicks could suggest insufficient battery power. Check the connections to ensure they are tight and free of corrosion. If necessary, tap the starter gently with a hammer while someone turns the key; sometimes, this will free up a stuck starter.
Step 3: Examine the Ignition System
The ignition system includes the ignition coil, distributor, and spark plugs, which all must be functioning properly.
- Ignition Coil: Located on top of the engine, cylindrical in shape, usually with wires connected to it. Check for visible cracks or burns and ensure the connections are secure.
- Distributor: Situated on the top rear part of the engine, with a rotor inside. Remove the distributor cap (held on by screws) and inspect for wear or moisture.
- Spark Plugs and Wires: Follow the wires from the distributor to the spark plugs located on the sides of the engine. Remove and inspect each spark plug; they should be clean and not too worn.
Step 4: Verify Fuel Delivery
If the ignition system is operational, the problem may lie in fuel delivery.
- Fuel Pump: This is typically mechanical and located on the side of the engine block. Listen for any unusual noise while cranking.
- Fuel Filter: Located along the fuel line, often near the engine or underneath the car close to the fuel tank. Check for blockages and replace if necessary.
- Carburetor: Situated on top of the engine, it mixes air and fuel. Inspect for proper operation and adjust the choke if the engine is cold.
Step 5: Check for Engine Grounding Issues
Sometimes, poor ground connections can cause starting problems.
- Ground Straps: Look for flat or braided wires connecting the engine block to the chassis (usually around the engine mounts). Ensure they are tight and corrosion-free.
Step 6: Test the Ignition Switch
If all else fails, the issue might be with the ignition switch itself.
- Location and Appearance: Found on the steering column, this switch is where the key is inserted.
- Action: Ensure the switch turns smoothly and feels solid. If it’s loose or sticky, it might be faulty and need replacement.
By following these steps meticulously, you can systematically diagnose and resolve starting issues with your 1969 Chevrolet Camaro ZL1. Good luck!