How to troubleshoot ignition problems on a 1970 Dodge Challenger R/T?
Experiencing ignition problems on a 1970 Dodge Challenger R/T can leave any car enthusiast frustrated. Symptoms of ignition issues might include difficulty starting the engine, misfires, or the engin…
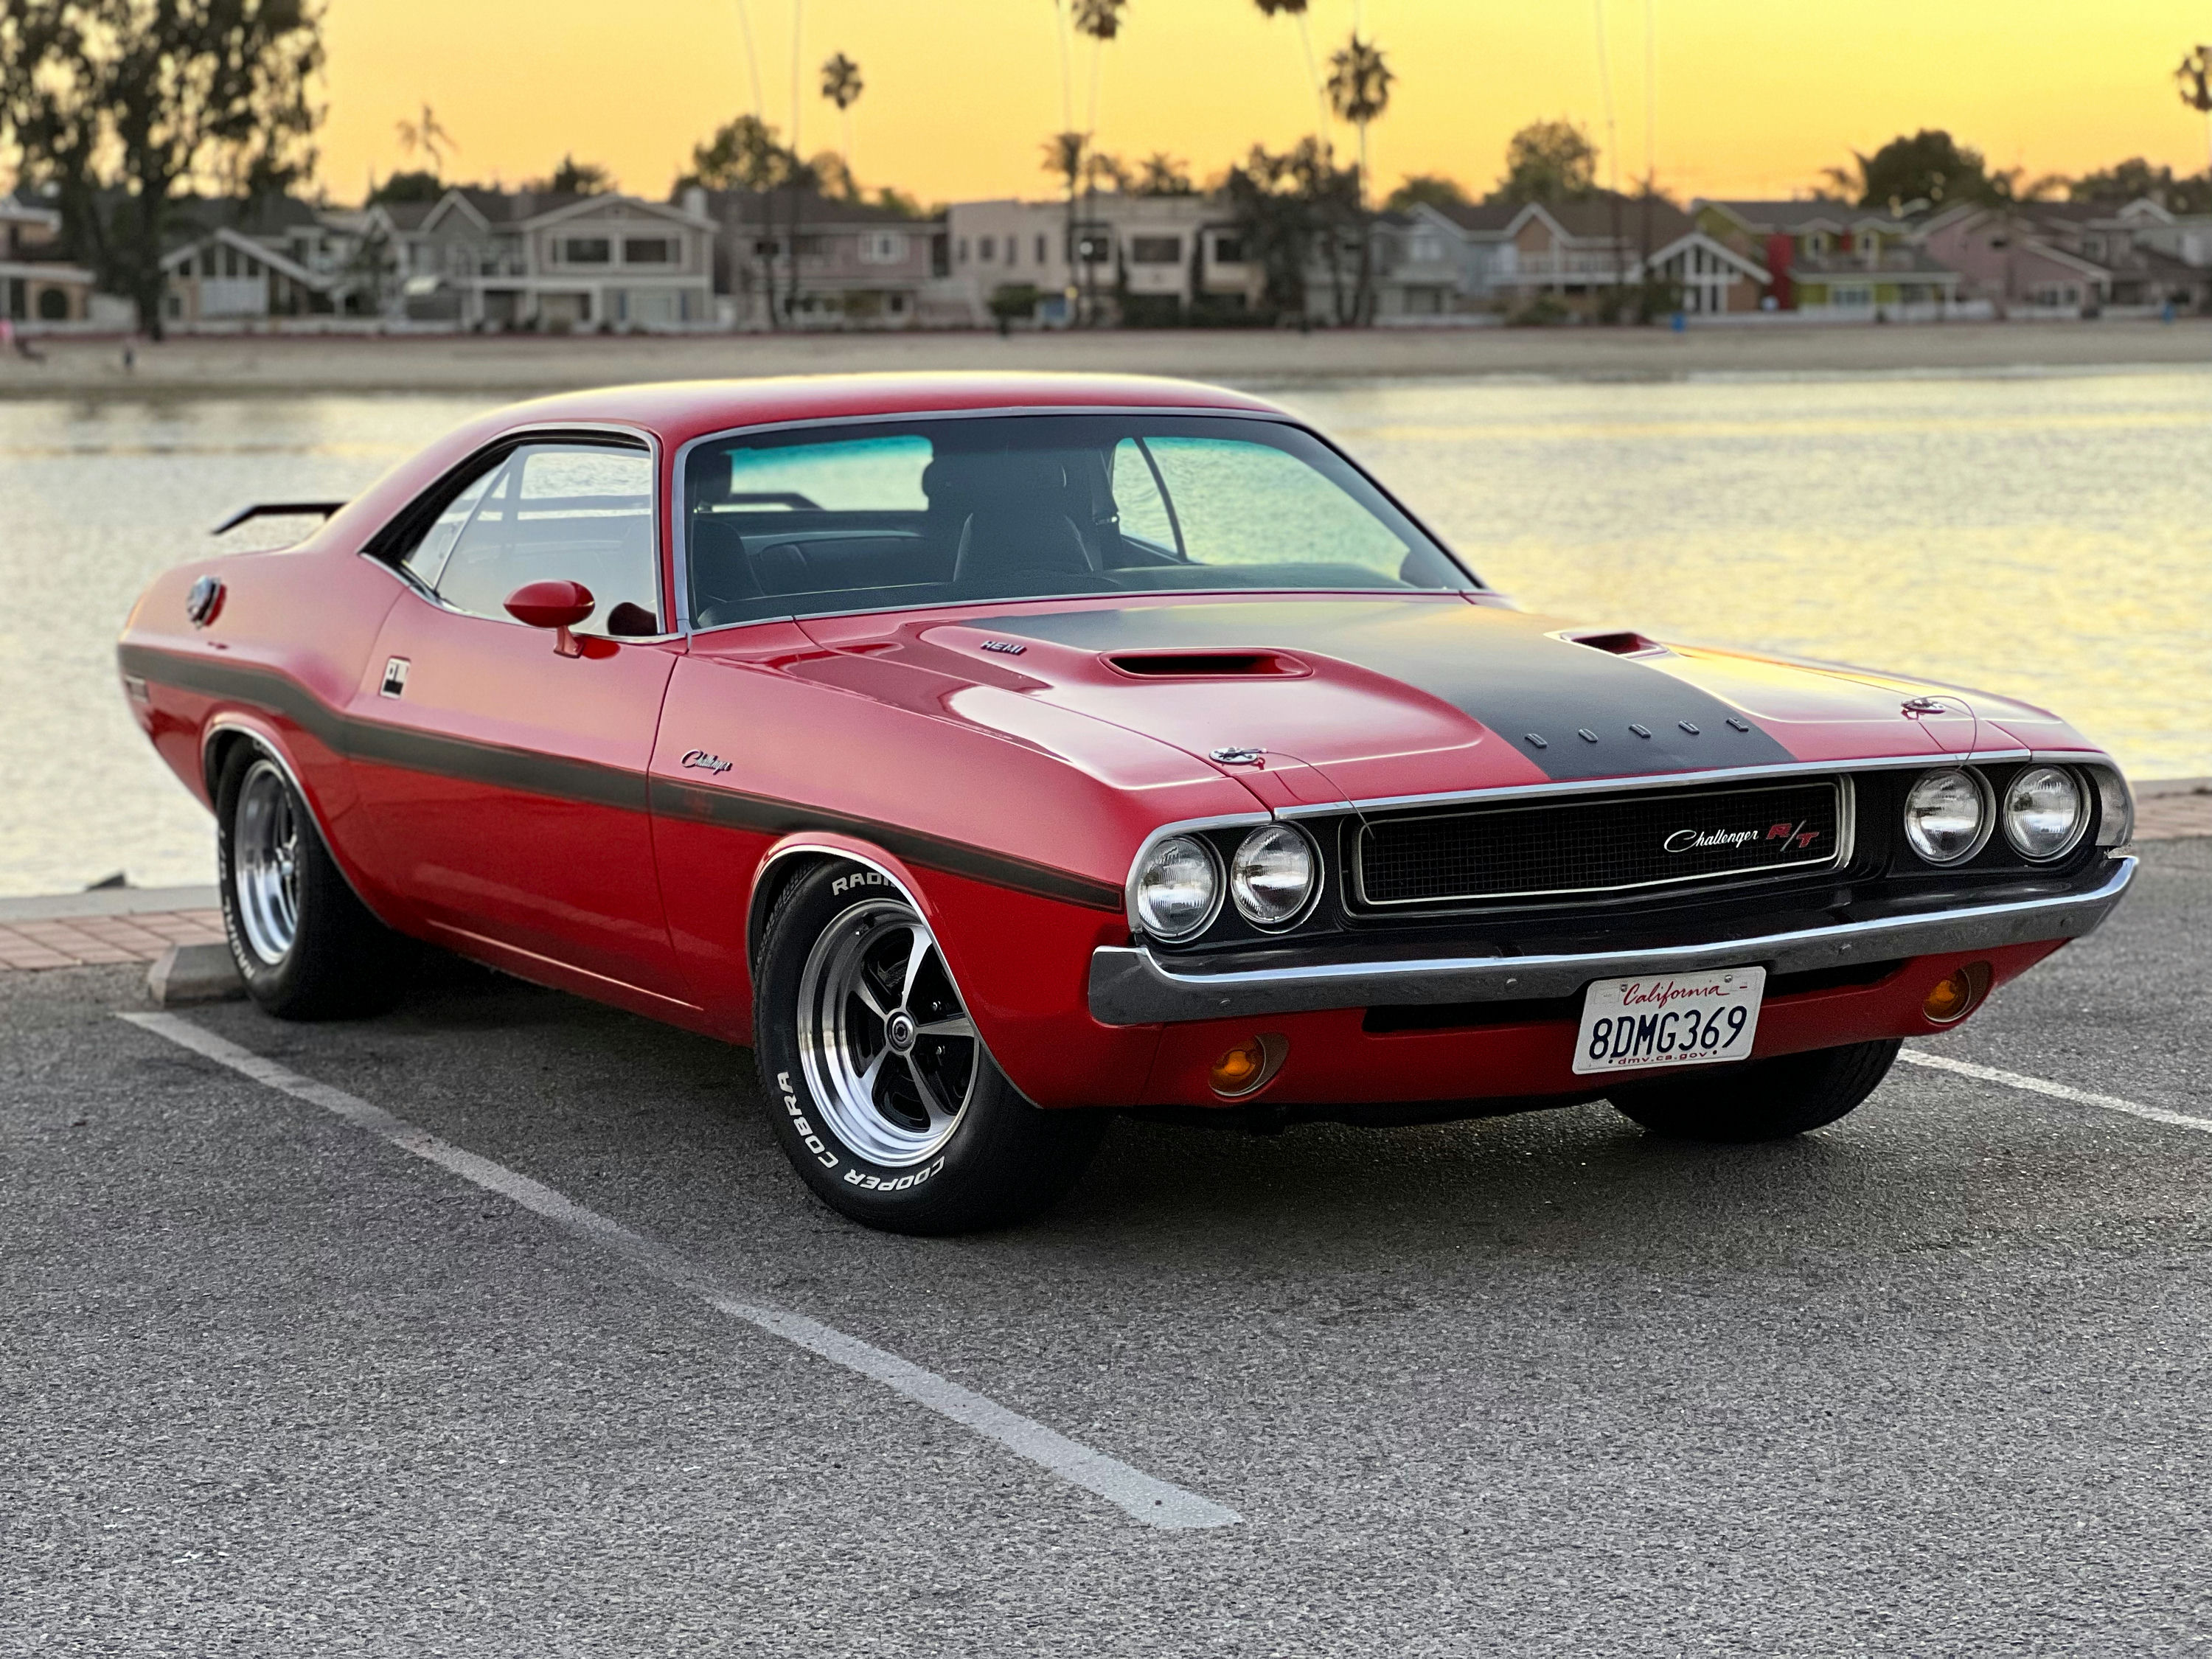
- Model
- 1970 Dodge Challenger R/T
Experiencing ignition problems on a 1970 Dodge Challenger R/T can leave any car enthusiast frustrated. Symptoms of ignition issues might include difficulty starting the engine, misfires, or the engine not starting at all. These problems can be particularly vexing given the age of the vehicle and the intricacies of its classic ignition system. However, with a structured approach, you can troubleshoot and resolve these problems efficiently. Here is how to solve this issue:
Step 1: Check the Battery
First, ensure the battery is in good condition as it provides the power needed to start the engine.
- Locate the battery: It's situated in the engine bay, typically on the driver's side front corner.
- Check for corrosion: Look for white or greenish deposits on the battery terminals.
- Test voltage: Use a multimeter to ensure the battery voltage is between 12.4 to 12.7 volts when fully charged.
Step 2: Inspect the Spark Plugs
Spark plugs are crucial for igniting the fuel-air mixture in the engine cylinders.
- Find the spark plugs: They are located on either side of the engine block, directly attached to spark plug wires.
- Visual inspection: Remove the spark plugs one at a time. They should be beige to light brown in color; dark, sooty plugs indicate an issue.
- Gap check: Ensure the spark plug gap matches the manufacturer’s specifications (0.035 inches for a 1970 Dodge Challenger R/T).
Step 3: Examine the Ignition Coil
The ignition coil transforms the battery's voltage into a higher voltage needed to create a spark at the plugs.
- Locate the ignition coil: It is typically mounted on the firewall or engine block, connected to the distributor by a thick wire.
- Visual inspection: Check for cracks or oil leaks on the housing. A damaged coil needs replacement.
- Test function: Using a multimeter, measure the resistance of the coil. Compare readings with the service manual specifications.
Step 4: Test the Distributor Cap and Rotor
The distributor cap and rotor distribute electrical current from the ignition coil to the spark plugs.
- Locate the distributor: Positioned at the back of the engine, it has several wires running out to the spark plugs.
- Remove the cap: It is attached to the distributor using screws. Inspect for cracks or carbon build-up on the inside.
- Inspect the rotor: With the cap off, look at the rotor which sits atop the distributor shaft. Ensure it is clean and free of cracks.
Step 5: Investigate the Ignition Points
Older vehicles like the 1970 Challenger use ignition points to control the spark timing.
- Access the points: They are located inside the distributor beneath the rotor.
- Visual inspection: Look for pitting or burning of the contact points.
- Gap measurement: The points should have a gap of 0.017 inches. Use a feeler gauge for exact measurement.
Step 6: Verify the Ignition Timing
The timing ensures that the spark plug fires at the optimal moment to ignite the fuel-air mix.
- Use a timing light: Attach it to the number one spark plug wire.
- Check timing marks: On the front of the engine, align the timing marks when the engine is at idle.
- Adjust as needed: Rotate the distributor slightly if the timing marks do not align with the recommended setting (typically around 10° before top dead center).
Conclusion
Troubleshooting the ignition system on a 1970 Dodge Challenger R/T may seem daunting, but by following these detailed steps, you can methodically identify and resolve the root cause of the problem. Always ensure safety first and consider consulting a professional if you encounter complex issues.