How to troubleshoot ignition problems on a 1969 Chevrolet Camaro ZL1?
Experiencing ignition problems with a 1969 Chevrolet Camaro ZL1 can be incredibly frustrating, whether your car won't start at all or is running erratically. These issues can stem from a variety of c…
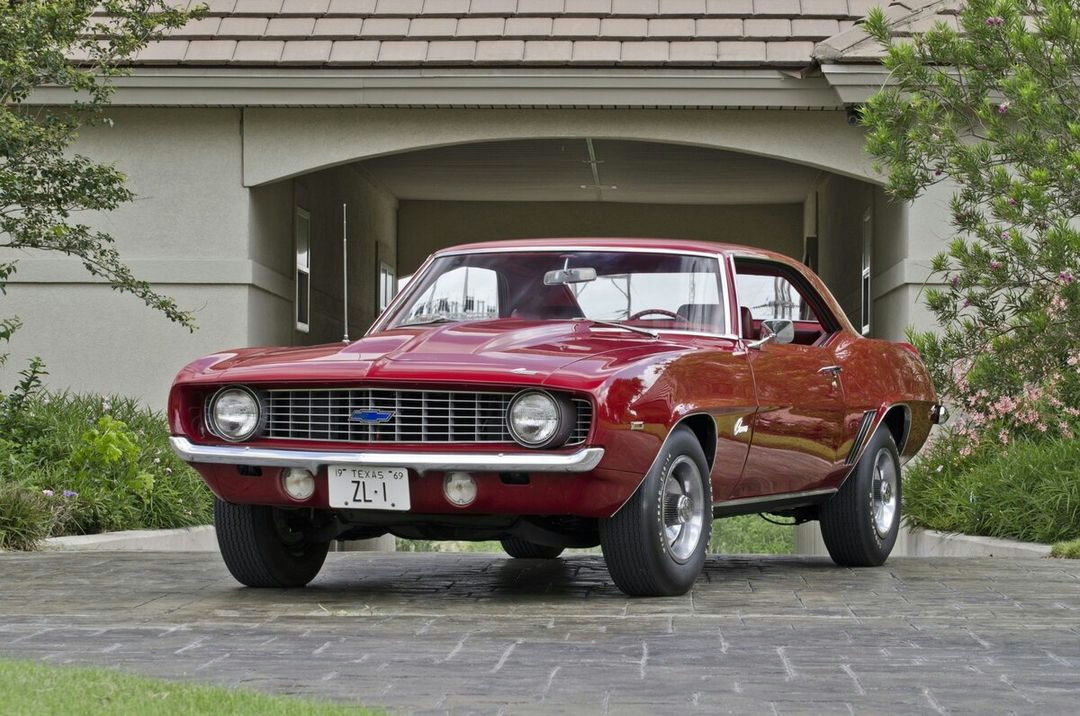
- Model
- 1969 Chevrolet Camaro ZL1
Experiencing ignition problems with a 1969 Chevrolet Camaro ZL1 can be incredibly frustrating, whether your car won't start at all or is running erratically. These issues can stem from a variety of components such as the ignition coil, wiring, distributor, or spark plugs. Symptoms may include the engine failing to crank, misfires, or inconsistent idle speeds. Fortunately, addressing these problems can often be straightforward. Here is how to solve this issue.
Step 1: Check the Battery
First, ensure the battery is fully charged and the connections are clean and tight. The battery is located in the engine bay, typically near the front on one side. Look for a rectangular box with two cables attached to terminals: one positive (+) and one negative (-). Clean any corrosion off the terminals with a wire brush.
Step 2: Inspect the Ignition Coil
The ignition coil is responsible for converting the battery’s voltage to a higher voltage needed to create an electric spark in the spark plugs. It’s generally located near the distributor. Look for a cylindrical part with electrical connections at both ends. Check for any visible damage or loose connections, and test it with a multimeter if you have one.
Step 3: Examine the Distributor Cap and Rotor
The distributor is a crucial part of the ignition system. It’s typically located at the back of the engine, connected to the camshaft. Remove the distributor cap by unscrewing or unclipping it—you’ll see several wires leading into it. Inspect the inside of the cap for cracks or carbon tracking, and check the rotor for wear. Both parts should be free of corrosion and dirt.
Step 4: Test the Spark Plug Wires
Spark plug wires carry the voltage from the distributor to the spark plugs. They are connected to the distributor cap and lead to each spark plug. Inspect these wires for any signs of wear, damage, or corrosion at the connectors. Wiggle each wire a bit to ensure it’s properly seated.
Step 5: Inspect the Spark Plugs
Remove the spark plugs to examine their conditions. Spark plugs are located at the sides of the engine, screwed into the cylinder head. They have a small ceramic part with a metal tip. Use a spark plug socket to carefully remove each plug. Check for soot, oil, or excess wear that might indicate malfunction. Clean or replace them if necessary.
Step 6: Check the Ignition Timing
Incorrect ignition timing can cause poor engine performance or starting difficulties. Use a timing light to check the timing marks on the harmonic balancer and adjust as necessary. The timing light is a tool that flashes a light synchronized with the spark plug firing, helping you see the alignment of the timing marks.
Step 7: Verify the Points and Condenser
In vehicles with a points-type ignition system, ensure that the points and condenser inside the distributor are functioning correctly. Open the distributor and inspect the points for pitting or burning. Use a feeler gauge to check the point gap and adjust if necessary. Replace the condenser if it's faulty.
Taking these steps should help you pinpoint and resolve the ignition problems in your 1969 Chevrolet Camaro ZL1, ensuring a smooth and reliable ride.