How to troubleshoot engine misfires on a 1971 Dodge Charger R/T?
Engine misfires in a 1971 Dodge Charger R/T can manifest as rough idling, loss of power, or a noticeable stumbling during acceleration. They can be caused by a variety of issues ranging from ignition…
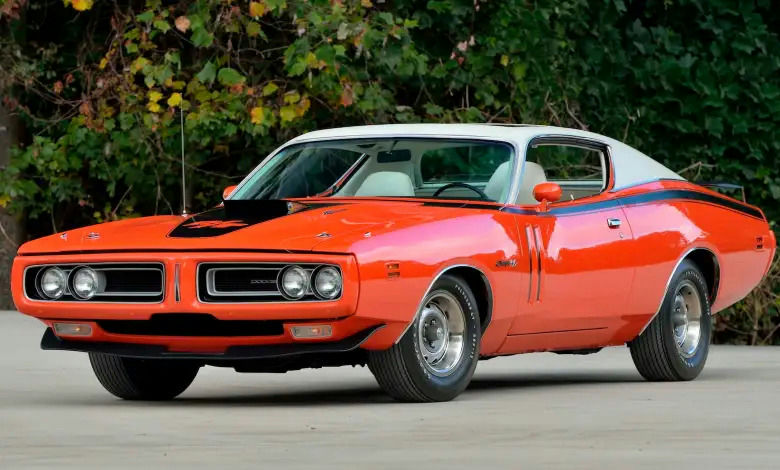
- Model
- 1971 Dodge Charger R/T
Engine misfires in a 1971 Dodge Charger R/T can manifest as rough idling, loss of power, or a noticeable stumbling during acceleration. They can be caused by a variety of issues ranging from ignition problems to fuel delivery complications. Diagnosing the exact cause may require systematically checking a series of potential faults. Here is how to solve this issue:
Step 1: Inspect Spark Plugs and Wires
The first step in troubleshooting engine misfires is to check the spark plugs and wires. Spark plugs are located on the top of the engine block, where the ignition wires (usually black or red) are connected. Easily identifiable, they resemble small bolts with ceramic insulation and are arranged in a line along each side of the engine.
- Visual Check: Look for signs of damage, such as worn electrodes, or excessive carbon buildup.
- Gap Measurement: Use a spark plug gap tool to ensure the gap matches the manufacturer's specifications, typically around 0.030-0.035 inches for older V8 engines.
- Spark Plug Replacement: If the plugs are old or damaged, replace them. Remove each spark plug using a spark plug socket and a ratchet. Install the new plugs and ensure they are gapped correctly.
Step 2: Examine the Ignition Coil and Distributor
In a 1971 Dodge Charger R/T, the ignition coil is typically mounted on the firewall or the engine block, and the distributor is centrally located at the rear of the engine, with a cap and several plug wires connected to it.
- Check the Distributor Cap and Rotor: Remove the distributor cap (held in place by clips or screws) and inspect for cracks, carbon tracking, or worn contact points. Replace if necessary.
- Inspect the Ignition Coil: Look for signs of corrosion or damage to the coil. You may need a multimeter to check the resistance of the coil to ensure it's within specifications.
Step 3: Verify Fuel Delivery
Fuel delivery issues can also cause misfires. The fuel filter and carburetor are the primary focus points.
- Fuel Filter: The fuel filter on a 1971 Charger is typically located along the fuel line, near the engine or under the car near the fuel tank. Replace it if it's clogged.
- Carburetor Inspection: The carburetor sits atop the intake manifold, identifiable by the air cleaner mounted on it. Remove the air cleaner and inspect the carburetor jets and floats for blockages or improper adjustments. Carburetor cleaner can be used to clean the internal components.
Step 4: Check for Vacuum Leaks
Vacuum leaks are often responsible for misfires. Various hoses connected to the carburetor, intake manifold, or brake booster can become brittle or disconnected, causing issues.
- Hose Inspection: Visually inspect all vacuum lines for cracks or disconnections. Typical vacuum hose locations include the carburetor base, intake manifold, and brake booster.
- Use Starter Fluid: To identify leaks, spray starter fluid around the intake manifold gaskets and vacuum hoses while the engine is running. A change in engine RPM indicates a leak.
Step 5: Assess Engine Timing
Engine timing that is off can also cause misfires. Use a timing light to check the alignment of the timing marks, which can be found on the pulley at the front of the engine and the timing cover.
- Using a Timing Light: Attach the timing light's inductive pickup to the number one spark plug wire and connect the power leads to the battery. Aim the timing light at the timing marks and observe the strobe effect; adjust the distributor as needed to align the marks properly.
By following these detailed steps, you can systematically identify and correct the causes of engine misfires in your 1971 Dodge Charger R/T, ensuring a smoother and more reliable driving experience.