How to troubleshoot engine misfires on a 1969 Chevrolet Camaro ZL1?
A misfiring engine in a 1969 Chevrolet Camaro ZL1 can lead to poor performance, reduced fuel efficiency, and potentially more severe engine damage if left unresolved. Symptoms of an engine misfire ca…
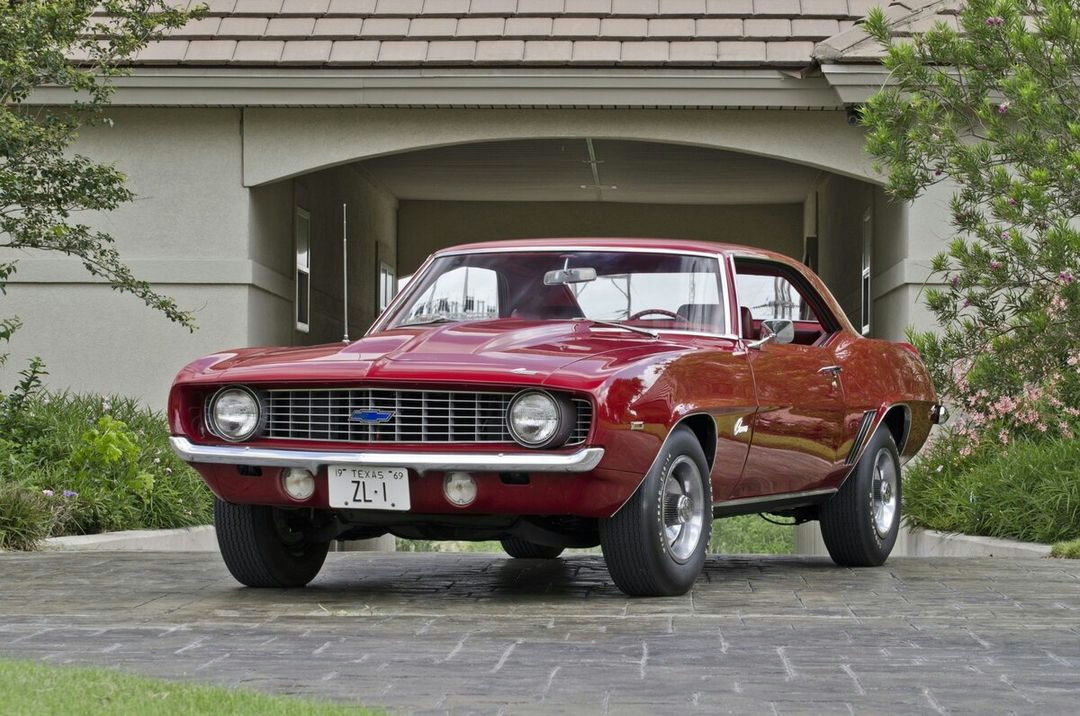
- Model
- 1969 Chevrolet Camaro ZL1
A misfiring engine in a 1969 Chevrolet Camaro ZL1 can lead to poor performance, reduced fuel efficiency, and potentially more severe engine damage if left unresolved. Symptoms of an engine misfire can include rough idling, hesitant acceleration, the engine sputtering, and even a noticeable loss of power. To address and resolve these issues effectively, follow the steps below.
Step 1: Inspect Spark Plugs and Plug Wires
First, visually inspect the spark plugs and wires. The spark plugs on the Camaro ZL1 are located along the sides of the engine heads, connected to thick, rubber-coated wires. Look for:
- Corrosion: A white, chalky buildup on the electrodes.
- Carbon Fouling: Black, sooty deposits that indicate an overly rich fuel mixture.
- Physical Damage: Any cracks or breaks in the insulator.
To replace a spark plug, pull off the wire from the top of the plug. Use a spark plug socket and ratchet to remove the plug. Install a new one by threading it in by hand before tightening with the socket.
Step 2: Check the Distributor Cap and Rotor
The distributor cap on a 1969 Camaro ZL1 is typically situated at the back of the engine, near the firewall. It distributes electricity to each spark plug; any internal damage will impact firing.
- Visual Inspection: Remove the cap by unscrewing the holding bolts. Look for carbon tracking (fine lines or cracks around the internal contacts).
- Rotor: Pull off the rotor and check for excessive wear or burn marks.
Replace components if any wear or damage is found. Ensure all connections are clean and secure.
Step 3: Examine the Ignition Coil
The ignition coil transforms the battery's voltage to a higher voltage needed to ignite the fuel. It is generally cylindrical and located near the firewall on the driver’s side.
- Connection Check: Ensure the coil connections are tight. A loose connection can cause intermittent misfires.
- Resistance Test: Use a multimeter to check resistance levels according to the manufacturer's specifications. Replace the coil if resistance is out of range.
Step 4: Fuel System Inspection
A clogged fuel filter or failing fuel pump can lead to engine misfires. The fuel filter, often located along the fuel line near the gas tank, needs occasional replacement.
- Fuel Filter: Look for a small, canister-style filter along the fuel line. Disconnect the fuel line, replace the filter, and reconnect. Ensure there are no leaks.
- Fuel Pump: If you suspect the fuel pump, listen for a buzzing sound when the key is turned to the "on" position. Excessive noise can indicate a problem.
Step 5: Vacuum Leak Check
Vacuum leaks disrupt the air-fuel mixture, leading to misfires. Inspect all vacuum hoses for cracks, splits, or disconnections. These hoses are generally black and run to various engine parts, like the carburetor and intake manifold.
- Leak Detection: Use a can of carburetor cleaner or an unlit propane torch around hose connections. If the engine speed changes when spraying, you have located a vacuum leak.
Step 6: Compression Test
Performing a compression test can indicate the health of your cylinders and valves. Disconnect the spark plug wires, screw in a compression gauge in place of the spark plug, and crank the engine.
- Compression Reading: Ideal readings depend on the engine, but significant deviations between cylinders indicate possible internal engine problems, such as worn piston rings or valve issues.
Step 7: Carburetor Adjustment
An improperly adjusted carburetor can cause misfires. The carburetor is located on top of the engine, right under the air cleaner. It’s a somewhat boxy, metallic component with screws for adjustments.
- Idle Mixture Screws: Turn them to achieve the highest stable idle, then fine-tune by slightly richening (screwing out) or leaning (screwing in) the mixture.
- Choke: Ensure the choke moves freely and fully disengages once the engine is warmed up.
By systematically following these steps, you can identify and resolve the cause of engine misfires in your 1969 Chevrolet Camaro ZL1, restoring it to smooth and reliable performance.