How to troubleshoot electrical issues on a 1970 Plymouth Hemi 'Cuda?
Troubleshooting electrical issues on a vintage car like the 1970 Plymouth Hemi 'Cuda can be a daunting task. Electrical problems can manifest in various ways, such as dimming headlights, malfunctioni…
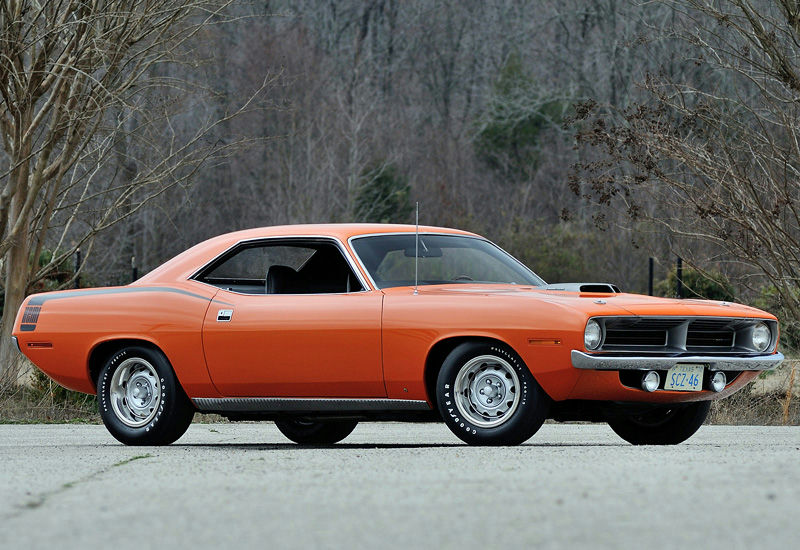
- Model
- 1970 Plymouth Hemi 'Cuda
Troubleshooting electrical issues on a vintage car like the 1970 Plymouth Hemi 'Cuda can be a daunting task. Electrical problems can manifest in various ways, such as dimming headlights, malfunctioning gauges, or a car that won't start. These issues are often due to aging wiring, corroded connections, or faulty components. Understanding the basics of automotive electrical systems is crucial to identifying and resolving these problems. Here is how to solve this issue:
Step 1: Gather Necessary Tools and Materials
Before starting, assemble all essential tools and materials:
- Multimeter
- Test light
- Wire stripper/cutter
- Electrical tape
- Schematic diagram of the 1970 Hemi 'Cuda
- Screwdrivers and wrenches
Step 2: Safety First
Ensure the car is parked on a level surface and the ignition is off. Disconnect the battery by removing the negative terminal first to avoid any unintended electrical contact.
Step 3: Visual Inspection
Begin with a thorough visual inspection. Look for any broken, frayed, or corroded wires. The wiring harness is usually positioned along the firewall inside the engine bay. Check for discoloration or a burnt smell, which could indicate overheating.
Step 4: Battery Check
Locate the battery in the engine bay, usually on the driver's side. Using the multimeter, check the voltage across the battery terminals. It should read approximately 12.6 volts for a fully charged battery. Anything significantly lower could indicate a weak battery that needs replacement.
Step 5: Checking Fuses
The fuse box on the 1970 Hemi 'Cuda is typically found under the dashboard near the steering column. Open the fuse box and inspect each fuse. A blown fuse will usually have a broken metal filament inside. Replace any blown fuses with ones of the same amperage rating.
Step 6: Test Individual Components
Use the test light or multimeter to check individual electrical components:
- Lights: Ensure the headlights, tail lights, and indicators are functioning. For the headlights, check the front of the car for two glass encased, round bulbs.
- Gauges: Turn the ignition key to the on position and observe the dashboard gauges. Each gauge should correspond to a sensor in the car; make sure they all display readings.
- Starter Motor: If the car doesn’t start, locate the starter motor near the bottom of the engine. Check for any loose or corroded connections.
Step 7: Inspect Ground Connections
Poor grounding is a common issue. Locate the main grounding strap, usually connecting the engine block to the chassis. Clean any rust or corrosion and ensure the connections are tight.
Step 8: Check Ignition System
The ignition coil is usually mounted on the firewall or near the distributor. Using the multimeter, ensure that the coil is receiving voltage. Check the distributor cap for signs of wear or cracks and replace if necessary. Also, inspect the spark plugs for fouling; they are located at the ends of the spark plug wires which come off the distributor.
Step 9: Test the Alternator
While the engine is running, use the multimeter to check voltage at the battery. It should read between 13.8 to 14.5 volts, indicating the alternator is charging correctly. The alternator is usually mounted on the front of the engine with a belt running around it.
Step 10: Reconnect Battery and Test
Once all checks and repairs are done, reconnect the battery—positive terminal first. Turn on the ignition and test the electrical systems to ensure everything functions as it should.
By following these steps systematically, you should be able to troubleshoot and resolve most electrical issues on a 1970 Plymouth Hemi 'Cuda. If problems persist, consulting a specialized mechanic with vintage car experience is recommended.