How to troubleshoot electrical issues on a 1970 Chevrolet Chevelle SS 454?
Experiencing electrical issues with your 1970 Chevrolet Chevelle SS 454 can be both frustrating and daunting. Such issues may manifest in a variety of ways, including non-functioning lights, engine s…
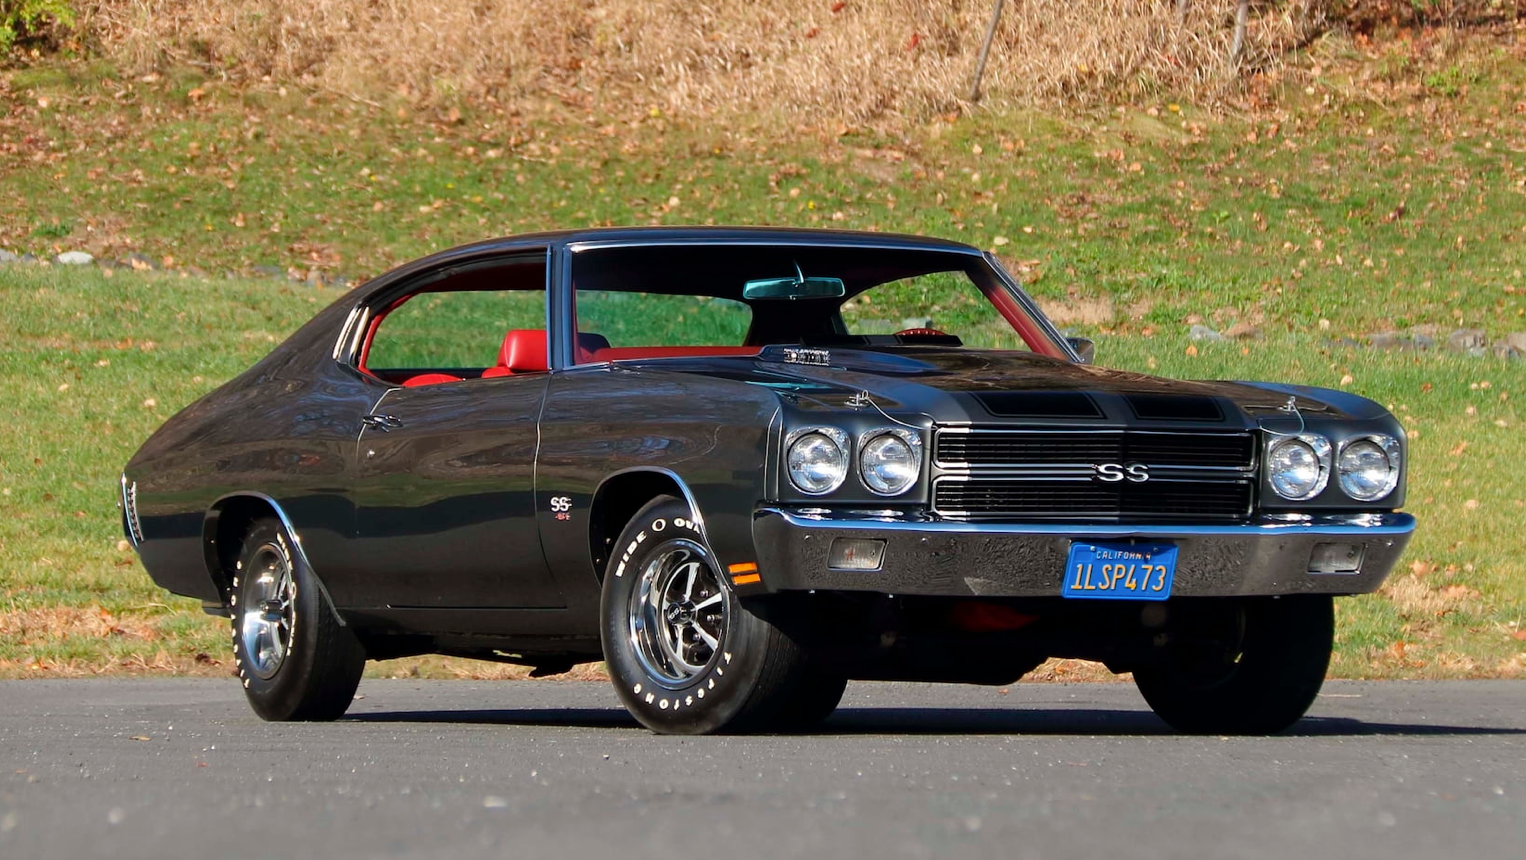
- Model
- 1970 Chevrolet Chevelle SS 454
Experiencing electrical issues with your 1970 Chevrolet Chevelle SS 454 can be both frustrating and daunting. Such issues may manifest in a variety of ways, including non-functioning lights, engine starting problems, or faulty gauges. To effectively diagnose and resolve these problems, a meticulous and systematic approach is required. Here is how to solve this issue:
Step 1: Initial Inspection
Start with a general inspection. Open the engine bay and take a look at the battery, which is typically located on the front driver-side corner. It is a rectangular box with two terminals labeled "+" (positive) and "-" (negative). Check for any loose connections or visible corrosion. Ensure that the battery terminals are clean and secure.
Step 2: Check the Fuses
Locate the fuse box, usually found under the dashboard on the driver’s side. The fuse box cover may be marked with “FUSES” and is a rectangular plastic panel. Remove the cover to expose the fuses. Look for any blown fuses, which usually have a broken metal link inside. Replace any faulty fuses with new ones of the same amperage rating.
Step 3: Inspect the Wiring Harness
Examine the wiring harness for any signs of wear, damage, or loose connections. The wiring harness in a 1970 Chevelle typically runs along the firewall in the engine bay and under the dashboard. Look for frayed or broken wires and repair them as needed. Use electrical tape or heat shrink tubing to insulate any exposed wires.
Step 4: Test the Ignition Switch
The ignition switch, located on the steering column, can be tested with a multimeter. Set your multimeter to the voltage setting. With the key in the "on" position, verify that you are getting power to the ignition switch. If the switch is receiving power but the engine does not start, the switch may need to be replaced.
Step 5: Examine Ground Connections
Poor grounding can cause various electrical issues. Check the ground connections starting from the battery’s negative terminal to the chassis. Look for the heavy-gauge black wire attached to the frame of the car. Ensure that it is tightly secured and free from corrosion. Clean any rusty or corroded areas and reattach the ground wire firmly.
Step 6: Check the Alternator
The alternator, located on the passenger side of the engine, is a large cylindrical component with a pulley and several wires attached to it. Use a multimeter set to the voltage setting to check the output. Start the engine and measure the voltage at the battery terminals. A healthy alternator should output between 13.5 and 14.5 volts. If the voltage is outside this range, the alternator may need to be replaced.
Step 7: Test Electrical Components
Systematically test each electrical component, such as headlights, turn signals, and interior lights. Use a test light or multimeter to check for power at each component. Probe the positive wire of each component to verify the voltage. If a particular component is not receiving power, trace the wire back to its source to identify any breaks or issues.
By following these steps, you can methodically troubleshoot and resolve electrical issues in your 1970 Chevrolet Chevelle SS 454. This classic car’s electrical system may be simpler compared to modern vehicles, but it still requires careful inspection and testing to ensure everything functions correctly.