How to troubleshoot electrical issues on a 1969 Pontiac GTO Judge?
Troubleshooting electrical issues on a 1969 Pontiac GTO Judge can be both a challenging and rewarding task, especially given the car's age and historical value. Electrical problems can manifest in va…
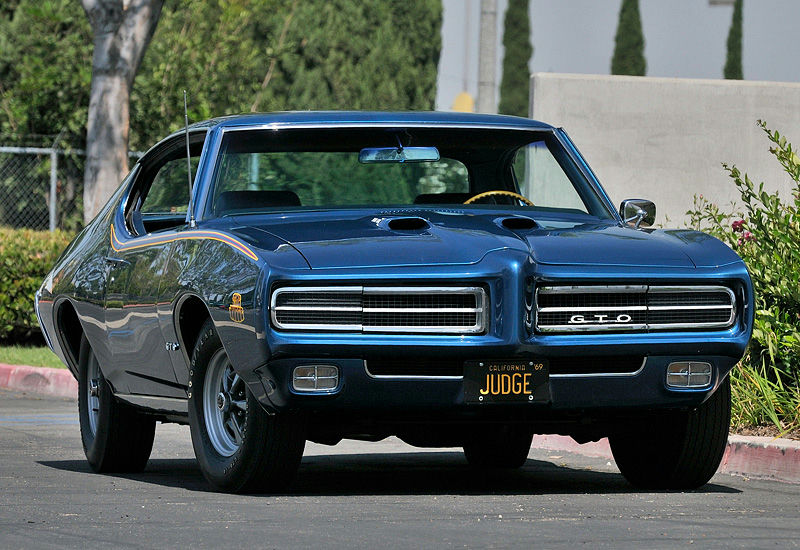
- Model
- 1969 Pontiac GTO Judge
Troubleshooting electrical issues on a 1969 Pontiac GTO Judge can be both a challenging and rewarding task, especially given the car's age and historical value. Electrical problems can manifest in various ways, such as non-functioning lights, faulty gauges, or an unresponsive ignition. These problems are often due to corrosion, aging wires, or faulty connections. Here is how to solve this issue.
Step 1: Inspect the Battery and Connections
First, ensure that the battery is in good condition and fully charged. The battery is located in the engine bay, typically to the front passenger side. It's a rectangular unit with two terminal posts. Check for any signs of corrosion on the terminals and clean them if needed. Look for a white or blue-green powdery residue and use a wire brush to scrub it off.
Step 2: Verify Fuses and Fuse Box
Locate the fuse box, which is usually under the dash on the driver’s side. It’s a rectangular enclosure that can be opened to reveal various fuses. Check each fuse to see if it’s blown. A blown fuse will often have a broken metal wire inside or be discolored. Replace any blown fuses with a fuse of the same amperage rating.
Step 3: Examine Grounds and Wiring
Bad ground connections can lead to myriad electrical problems. Look for grounding straps or wires, typically connected to the battery's negative terminal or directly to the chassis. These are usually flat braided metal strips located in the engine bay or near the firewall. Ensure they are tightly secured and free of rust or corrosion.
Step 4: Check Light Bulbs and Sockets
Non-functioning lights may be due to burned-out bulbs or corroded sockets. The headlight bulbs can be accessed from the front of the car by removing the retaining screws on the headlamp assemblies. For brake and tail lights, you'll need to access the rear light assemblies from inside the trunk. Look for signs of corrosion or damage to the sockets, and replace bulbs as necessary.
Step 5: Test the Ignition System
For ignition issues, inspect the ignition coil and distributor. The coil is a cylindrical component typically mounted on the engine near the distributor, which can be identified as a round object with several wires leading to it (the spark plug wires). Ensure the coil connections are secure and test the coil with a multimeter to check for proper resistance.
Step 6: Inspect Switches and Relays
Switches and relays control various electrical systems in the car. The headlight switch, for example, is found on the dashboard and can be removed for testing. Use a multimeter to check for continuity. Relays are usually found near the fuse box or under the hood in a relay box. They are small, rectangular components that can be pulled out and replaced if defective.
Step 7: Use a Multimeter for Diagnosis
A multimeter is an essential tool for troubleshooting electrical issues. Set it to measure voltage, and use it to follow the current along different wires and components to locate where power might be lost. Start from the battery and move towards the affected components, such as lights or the ignition system.
By following these detailed steps and paying close attention to connections, grounds, and components, you can systematically identify and resolve electrical issues on your 1969 Pontiac GTO Judge, helping to restore its reliable performance.