How to troubleshoot electrical issues on a 1969 Chevrolet Camaro ZL1?
Troubleshooting electrical issues on a 1969 Chevrolet Camaro ZL1 can seem daunting, especially given the age of the vehicle and its classic design. Electrical issues may manifest in various forms, su…
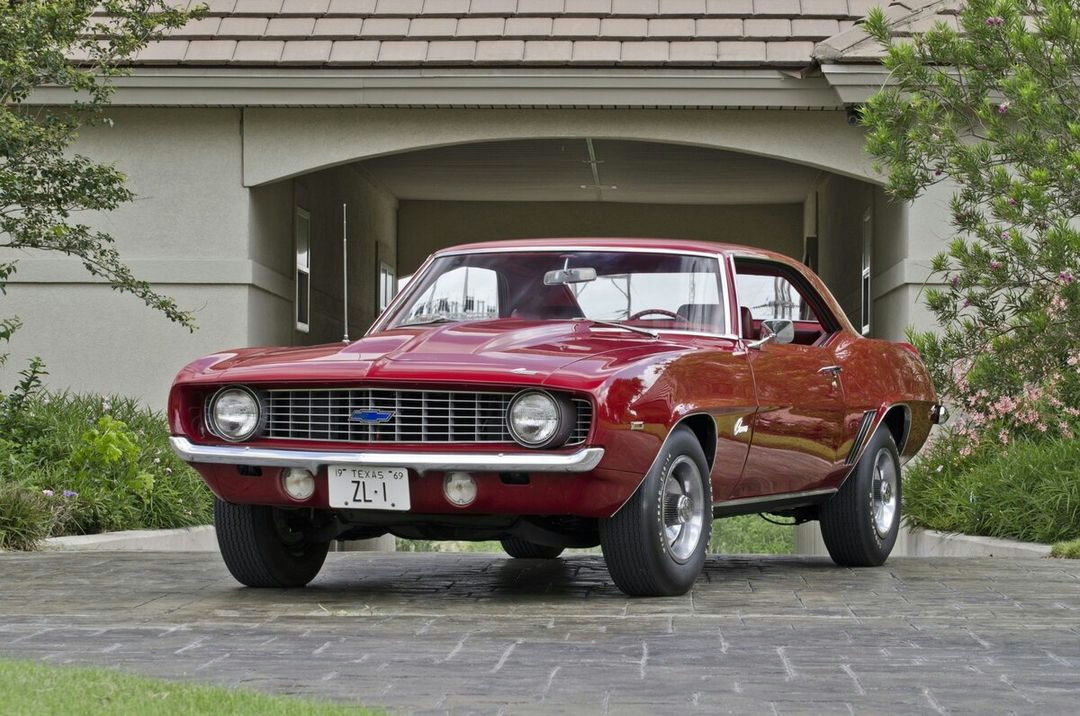
- Model
- 1969 Chevrolet Camaro ZL1
Troubleshooting electrical issues on a 1969 Chevrolet Camaro ZL1 can seem daunting, especially given the age of the vehicle and its classic design. Electrical issues may manifest in various forms, such as the car refusing to start, flickering or non-functional lights, malfunctioning gauges, or even erratic behavior of the radio or other electrical accessories. Such symptoms hint at underlying problems in the electrical wiring, battery, fuses, or other components. Here is how to solve this issue:
Step 1: Verify the Battery Condition
Start by checking the battery, as it is the heart of the car's electrical system.
- Location: Open the hood of the Camaro. The battery is located on the front passenger side and is rectangular with two large terminals (positive and negative).
- Inspection: Look for any signs of corrosion on the terminals. Corrosion appears as a white, crusty substance. Clean it using a mixture of baking soda and water, and a wire brush.
- Voltage Check: Use a multimeter to measure the battery voltage. A healthy battery should read around 12.6 volts when the car is off. If it reads below 12 volts, you may need to recharge or replace the battery.
Step 2: Inspect the Fuses
A blown fuse is often a common cause of electrical issues.
- Location: The fuse box in a 1969 Camaro ZL1 is located inside the car, under the dash on the driver’s side.
- Inspection: Open the fuse box to reveal several fuses. Each fuse is usually labeled with its function (e.g., Lights, Horn, Radio).
- Checking Fuses: Look for any fuses that appear burned or broken. Use a fuse tester or simply replace any questionable fuses with new ones of the same amperage rating.
Step 3: Check the Wiring Harness
Damaged or loose wiring can cause intermittent or complete loss of electrical function.
- Under the Hood: Inspect the wiring harness that runs through the engine bay. Look for frayed wires, loose connections, or exposed copper. Pay particular attention to wires that are near high-heat areas like the engine or exhaust system.
- Under the Dash: Check the wiring under the dashboard for similar signs of wear or damage.
- Repairs: For minor fraying, use electrical tape to secure the wires. For more significant damage, consider splice connectors or replace sections of the wiring harness as needed.
Step 4: Assess Ground Connections
Poor grounding can also cause erratic electrical issues.
- Location: The main ground connections in the Camaro ZL1 are typically found where the negative battery cable connects to the chassis and engine block.
- Inspection: Check these connections for tightness and cleanliness. A dirty or loose ground can cause several electrical problems.
- Cleaning: If necessary, disconnect the ground, clean the contact points with a wire brush, and then reattach securely.
Step 5: Test the Ignition Switch
A faulty ignition switch can disrupt power distribution to essential systems.
- Location: The ignition switch is located on the steering column.
- Testing: Turn the key to different positions (off, on, start) and observe if power is being consistently delivered. Erratic behavior suggests a worn-out switch.
- Replacement: If the switch seems faulty, consult a service manual for instructions on how to replace it properly.
Step 6: Examine the Alternator
The alternator recharges the battery while the engine runs. A failing alternator can cause battery drain.
- Location: The alternator is mounted on the front of the engine and is belt-driven.
- Inspection: Look for obvious signs of wear, like a loose belt or strange noises.
- Testing: With the engine running, use a multimeter to check the voltage output at the battery terminals. It should read between 13.8 and 14.7 volts. If not, the alternator may need to be professionally tested and possibly replaced.
By following these steps meticulously, you can pinpoint and remedy most electrical issues on a 1969 Chevrolet Camaro ZL1, ensuring your classic car runs smoothly and reliably.