How to troubleshoot electrical issues on a 1969 AMC AMX?
Electrical issues on a classic 1969 AMC AMX can be a frustrating experience, especially considering the car's age and the potential for worn-out wiring and components. Symptoms of electrical problems…
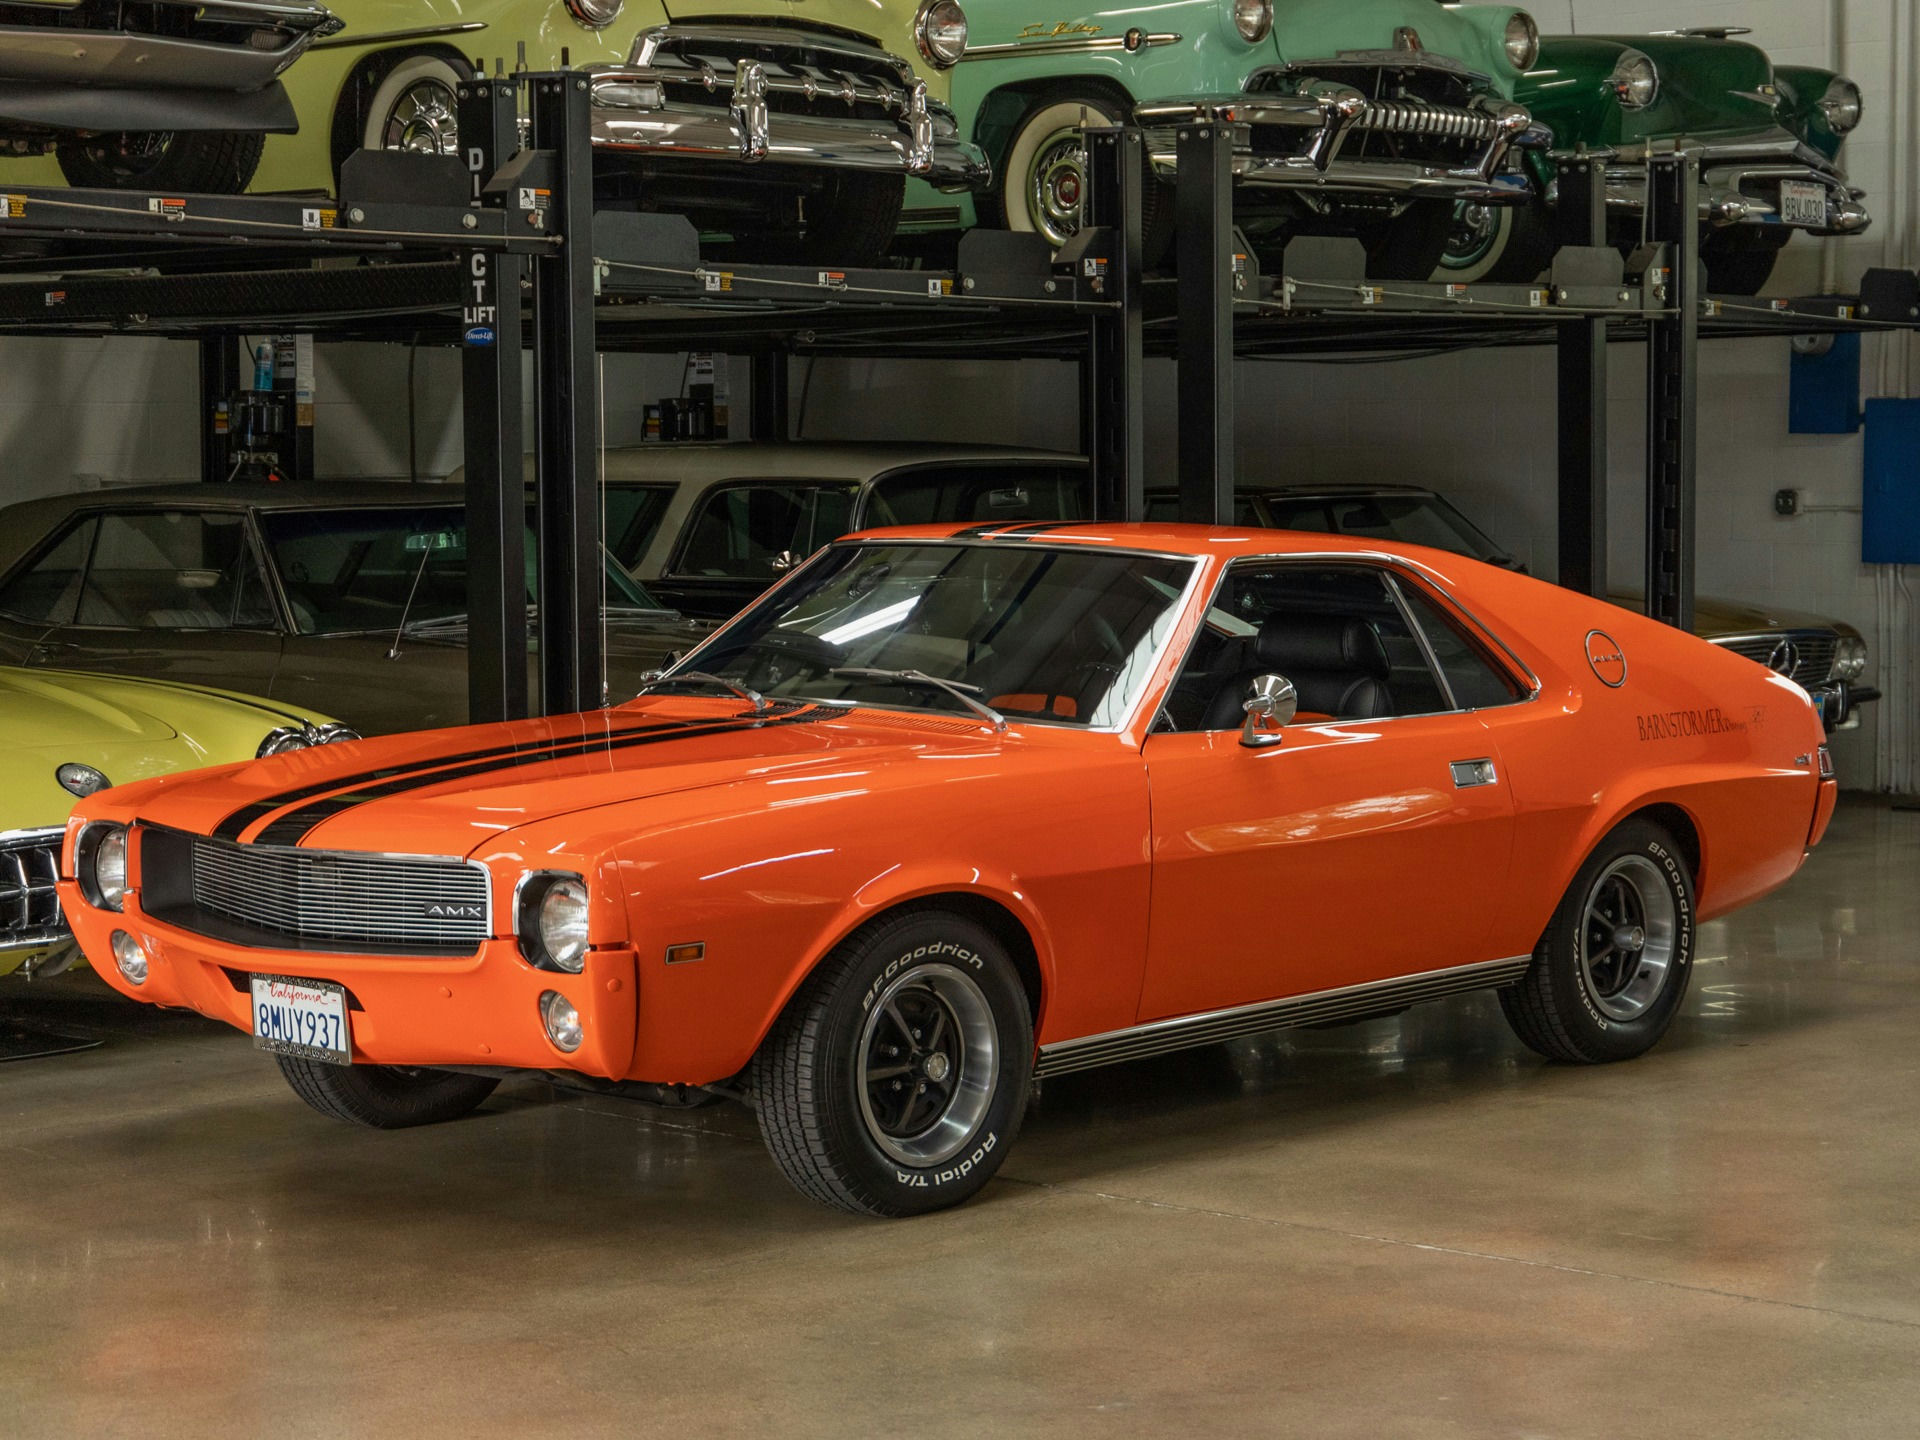
- Model
- 1969 AMC AMX
Electrical issues on a classic 1969 AMC AMX can be a frustrating experience, especially considering the car's age and the potential for worn-out wiring and components. Symptoms of electrical problems may include flickering lights, dead battery, malfunctioning gauges, or unresponsive components. These issues can arise from a variety of sources, such as faulty connections, corroded terminals, or damaged wiring. Here is how to solve this issue:
Step 1: Inspect the Battery and Connections
Begin by checking the battery, which is usually located in the engine bay on the front passenger side. It has two terminals connected by metal clamps. Look for any corrosion on the terminals – a white, powdery substance – and clean it off using a terminal cleaner brush or a mixture of baking soda and water. Ensure the clamps are tightly secured and there are no frayed wires.
Step 2: Check Fuses and Relays
Locate the fuse box, typically found under the dashboard on the driver’s side or inside the glove compartment. Refer to the fuse box diagram to identify the specific fuses for the malfunctioning components. Pull out each fuse using a fuse puller and inspect if the metal wire inside is broken. Replace any blown fuses with the same amperage rating.
Step 3: Test the Alternator
The alternator is usually mounted on the engine, front and center, driven by the serpentine belt. To test, you’ll need a multimeter set to DC voltage. With the engine running, place the multimeter probes on the battery terminals. A healthy alternator should read between 13.8 to 14.5 volts. If the readings are below this range, the alternator might be failing and needs replacement.
Step 4: Inspect Ground Connections
Ground connections are critical for the electrical systems, and poor grounding can cause numerous issues. Trace the negative battery cable to where it connects to the car’s chassis – typically a large bolt or screw – and ensure the connection is clean and tight. Check other ground points in the engine bay and near the electrical components of concern.
Step 5: Examine the Wiring Harness
Over time, wiring harnesses can deteriorate. Look for the main harness which is usually a bundle of wires running along the firewall and connected to various components. Check for any frayed, cracked, or melted wires. If you find any, these sections need repair or replacement. Insulating tape or heat shrink tubing are handy for minor fixes.
Step 6: Test Individual Components
If a specific component is malfunctioning, it can be useful to test it individually. For instance, for a non-functioning headlight, disconnect the headlight wires located behind the headlamp assembly. Use a test light to check if power is reaching the connectors. A positive test light indicates the bulb might be the issue, whereas no power could point towards a switch or wiring problem.
Step 7: Seek Professional Help
If steps above don’t solve the problem, or if you’re not comfortable performing the checks, it’s best to seek assistance from a professional with experience in classic cars. They’ll have the tools and knowledge to diagnose and fix more obscure electrical issues.
By following these steps, you can systematically troubleshoot and resolve electrical issues on your 1969 AMC AMX, ensuring reliable performance from your classic car.