How to troubleshoot cooling system issues on a 1971 Dodge Charger R/T?
If you are experiencing overheating or other cooling system issues with your 1971 Dodge Charger R/T, it could mean a malfunction somewhere within the cooling system. Symptoms often include the engine…
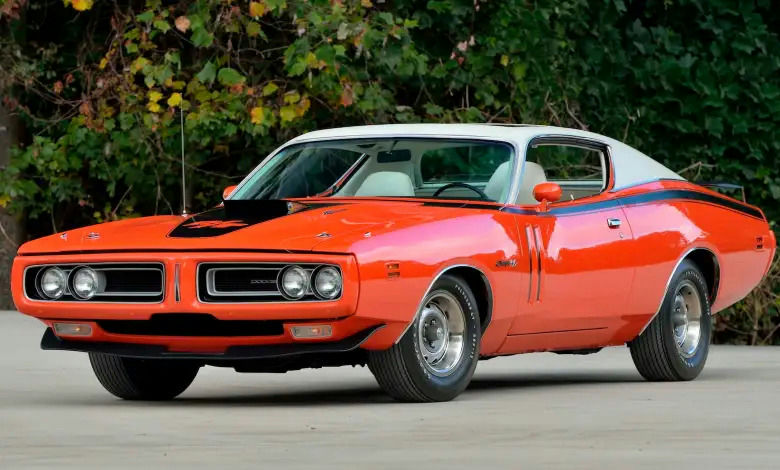
- Model
- 1971 Dodge Charger R/T
If you are experiencing overheating or other cooling system issues with your 1971 Dodge Charger R/T, it could mean a malfunction somewhere within the cooling system. Symptoms often include the engine running hotter than usual, coolant leaks, or even steam coming from under the hood. Here is how to solve this issue:
Step 1: Check the Coolant Levels
First, ensure that the engine is completely cool to avoid burns. Locate the coolant reservoir, which is a translucent plastic container usually situated near the radiator at the front of the engine bay. It should have marks indicating the minimum and maximum coolant levels. If the coolant is below the minimum, it needs to be topped up. Remember to use the correct type of coolant for vintage cars.
Step 2: Inspect the Radiator Cap
The radiator cap is essential for maintaining pressure. It's typically located at the top center of the radiator, which sits at the front of the engine compartment. It is a metal cap, often with a warning label. Inspect the cap for signs of wear, rust, or damage, and replace it if needed.
Step 3: Examine the Radiator and Hoses
Look for obvious signs of leaks in the radiator and the hoses connected to it. The hoses are usually thick, rubber tubes that connect from the radiator to the engine. Feel them for soft spots, cracks, or leaks. If any part feels suspicious, replace it.
Step 4: Check the Water Pump
The water pump circulates coolant through the engine. It is typically located on the front of the engine block, driven by a belt (often the fan belt). Look for leaks around the pump and listen for a whining noise, which could indicate a failing pump. The water pump may have a pulley in front of it, making it easier to identify.
Step 5: Inspect the Thermostat
The thermostat regulates the engine's temperature by controlling the flow of coolant. It is usually housed in a metal casing where the upper radiator hose meets the engine. Remove the thermostat housing to inspect the thermostat. If it is stuck closed, it will need to be replaced.
Step 6: Look at the Fan Clutch and Blades
The fan, located right behind the radiator, helps to cool the system. Check the fan blades for any cracks or chips and make sure they spin freely but not too loosely. If you have a clutch fan (common on these cars), check the fan clutch—an overheating engine could mean the clutch has failed.
Step 7: Flush the Radiator
A clogged radiator can impede coolant flow. Drain the old coolant by loosening the drain valve at the bottom of the radiator (usually a small, round knob). Following a proper procedure, flush the system with a radiator flush solution and then refill with a 50/50 mix of coolant and distilled water.
Step 8: Pressure Test the System
If all else looks fine but you’re still experiencing issues, a pressure test can help. Use a cooling system pressure tester, which can be rented from many auto parts stores. Connect the tester to the radiator filler neck and pump it up to the recommended pressure to see if it holds. If it doesn’t, look closely for where the coolant might be escaping.
Following these steps should help you diagnose and solve most common cooling system issues in your 1971 Dodge Charger R/T, ensuring the engine stays cool and performs reliably.