How to troubleshoot cooling system issues on a 1969 Chevrolet Camaro ZL1?
To troubleshoot cooling system issues on a 1969 Chevrolet Camaro ZL1, first, it is essential to understand the symptoms and potential causes. A failing cooling system may lead to overheating, which c…
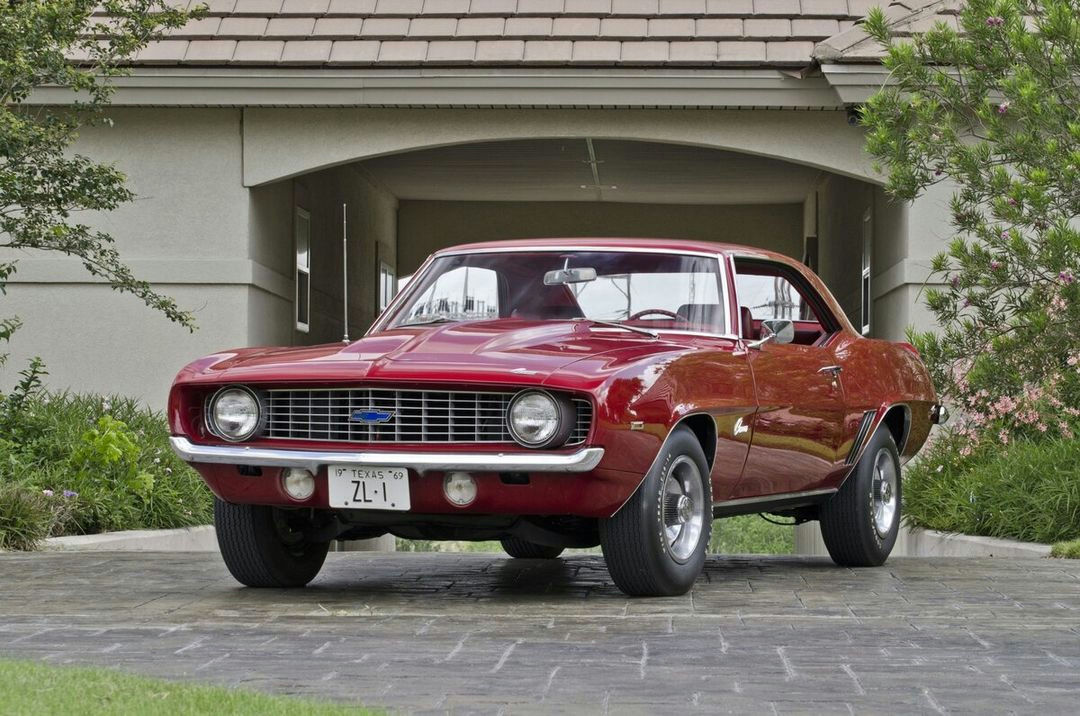
Model: 1969 Chevrolet Camaro ZL1
To troubleshoot cooling system issues on a 1969 Chevrolet Camaro ZL1, first, it is essential to understand the symptoms and potential causes. A failing cooling system may lead to overheating, which can manifest as steam from the engine, an unusually high temperature gauge reading, or even a noticeable loss of coolant. If these signs are detected, addressing the cooling system is crucial to prevent engine damage. Here is how to solve this issue:
Join the AutoFame community. Become a member for free, add your car to the garage and tell its story. Join AutoFame.
Step 1: Check Coolant Levels
Locate the radiator cap at the front of the engine bay. It is usually a round, metal cap with a warning label indicating pressure. Ensure the engine is cool before removing the cap to avoid injury. Check the coolant level in the radiator and the overflow tank. If low, add a 50/50 mix of distilled water and antifreeze until full.
Step 2: Inspect Radiator Hoses
Visually inspect the upper and lower radiator hoses for signs of wear, cracks, or leaks. These hoses transport coolant to and from the radiator. The upper hose usually connects from the top of the radiator to the engine's thermostat housing, while the lower hose connects from the bottom of the radiator to the water pump. Replace any damaged hoses.
Step 3: Check for Leaks
Examine the engine bay, particularly around the radiator, water pump, and hose connections, for any coolant leaks. Coolant leaks often leave a greenish or orange residue and a sweet smell. Tighten any loose clamps and replace any leaking components.
Step 4: Test the Radiator Cap
A faulty radiator cap can cause pressure issues leading to overheating. The cap is located on the top of the radiator and can be tested using a radiator cap tester available at most auto parts stores. Ensure the cap holds the specified pressure, usually indicated on the cap itself.
Step 5: Inspect the Thermostat
The thermostat regulates coolant flow and is housed within the thermostat housing, usually located where the upper radiator hose meets the engine. If the engine overheats quickly, the thermostat might be stuck closed. Remove the housing (after ensuring the engine is cool) and check/replace the thermostat if faulty.
Step 6: Check the Water Pump
The water pump circulates coolant through the engine and is typically located at the front of the engine, driven by the serpentine belt. Look for leaks or a wobbly pulley, both signs of a failing water pump. Listen for squealing noises, which may indicate a bearing failure. Replace the water pump if necessary.
Step 7: Ensure the Radiator is Clean
A blocked or dirty radiator can hinder cooling. Inspect the radiator fins for debris and ensure air can pass through. Use a soft brush or compressed air to clean any obstructions. For internal cleanliness, consider a professional radiator flush.
Step 8: Verify Fan Operation
The cooling fan, which can be mechanical or electric, helps dissipate heat from the radiator. Check that the fan operates correctly; mechanical fans should spin freely when the engine is cold and engage more firmly when hot. Electric fans should turn on when the engine reaches a certain temperature or the A/C is on. Repair or replace as needed.
Have a car with a story like this? Become an AutoFame member and share it with people who love cars as much as you do.
By following these steps, you can diagnose and resolve cooling system issues on your 1969 Chevrolet Camaro ZL1, ensuring optimal engine performance and longevity.
About AutoFame
AutoFame is a home for people who love cars and the stories behind them. Every car on a show field or in a garage has a history: who built it, who saved it, the road trips, the late nights in the shop and the people who helped along the way. AutoFame gives those stories a place to live, so they are not lost when the hood closes or the car changes hands.
Membership is free. Once you join, you can add your car to your own AutoFame garage with photos, specs and the story only you can tell. Restorations, survivors, daily drivers, race cars and family heirlooms all belong here. Other members can find your car, follow its progress and connect with you over the details that matter to car people.
Beyond member garages, AutoFame publishes stories, guides and features on the cars, builders and history that shape car culture. You will find buying and restoration guides, car parts explainers, special editions, the newest models and the classics that started it all. The AutoFame Gallery puts member cars on display for anyone to browse, and the AutoFame YouTube channel adds owner interviews, show highlights and the conversations that happen around a good car.
AutoFame is also built for the people who run car shows. Organizers use it to manage entries and judging, and judges score each car category by category on their phones, with a written guide for every category so nothing gets skipped. After a judged show, owners can see what their car was scored on and how it compared. Shows across the Texas Gulf Coast have run on AutoFame, including the Moody Gardens Car Show in Galveston, Good Grub and Gears, and Keels and Wheels at Lakewood Yacht Club.
AutoFame was founded by Kevin Brady, whose own life in cars began long before he started building tools for the hobby. The idea is simple: the people who love these cars should have one place to share them, learn from each other and keep the stories going.
Whether you own a show winner, a project that is still in pieces or simply love reading about great cars, there is room for you here.
Be part of the AutoFame community. Join free and become a member today.