How to troubleshoot cooling system issues on a 1969 AMC AMX?
Cooling system issues in a 1969 AMC AMX can manifest as engine overheating, coolant leaks, or inconsistent temperature readings. These problems can impede the performance of your classic muscle car a…
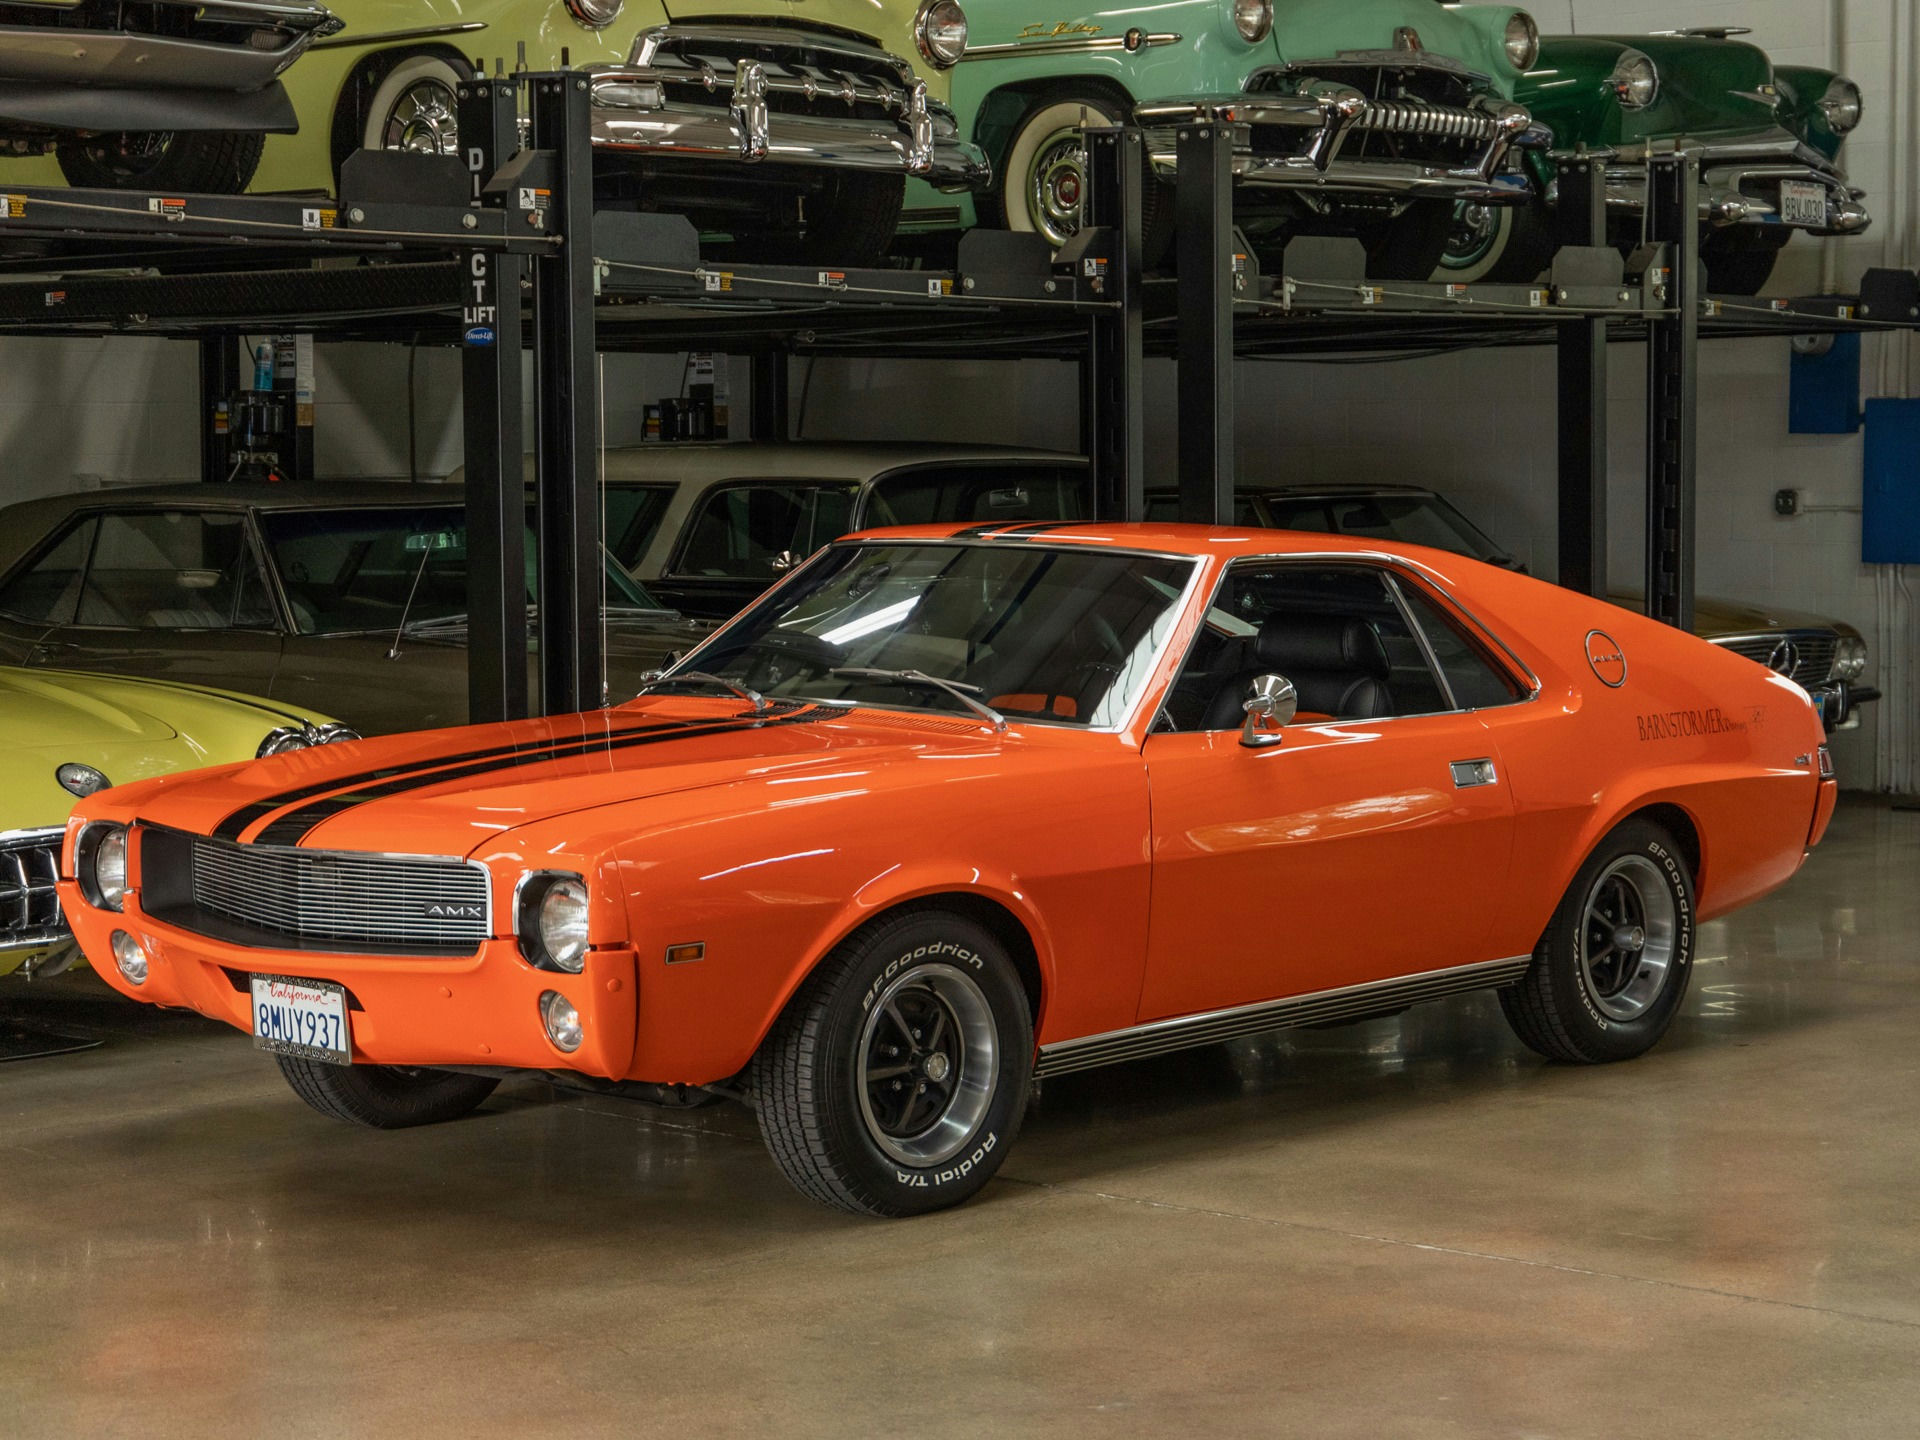
- Model
- 1969 AMC AMX
Cooling system issues in a 1969 AMC AMX can manifest as engine overheating, coolant leaks, or inconsistent temperature readings. These problems can impede the performance of your classic muscle car and potentially cause severe engine damage if not addressed promptly. Identifying and resolving these issues typically involves a range of steps from checking coolant levels to inspecting and replacing various cooling system components. Here's how to solve this issue.
Step 1: Check Coolant Level
Start by ensuring that there is enough coolant in the system. The coolant reservoir is located in the engine bay, usually on the passenger side near the radiator. It is a translucent plastic container with a cap labeled "Coolant" or "Antifreeze." Ensure the coolant level is between the "MIN" and "MAX" marks. If it is low, top it up with a 50/50 mixture of coolant and distilled water.
Step 2: Inspect Radiator and Hoses
Next, visually inspect the radiator, which is positioned at the front of the engine bay, directly behind the grille. Look for any signs of leaks, corrosion, or blockages. Pay particular attention to the radiator fins for any damage or debris. Also, check the condition of the radiator hoses—these are the large, flexible rubber tubes connected to the top and bottom of the radiator. Ensure there are no cracks, bulges, or leaks.
Step 3: Examine the Thermostat
The thermostat regulates the flow of coolant and can be found in a housing where the upper radiator hose connects to the engine. If the engine is overheating, the thermostat might be stuck closed. To check it, you will need to remove the thermostat housing, which is typically held in place by two bolts. Once removed, you can test the thermostat by placing it in boiling water and observing if it opens. If it does not, it needs to be replaced.
Step 4: Check the Water Pump
The water pump is crucial for circulating coolant throughout the engine. It is usually located at the front of the engine and connected to the serpentine belt or fan belt system. Look for any signs of leaks around the pump or noises that might indicate bearing failure. A failing water pump will often result in coolant leaking from a small hole called the weep hole, located on the pump itself. If any of these symptoms are present, the water pump should be replaced.
Step 5: Inspect the Cooling Fan
The cooling fan helps maintain an optimal engine temperature, especially when the vehicle is idling. The fan is located behind the radiator and can be electric or belt-driven. For electric fans, check the fan motor and electrical connections. Turn on the engine and let it idle to see if the fan activates when the engine reaches a higher temperature. For belt-driven fans, ensure the fan clutch is engaging properly.
Step 6: Flush the Radiator
Sometimes, the cooling system can become clogged with sediment and rust, restricting the flow of coolant. Performing a radiator flush can help clear these blockages. To do this, you'll need to locate the radiator drain plug at the bottom of the radiator, place a bucket underneath, and remove the plug to drain the old coolant. After draining, replace the plug and fill the radiator with a radiator flush solution, then run the engine per the product instructions. Drain the system again, replace the plug, and refill with fresh coolant.
Step 7: Pressure Test the Cooling System
A pressure test can help identify any hidden leaks in the cooling system. A pressure testing kit can be rented from an automotive supply store. Attach the testing cap to the radiator in place of the standard cap and use the pump to increase the pressure within the system. Observe the pressure gauge; if it drops, there's likely a leak that needs to be identified and repaired.
By following these steps, you should be able to diagnose and resolve most cooling system issues on your 1969 AMC AMX, ensuring your classic car runs cool and efficiently.