How to top up coolant in 1970 Dodge Challenger R/T?
When driving a classic car like the 1970 Dodge Challenger R/T, it's crucial to ensure that all fluids are at the proper levels, especially the coolant. Over time, the coolant level can decrease due t…
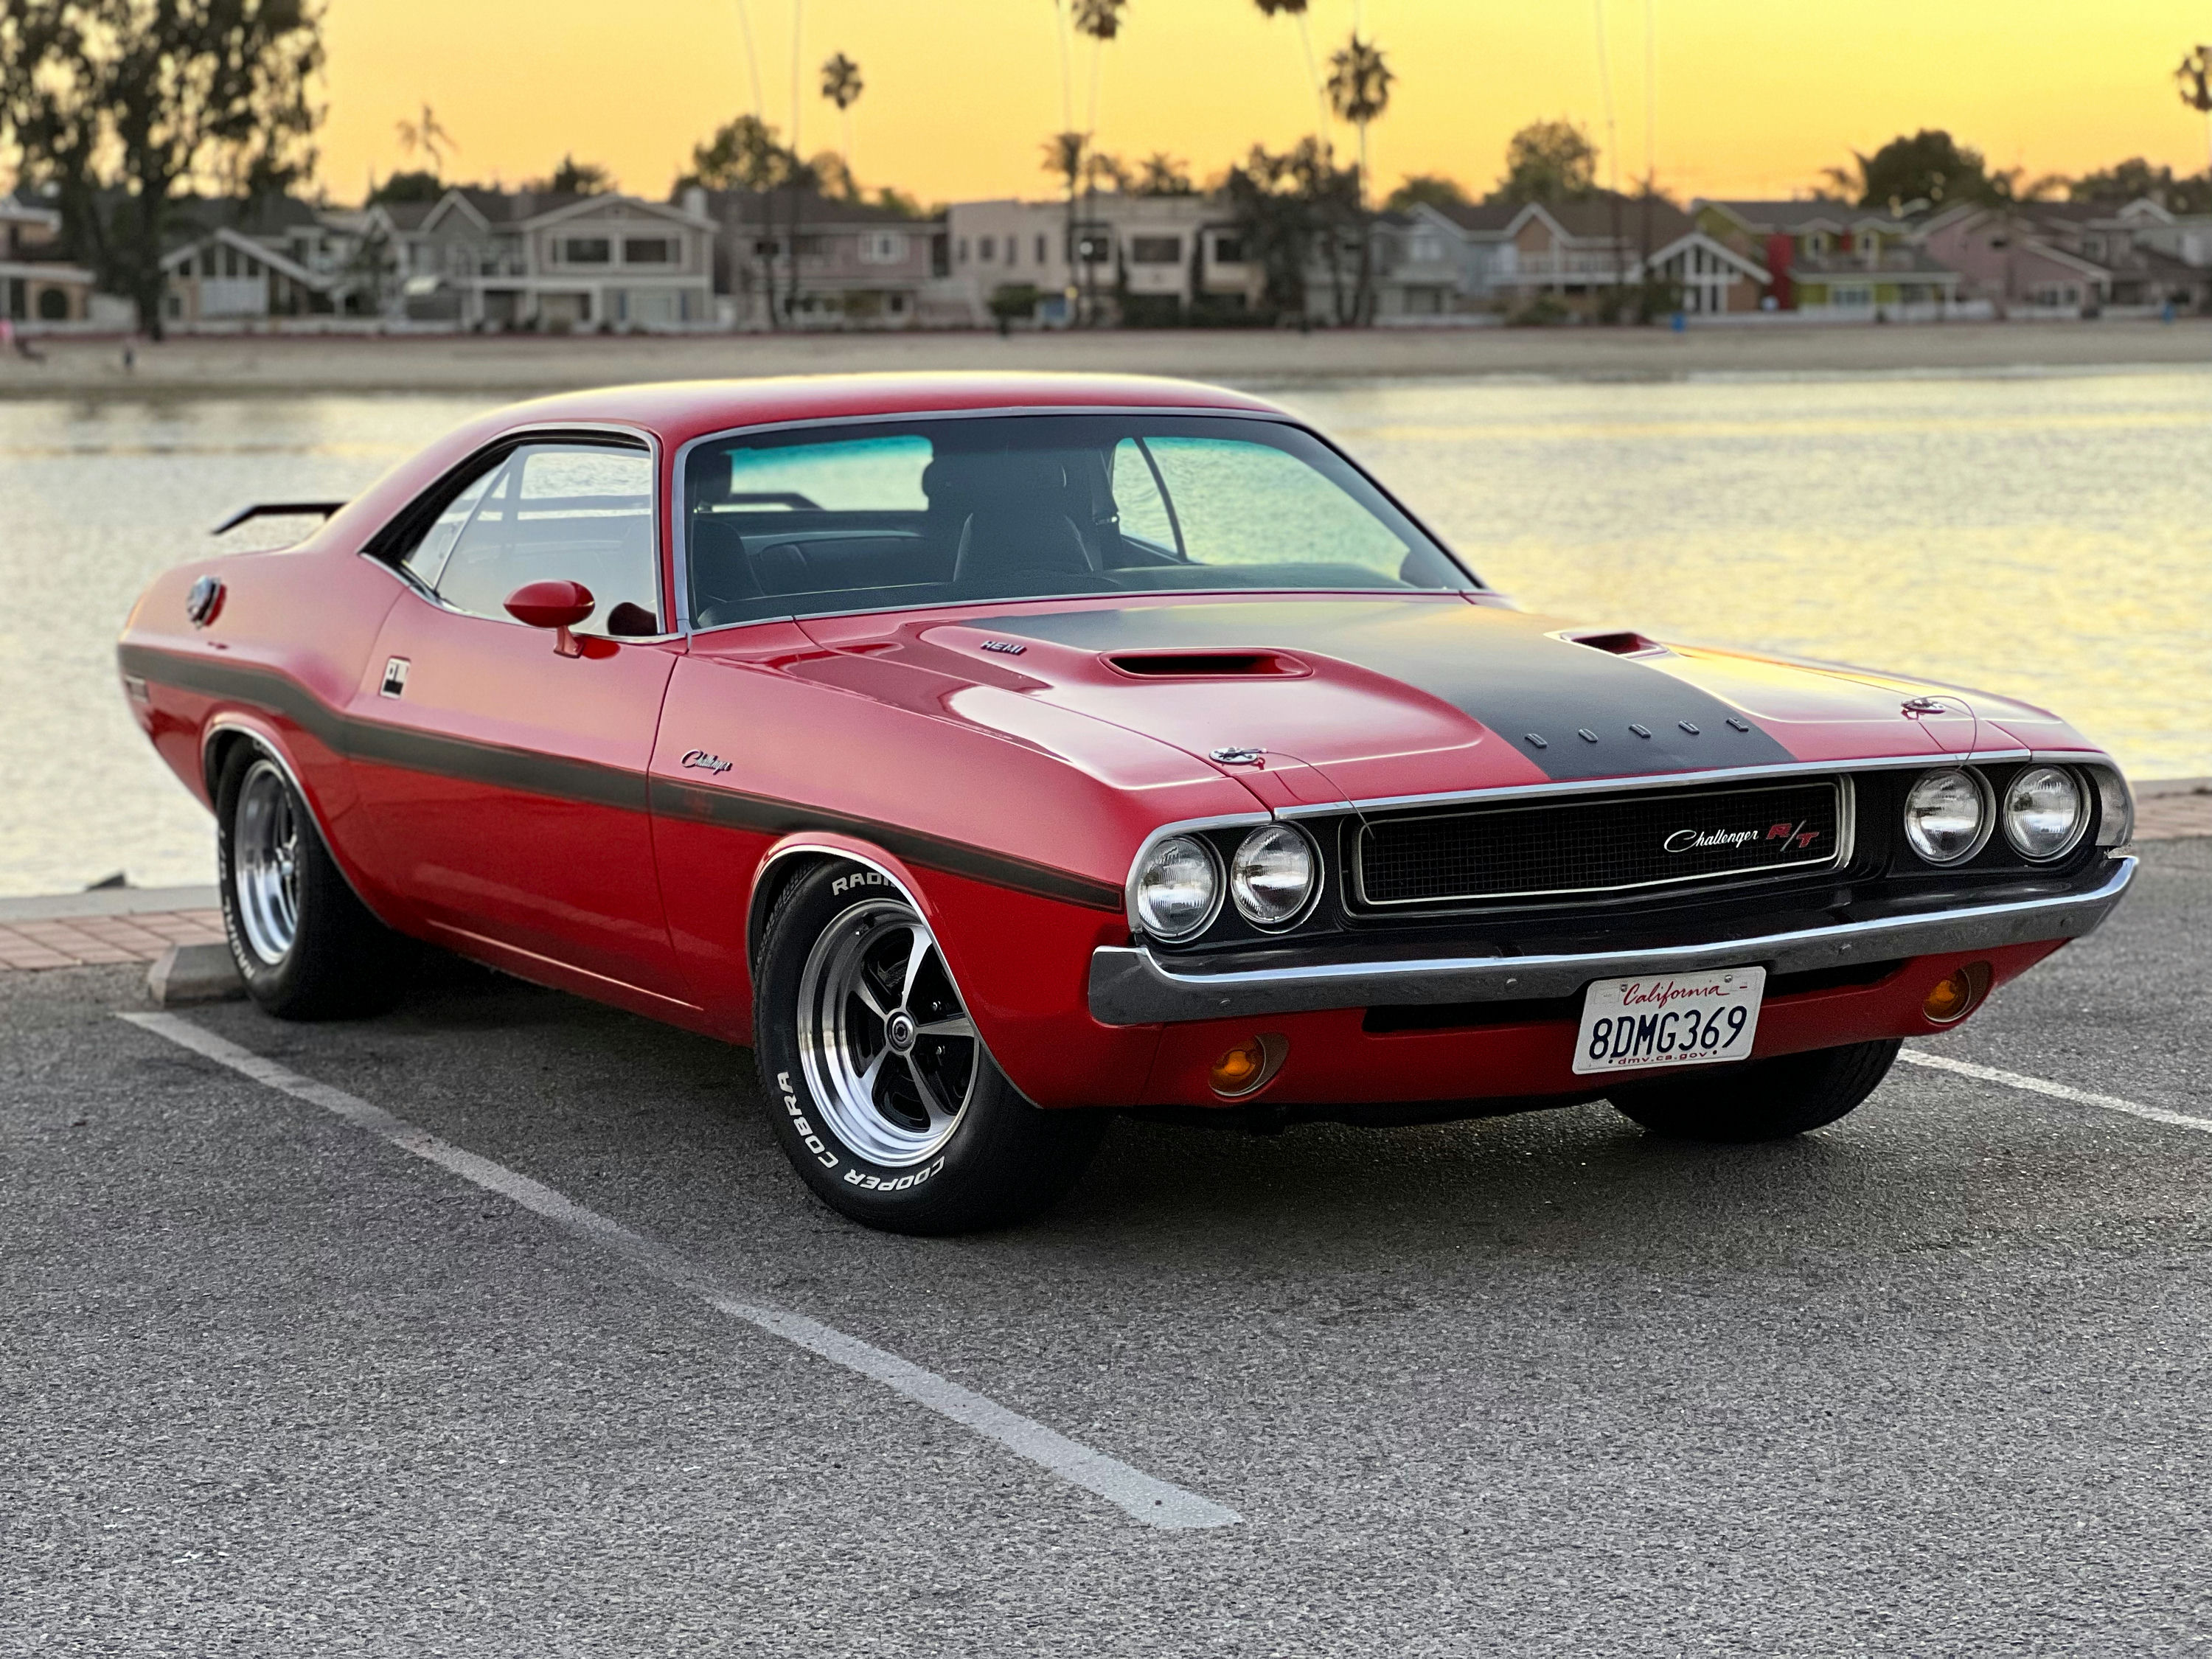
When driving a classic car like the 1970 Dodge Challenger R/T, it's crucial to ensure that all fluids are at the proper levels, especially the coolant. Over time, the coolant level can decrease due to evaporation, leaks, or other issues. If the coolant level drops too low, the engine can overheat, which may lead to significant damage. Here is how to solve this issue.
Step 1: Park the Vehicle on a Level Surface
Before you begin, make sure your Dodge Challenger R/T is parked on a flat, level surface. This ensures that the coolant level reading will be accurate.
Step 2: Allow the Engine to Cool
It's critical to let the engine cool down completely before attempting to top up the coolant. Opening the radiator cap while the engine is hot can result in severe burns from escaping steam and hot coolant.
Step 3: Locate the Radiator Cap
Open the hood of your Dodge Challenger R/T by pulling the hood release lever located inside the vehicle, usually on the driver's side under the dashboard. The radiator cap is situated at the front of the engine bay, typically near the center, on top of the radiator. It’s a metal cap that often has a warning label indicating hot coolant.
Step 4: Remove the Radiator Cap
Once the engine has cooled down, carefully remove the radiator cap. To do this, press down and turn it counterclockwise until it comes off. If there is still pressure in the system, you may hear a slight hiss as you begin to turn the cap. Proceed with caution.
Step 5: Check Coolant Level
Look into the radiator to check the current coolant level. If the coolant doesn’t reach the top of the radiator neck, it needs to be topped up.
Step 6: Prepare the Coolant Mixture
Use a 50/50 mixture of antifreeze and distilled water, unless otherwise specified for your vehicle. This mixture provides optimal cooling and prevents the coolant from freezing in cold temperatures.
Step 7: Top Up the Coolant
Slowly pour the coolant mixture into the radiator opening until the liquid reaches the top of the radiator neck. Be careful not to overfill.
Step 8: Replace the Radiator Cap
After topping up the coolant, securely replace the radiator cap by pressing down and turning it clockwise until it is firmly in place.
Step 9: Check Reservoir Level
Locate the coolant reservoir, which is typically a translucent plastic container near the radiator. It has markings for 'Min' and 'Max' levels. If the coolant level is below the 'Min' mark, add coolant up to the 'Max' mark.
Step 10: Start the Engine
Start your vehicle and let it run for a few minutes. Keep an eye on the temperature gauge to ensure the engine does not overheat and watch for any leaks that might indicate other issues.
Following these steps will help maintain your 1970 Dodge Challenger R/T's cooling system in good working order, preventing potential overheating and engine damage.