How to replace the ignition coil on a 1971 Dodge Charger R/T?
Replacing the ignition coil on a 1971 Dodge Charger R/T is a necessary task when the coil becomes faulty. Symptoms of a failing ignition coil can include engine misfires, rough idling, difficulty sta…
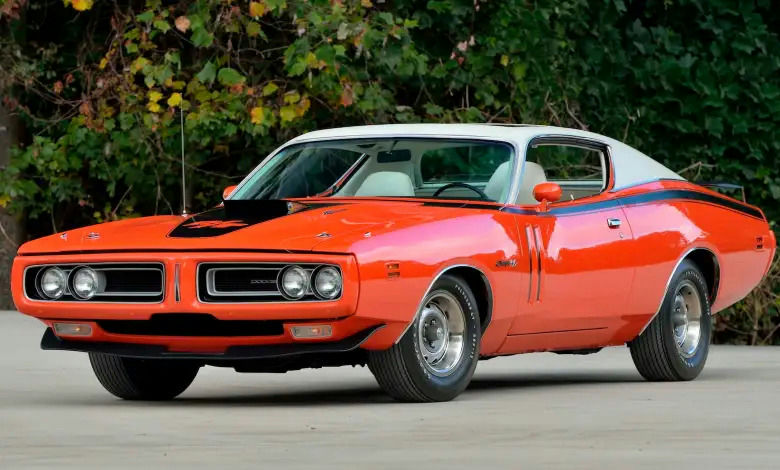
- Model
- 1971 Dodge Charger R/T
Replacing the ignition coil on a 1971 Dodge Charger R/T is a necessary task when the coil becomes faulty. Symptoms of a failing ignition coil can include engine misfires, rough idling, difficulty starting the engine, or a noticeable decrease in fuel efficiency. If you experience any of these issues, it might be time to replace the ignition coil. Here is how to solve this issue:
Step 1: Gather Necessary Tools and Materials
Before starting, make sure you have:
- A replacement ignition coil
- A set of wrenches or a socket set
- Screwdrivers
- A multimeter (optional for testing)
- Safety gloves and goggles
Step 2: Locate the Ignition Coil
The ignition coil on the 1971 Dodge Charger R/T is typically found in the engine bay, mounted near the distributor. It is a cylindrical component with wires attached to it. Open the hood and look towards the rear side of the engine. The coil will be a small cylinder with two primary wires (positive and negative) coming out of the top and a high-tension lead attached to the distributor.
Step 3: Disconnect the Battery
Safety first. Locate the battery, which is usually on the front left side of the engine bay. Use a wrench to disconnect the negative terminal cable and ensure it is secured away from the battery terminal to prevent any accidental contact.
Step 4: Remove the High-Tension Lead and Wires
Carefully pull off the high-tension lead that connects the ignition coil to the distributor. Additionally, disconnect the two primary wires (positive and negative) connected to the top of the ignition coil. Remember, or better yet, label these wires to ensure correct reinstallation.
Step 5: Unmount the Ignition Coil
The ignition coil is typically held in place by a bracket. Use the appropriate wrench or socket to remove the bolts securing the bracket. Once the bolts are removed, carefully lift the ignition coil out of the engine bay.
Step 6: Install the New Ignition Coil
Position the new ignition coil in the same spot where the old one was removed. Secure it in place using the bracket and bolts. Ensure that the coil is firmly and securely mounted.
Step 7: Reconnect the Wires
Reattach the two primary wires (positive and negative) to the new ignition coil. Make sure to connect them correctly based on your labeling. Then, connect the high-tension lead from the new ignition coil back to the distributor.
Step 8: Reconnect the Battery
Reconnect the negative terminal cable to the battery. Ensure it is tightly secured.
Step 9: Test the New Ignition Coil
Start the engine to ensure everything is working correctly. The engine should start smoothly, and any previous symptoms of coil failure should be resolved. If you have a multimeter, you can test the new coil for the correct voltage readings to confirm it is functioning properly.
By following these steps, you should be able to replace the ignition coil on your 1971 Dodge Charger R/T successfully and restore its optimal performance.