How to replace the ignition coil on a 1970 Plymouth Hemi 'Cuda?
Replacing the ignition coil on a 1970 Plymouth Hemi 'Cuda is essential when the vehicle shows signs of misfiring, difficulty starting, or a noticeable drop in performance. The ignition coil is a crit…
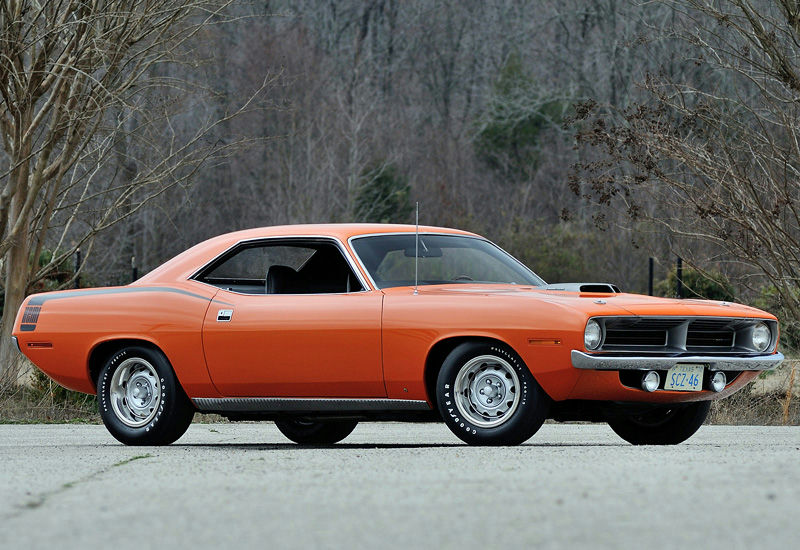
- Model
- 1970 Plymouth Hemi 'Cuda
Replacing the ignition coil on a 1970 Plymouth Hemi 'Cuda is essential when the vehicle shows signs of misfiring, difficulty starting, or a noticeable drop in performance. The ignition coil is a critical component that converts the battery's low voltage to the high voltage needed to spark the spark plugs. If your Hemi 'Cuda is experiencing these issues, it may be time to replace the ignition coil. Here is how to solve this issue:
Step 1: Prepare Your Workspace
Before you start, ensure you have all necessary tools at hand:
- A new ignition coil
- Socket wrench set
- Screwdriver
- Work gloves
- Safety glasses
Locate the vehicle on a flat, stable surface and ensure the engine is cool. Open the hood to access the engine bay. The ignition coil is typically mounted on the firewall or engine block. In a 1970 Plymouth Hemi 'Cuda, you may find it near the center of the engine bay, close to the distributor.
Step 2: Disconnect the Battery
Safety first. Disconnect the negative terminal of the battery to prevent any electrical shocks or accidental sparks. The battery is usually located on the front left side of the engine bay. Use a wrench to loosen the nut on the negative terminal, then slide the cable off the terminal.
Step 3: Locate the Ignition Coil
The ignition coil looks like a cylindrical object with electrical connectors on both ends. In your Hemi 'Cuda, it should be mounted on or near the engine block. Trace the high-tension lead, which typically runs from the center of the distributor cap to the coil, to locate it.
Step 4: Disconnect the Old Ignition Coil
Once you have found the ignition coil, start by disconnecting the high-tension lead. Simply pull it gently away from the coil. Then, identify the low-tension wires, which are usually connected via small nuts or clips. Use a screwdriver or an appropriate socket to loosen and remove these connectors. Make sure to remember where each wire was connected.
Step 5: Remove the Old Ignition Coil
With all wires disconnected, use a socket wrench to remove the bolts or fasteners securing the ignition coil to its mount. Carefully lift the old coil out of the engine bay once it has been freed.
Step 6: Install the New Ignition Coil
Position the new ignition coil where the old one was mounted. Secure it using the bolts or fasteners you removed earlier. Start reconnecting the low-tension wires to their respective terminals on the new coil. Ensuring all connections are tight, finally attach the high-tension lead to the new coil.
Step 7: Reconnect the Battery
Once the new coil is securely installed and all wires are properly connected, reposition the battery's negative terminal. Use a wrench to tighten the nut on the terminal to ensure a solid connection.
Step 8: Test the Installation
Start the engine to ensure it runs smoothly. A properly installed ignition coil should immediately improve the engine's performance. If the problem persists, recheck your connections or consult with a professional mechanic.
By following these steps, you've effectively replaced the ignition coil in your 1970 Plymouth Hemi 'Cuda, giving it the reliable spark it needs to perform optimally.