How to replace the ignition coil on a 1969 Oldsmobile 442?
Replacing the ignition coil on a 1969 Oldsmobile 442 can resolve several engine performance issues such as misfiring, poor fuel economy, and difficulty starting. The ignition coil is responsible for …
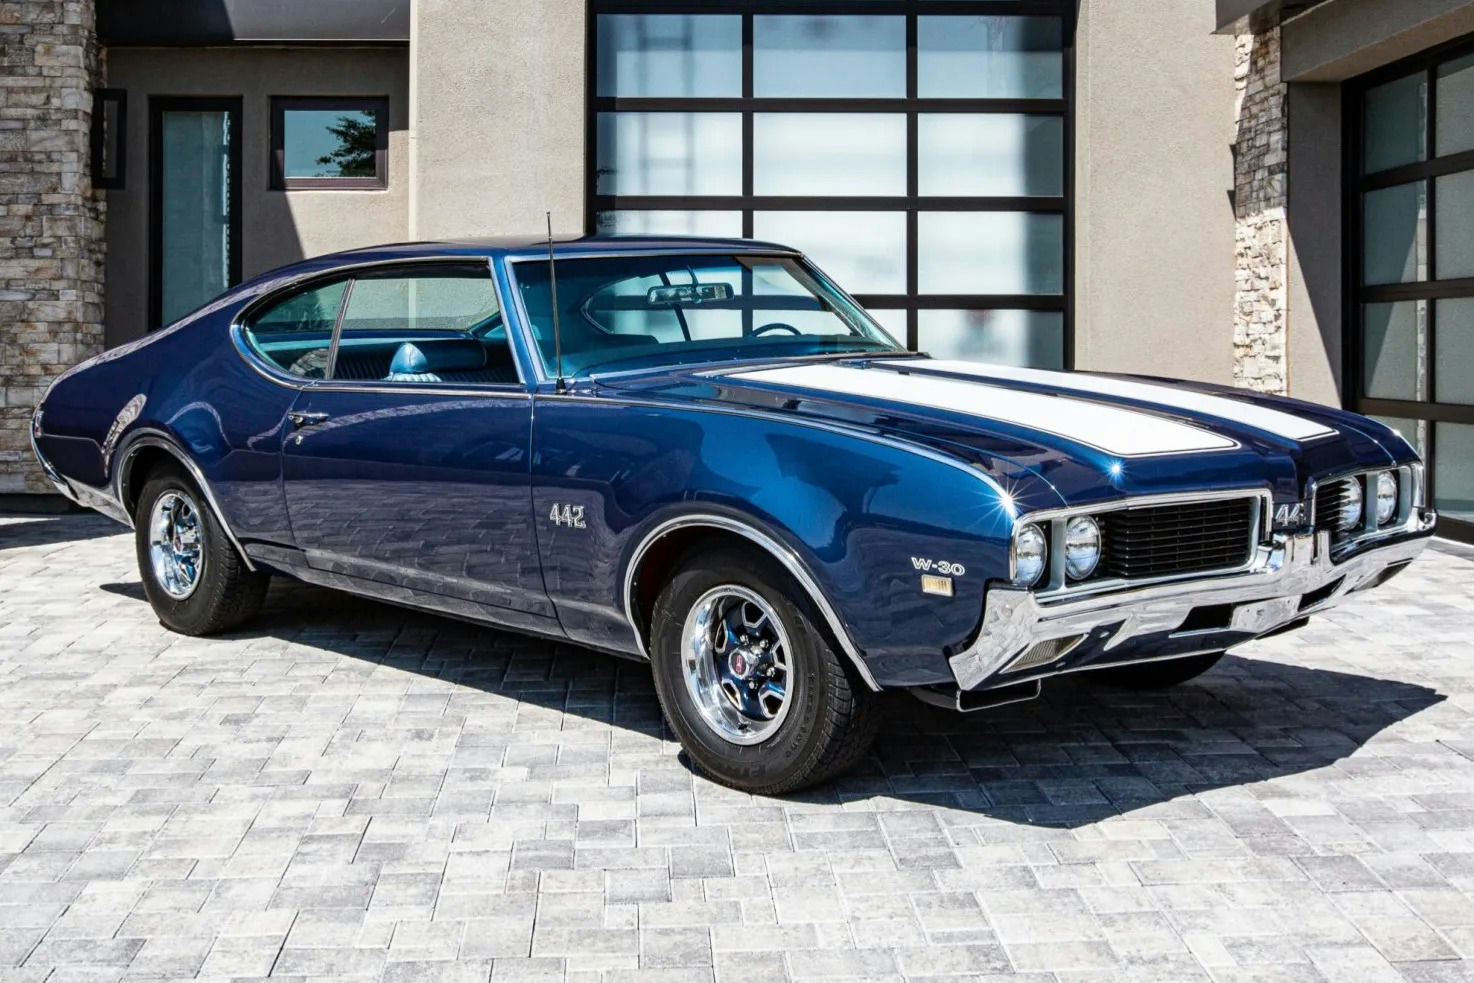
- Model
- 1969 Oldsmobile 442
Replacing the ignition coil on a 1969 Oldsmobile 442 can resolve several engine performance issues such as misfiring, poor fuel economy, and difficulty starting. The ignition coil is responsible for converting low voltage from the battery to high voltage needed by the spark plugs to ignite the air-fuel mixture in the engine. If you're experiencing any of these symptoms, it's likely time to replace the ignition coil. Here is a step-by-step guide on how to solve this issue.
Tools and Materials Needed
- New ignition coil
- Socket set and ratchet
- Screwdrivers
- Wrench set
- Needle-nose pliers
- Dielectric grease (optional)
Step 1: Prepare the Vehicle
First, ensure the vehicle is parked on a flat surface and the engine is completely cool to avoid burns. Disconnect the negative battery cable to prevent any electrical shocks during the repair.
Step 2: Locate the Ignition Coil
Open the hood of the Oldsmobile 442 and you will find the ignition coil located either on the fender wall or mounted directly on the engine near the distributor cap. The ignition coil is usually a cylindrical object with electrical connections on either end.
Step 3: Remove the Old Ignition Coil
Carefully detach the wires connected to the ignition coil. Take note of the positioning or label the wires to ensure correct reinstallation. Using a wrench or socket set, remove the bolts or screws securing the ignition coil in place. Gently lift out the old ignition coil from its mount.
Step 4: Install the New Ignition Coil
Position the new ignition coil in the same spot from where the old one was removed. Secure it with bolts or screws using a socket set or wrench. Reconnect the wires to the new ignition coil, ensuring each wire matches the original position.
Step 5: Double-Check Connections
Once the new ignition coil is installed and all wires are reconnected, double-check to ensure all connections are secure. Apply dielectric grease to the electrical connections if available, for better conductivity and to prevent corrosion.
Step 6: Reconnect Battery and Test
Finally, reconnect the negative battery cable. Start the engine to test the new ignition coil. The engine should crank easily, and any misfiring should be resolved. Take the car for a short drive to confirm everything is operating smoothly.
By following these steps, you’ll have successfully replaced the ignition coil on your 1969 Oldsmobile 442, leading to improved engine performance and reliability.