How to replace the ignition coil on a 1969 Chevrolet Camaro ZL1?
Replacing the ignition coil on a 1969 Chevrolet Camaro ZL1 may become necessary if you experience symptoms like poor engine performance, misfiring, or difficulty starting the vehicle. The ignition co…
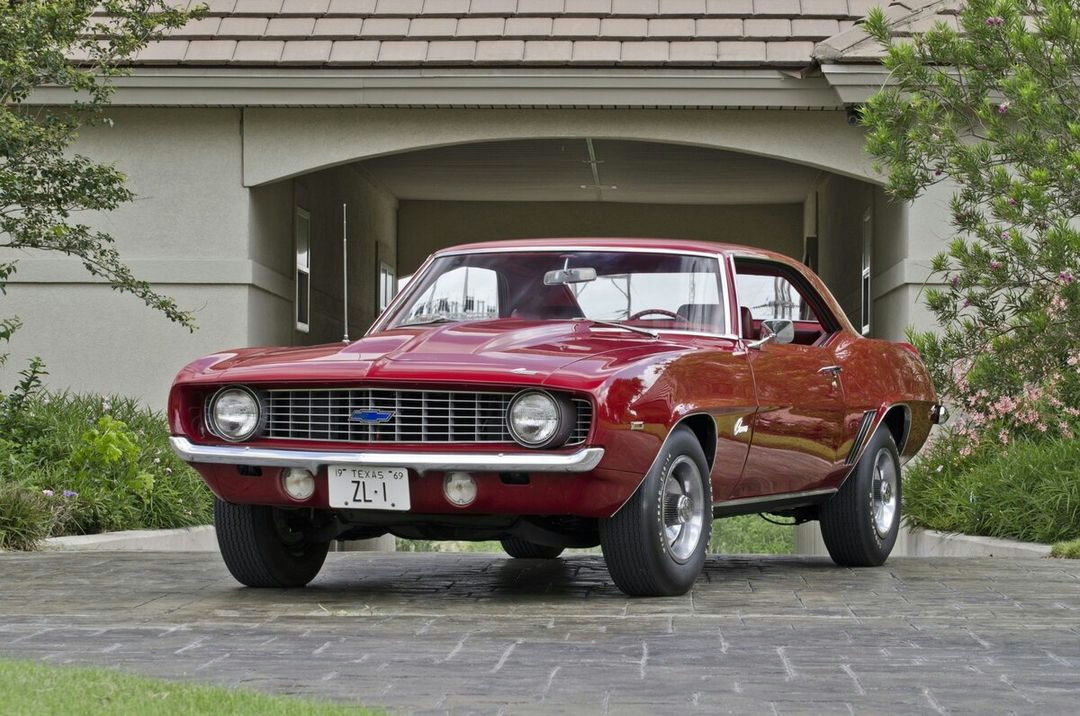
- Model
- 1969 Chevrolet Camaro ZL1
Replacing the ignition coil on a 1969 Chevrolet Camaro ZL1 may become necessary if you experience symptoms like poor engine performance, misfiring, or difficulty starting the vehicle. The ignition coil is a crucial component that transforms the battery's voltage into the high-voltage necessary to create the spark which ignites the fuel. Issues with the ignition coil can often be diagnosed through engine codes or noticeable drops in vehicle performance. To restore optimal functioning, the ignition coil may need to be replaced. Here is how to solve this issue:
Step 1: Safety First
Before you begin, ensure the vehicle is parked on a flat surface and the ignition is turned off. Disconnect the negative battery cable to prevent any accidental electrical shorts or shocks. The negative battery terminal is usually marked with a minus (-) sign and covered with a black cap located at the top of the battery.
Step 2: Locate the Ignition Coil
The ignition coil on a 1969 Chevrolet Camaro ZL1 is typically found on the top of the engine block, most commonly toward the rear. It is a cylindrical-shaped component with several wires connected to it. The ignition coil is usually black or gray and may have one or two bolts securing it to the engine.
Step 3: Remove Any Obstructing Components
Depending on your specific model and any modifications, you might need to remove a few other components to gain clear access to the ignition coil. This may include the air cleaner assembly. The air cleaner is a large, round metal casing situated at the center of the engine.
Step 4: Disconnect the Electrical Connections
Disconnect the wires attached to the ignition coil. These will typically include the primary wire, which comes from the ignition switch, and the secondary wire, which leads to the distributor. Carefully pull these wires out; they may be secured with a clip or screw.
Step 5: Unbolt the Ignition Coil
Using a wrench or socket, remove the bolts that secure the ignition coil to its bracket. Place the bolts somewhere safe as you'll need them when installing the new coil. Carefully lift the old ignition coil out of its position.
Step 6: Compare the Old and New Ignition Coils
Before installing the new ignition coil, ensure it matches the specifications of the old one. Compare size, shape, and electrical connections to ensure compatibility.
Step 7: Install the New Ignition Coil
Place the new ignition coil in the same position as the old one. Use the bolts you previously removed to secure it to the bracket. Tighten them adequately, but avoid over-tightening to prevent damage.
Step 8: Reconnect the Electrical Connections
Reattach the primary and secondary wires to the new ignition coil in the same configuration as they were attached to the old coil. Make sure they are securely connected.
Step 9: Reinstall Any Removed Components
If you removed the air cleaner or any other components in Step 3, reinstall them now. Ensure that everything is properly secured and fitted.
Step 10: Reconnect the Negative Battery Cable
Finally, reconnect the negative battery cable that you disconnected at the beginning. This will restore power to the vehicle.
Step 11: Test the Vehicle
Turn on the ignition and start the engine. Check for any unusual noises or issues like misfiring. The engine should run smoothly if the new ignition coil has been installed correctly.
By following these steps, you should be able to successfully replace the ignition coil on your 1969 Chevrolet Camaro ZL1, ensuring your vehicle runs smoothly and efficiently.