How to replace the ignition coil on a 1969 AMC AMX?
Replacing the ignition coil on a 1969 AMC AMX can resolve issues such as engine misfires, stalling, or a lack of spark. If you notice your vehicle struggling to start or running inefficiently, a faul…
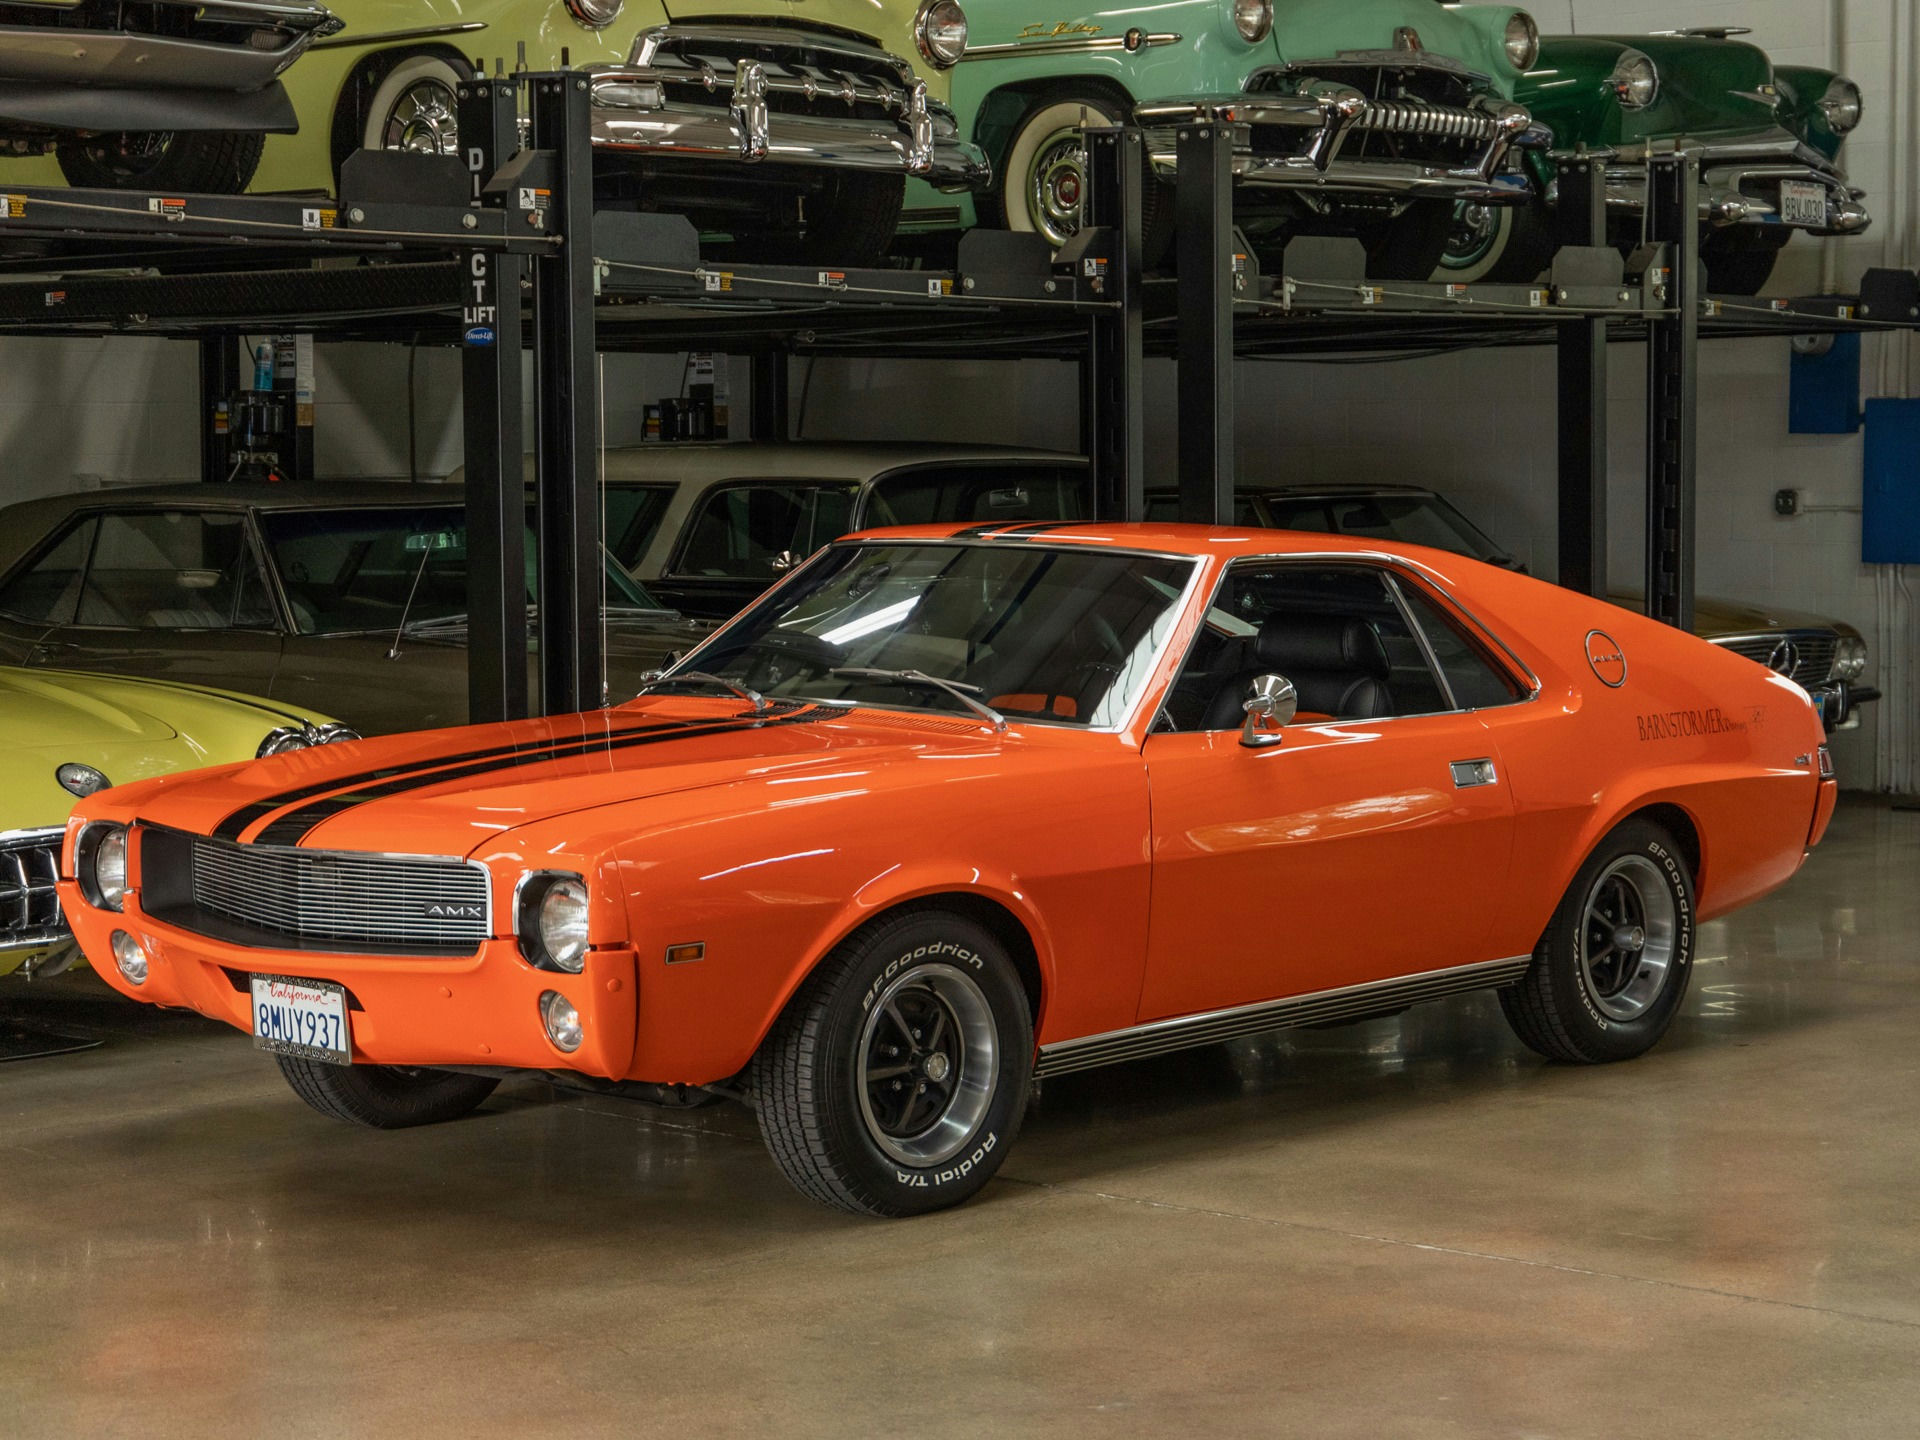
- Model
- 1969 AMC AMX
Replacing the ignition coil on a 1969 AMC AMX can resolve issues such as engine misfires, stalling, or a lack of spark. If you notice your vehicle struggling to start or running inefficiently, a faulty ignition coil might be the culprit. Here is how to solve this issue:
Step 1: Gather Your Tools and Materials
Before starting the replacement, make sure you have the necessary tools and materials:
- New ignition coil
- Socket wrench set
- Screwdrivers
- Pliers
- Multimeter (optional, for testing the old coil)
- Safety gloves
- Safety glasses
Step 2: Locate the Ignition Coil
The ignition coil on the 1969 AMC AMX is typically found in the engine bay, mounted on the firewall or near the distributor. It is a cylindrical component with wires connected to it, distinguished by its metallic body and electrical connections.
Step 3: Disconnect the Battery
Safety first: disconnect the negative terminal of the battery to avoid any electrical shorts or shocks. The battery is usually located in the front right corner of the engine bay. Use a wrench to loosen the clamp holding the negative cable and carefully set it aside.
Step 4: Remove the Old Ignition Coil
Identify the wires connected to the ignition coil. There will be a positive (+) and a negative (-) terminal, and possibly a connection to the distributor:
- Use a screwdriver to remove any screws or clamps securing the wires and carefully pull the connectors off the terminals.
- Next, use a socket wrench to remove the bolts or screws that secure the ignition coil to its mounting bracket.
- Gently lift the old ignition coil out of its position. Take note of its orientation for easier installation of the new coil.
Step 5: Install the New Ignition Coil
Position the new ignition coil in the same orientation as the old one. Secure it to the mounting bracket with the bolts or screws you previously removed. Ensure it is snug and well-supported.
Step 6: Reconnect the Wiring
Attach the wires to the new ignition coil:
- Connect the positive (+) wire to the positive terminal.
- Connect the negative (-) wire to the negative terminal.
- Ensure all connections are tight and secure to prevent any interruptions in the electrical flow.
Step 7: Reconnect the Battery and Test
Reconnect the negative terminal of the battery using your wrench. Once everything is secured, start your AMC AMX to ensure the new ignition coil is functioning properly. The engine should start more smoothly, without misfires or stalling.
Step 8: Final Checks and Clean-Up
Double-check all connections and mounting points to ensure everything is secure. Dispose of the old ignition coil properly and clean up your workspace.
By following these steps, you have successfully replaced the ignition coil on your 1969 AMC AMX, which should improve the vehicle's ignition performance.