How to replace the distributor cap on a 1971 Dodge Charger R/T?
Replacing the distributor cap on a 1971 Dodge Charger R/T is a crucial maintenance task that ensures the smooth running of your classic V8 engine. If the distributor cap is worn out or damaged, sympt…
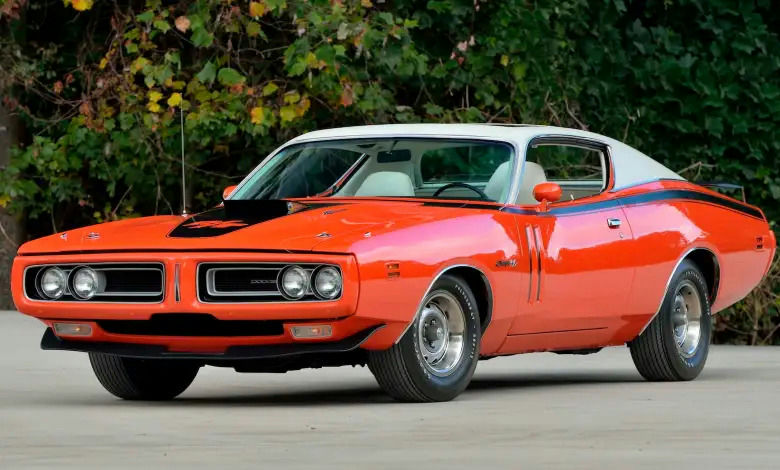
- Model
- 1971 Dodge Charger R/T
Replacing the distributor cap on a 1971 Dodge Charger R/T is a crucial maintenance task that ensures the smooth running of your classic V8 engine. If the distributor cap is worn out or damaged, symptoms such as engine misfires, rough idling, and difficulty starting can occur. Luckily, replacing the distributor cap is a straightforward process. Here is how to solve this issue.
Step 1: Gather Your Tools and Supplies
Before you start, make sure you have the necessary tools and supplies:
- A new distributor cap compatible with a 1971 Dodge Charger R/T
- A set of screwdrivers
- A socket wrench set
- A clean cloth
- Marker or masking tape
Step 2: Locate the Distributor Cap
Open the hood of your Dodge Charger and ensure it is securely propped up. The distributor cap is typically round and located near the top center of the engine, distinguished by several spark plug wires attached to it. It should be relatively easy to identify due to its position and design.
Step 3: Mark the Spark Plug Wires
Before removing the distributor cap, it’s crucial to note the position of each spark plug wire. Use a marker or masking tape to label each wire according to its corresponding terminal on the cap (e.g., 1, 2, 3, etc.). This step will ensure that you can reattach the wires correctly.
Step 4: Remove the Spark Plug Wires
Carefully pull each spark plug wire off the distributor cap. It’s important to pull on the boot, not the wire itself, to avoid damaging the wires. Lay the wires to the side, keeping them in the same general order.
Step 5: Remove the Distributor Cap
Using a screwdriver or socket wrench, remove the screws or clips that secure the distributor cap to the distributor body. Lift off the old cap, taking note of its orientation.
Step 6: Inspect the Distributor Rotor
Before installing the new cap, inspect the distributor rotor (the component beneath the distributor cap). The rotor should not be excessively worn or damaged. If it is, it should be replaced as well.
Step 7: Install the New Distributor Cap
Place the new distributor cap onto the distributor body in the same orientation as the old one. Secure it with the screws or clips you previously removed. Make sure it’s firmly in place.
Step 8: Reattach the Spark Plug Wires
Reconnect the spark plug wires to the new distributor cap, ensuring each wire is attached to the correct terminal. Remember to press on the boot to secure each wire.
Step 9: Double-Check Your Work
Before closing the hood, double-check all your connections. Ensure the distributor cap is secure, and all spark plug wires are attached to their correct terminals.
Conclusion
After completing these steps, your 1971 Dodge Charger R/T should have a properly installed new distributor cap, which should help resolve any ignition issues caused by a worn or damaged cap. If you still experience issues, it may be worth consulting a professional mechanic for further diagnosis.