How to replace the distributor cap on a 1969 Pontiac GTO Judge?
When driving a classic car like a 1969 Pontiac GTO Judge, maintaining the vehicle’s performance is crucial. One component that plays a vital role in the car's ignition system is the distributor cap, …
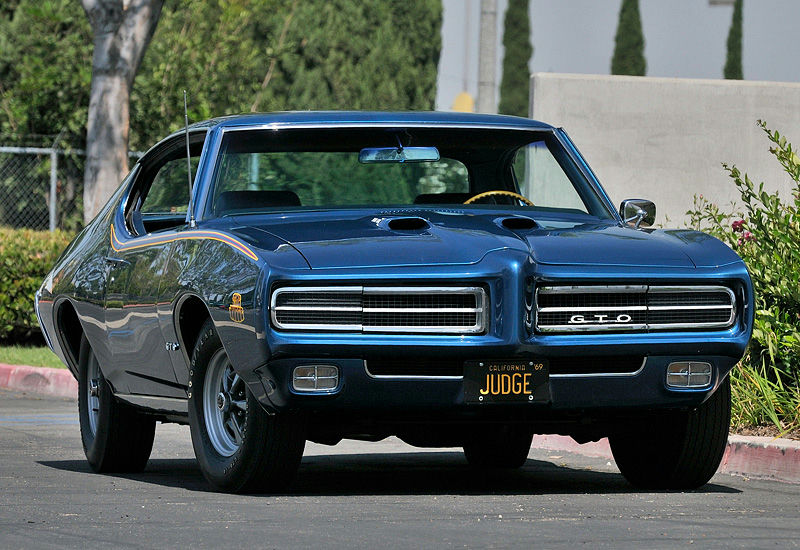
- Model
- 1969 Pontiac GTO Judge
When driving a classic car like a 1969 Pontiac GTO Judge, maintaining the vehicle’s performance is crucial. One component that plays a vital role in the car's ignition system is the distributor cap, which houses the connections that distribute voltage to the spark plugs. Over time, the distributor cap can wear out or become damaged, leading to misfires, rough idling, or even stalling. If you're experiencing any of these issues, it might be time to replace the distributor cap. Here is how to solve this issue:
Step 1: Prepare Your Workspace
Before you start, ensure the engine is cool to prevent burns. Gather the necessary tools: a new distributor cap, a flathead screwdriver, and possibly a flashlight. Open the hood and locate the distributor.
Step 2: Locate the Distributor Cap
The distributor cap is found in the engine bay. Look towards the rear and center of the engine. It is a round, cylindrical object with multiple thick black wires (ignition wires) attached to it, extending out to each spark plug. The cap is typically made of plastic and secured with metal clips or screws.
Step 3: Remove the Ignition Wires
To avoid mixing up the ignition wires, it's a good idea to label each wire with masking tape and a marker beforehand. Carefully pull each ignition wire off its corresponding terminal on the distributor cap. Gently wiggle the wire while pulling to avoid damaging the wires.
Step 4: Remove the Distributor Cap
Use a flathead screwdriver to unfasten the screws or clips holding the distributor cap in place. Usually, there are two clips on the sides or screws on opposite ends of the cap. Once these are loosened or detached, remove the old distributor cap by lifting it straight up.
Step 5: Install the New Distributor Cap
Position the new distributor cap over the distributor, ensuring it aligns perfectly with the base. Secure it by fastening the screws or clips back into place. Make sure the cap is seated correctly to avoid any potential misfires.
Step 6: Reattach the Ignition Wires
Reattach each ignition wire to the new distributor cap, matching the labels you created earlier or referring to a service manual to ensure the correct order. Push each wire firmly onto the corresponding terminal to ensure a good connection.
Step 7: Final Inspection and Testing
Double-check that all wires and the new distributor cap are secure and properly connected. Close the hood and start the engine. Listen for any signs of improvement in the engine's performance, such as smoother idling and absence of misfires. If the engine runs smoothly, you’ve successfully completed the replacement.
By following these steps, you can efficiently replace the distributor cap on your 1969 Pontiac GTO Judge, ensuring optimal engine performance and prolonging the life of your cherished classic.