How to replace the distributor cap on a 1969 Oldsmobile 442?
Replacing the distributor cap on a 1969 Oldsmobile 442 is essential for maintaining the vehicle's ignition system and ensuring peak performance. Common symptoms indicating a faulty distributor cap in…
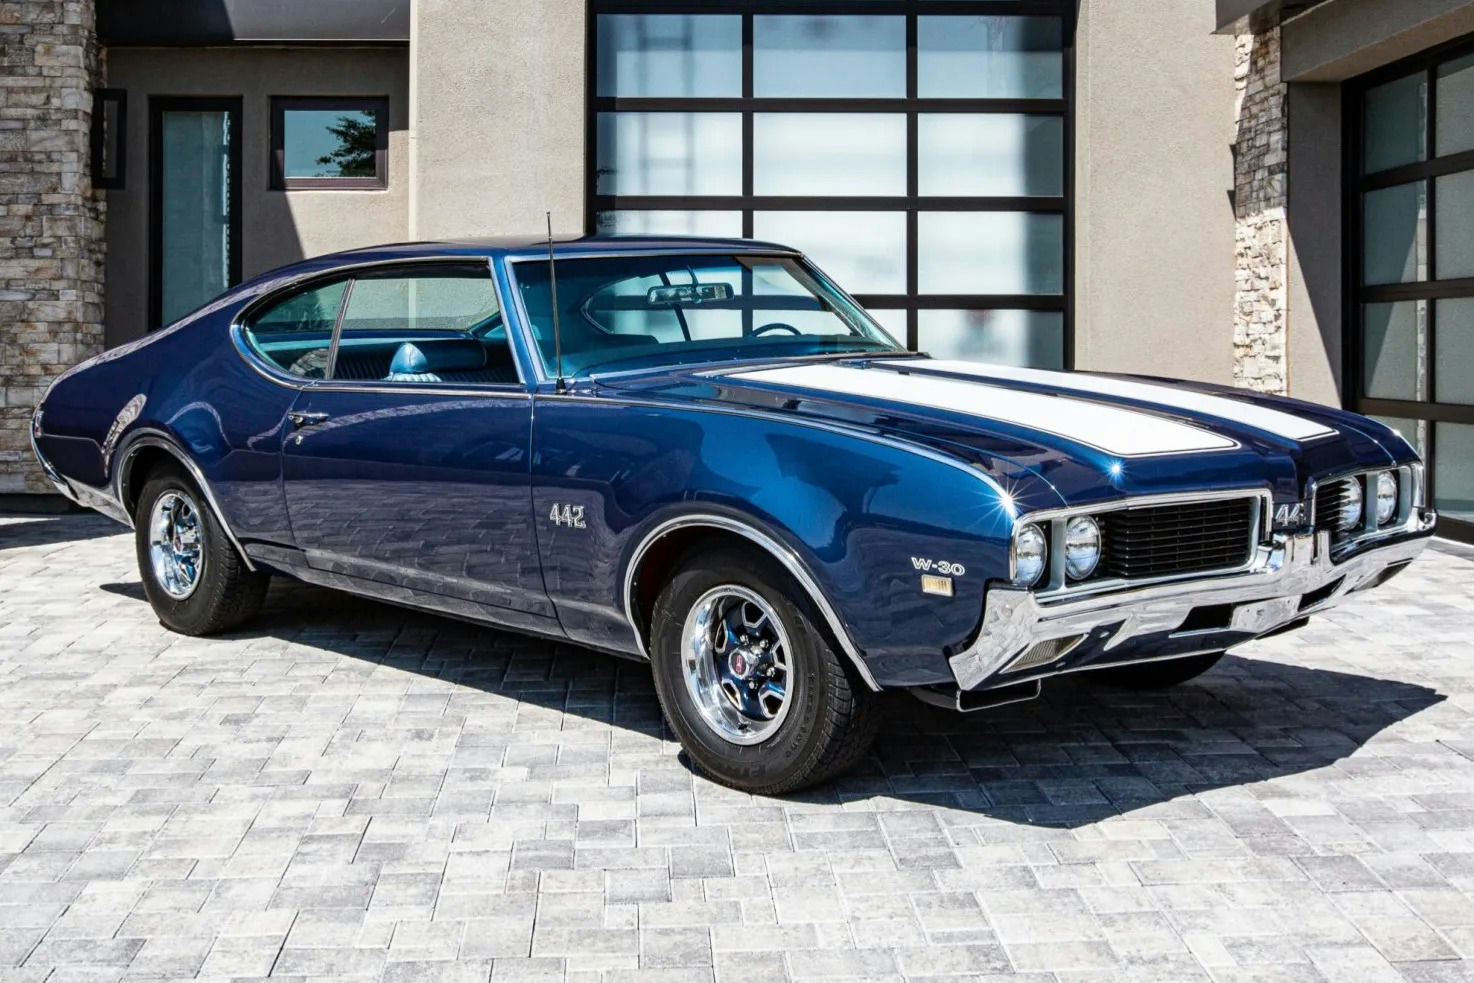
- Model
- 1969 Oldsmobile 442
Replacing the distributor cap on a 1969 Oldsmobile 442 is essential for maintaining the vehicle's ignition system and ensuring peak performance. Common symptoms indicating a faulty distributor cap include engine misfires, difficulty starting, lack of power, or a rough idle. To maintain your classic car in prime condition, it's important to address this issue promptly. Here's how to solve this issue:
Step 1: Locate the Distributor Cap
First, open the hood and secure it. The distributor cap is typically located at the back of the engine, right near the firewall. It is a round plastic cap with several ignition wires connected to it. The wires will lead from the cap to the spark plugs on the engine.
Step 2: Disconnect the Battery
Safety is paramount. Disconnect the negative terminal of the battery to prevent any accidental sparks or electrification while you work on the vehicle. The battery is usually located at the front of the engine bay. Use a wrench to loosen the nut and remove the cable from the terminal.
Step 3: Mark the Plug Wires
Before removing the cap, it's crucial to mark the ignition wires to ensure they go back in the correct order. Use masking tape and a marker to label each wire with numbers corresponding to their position on the distributor cap. This will help avoid confusion during reassembly.
Step 4: Remove the Ignition Wires
Carefully disconnect the ignition wires from the distributor cap by gently pulling them off the terminals. Be sure to pull by the boot and not the wire itself to avoid damage. Separate the wires away from the cap to give yourself enough room to work.
Step 5: Remove the Distributor Cap
The distributor cap is typically held in place by two screws or clips. Use a screwdriver to remove these fasteners. Once the screws or clips are removed, lift the distributor cap off the distributor.
Step 6: Inspect the Distributor Rotor
Take this opportunity to inspect the distributor rotor, which is located directly beneath the cap. The rotor should be in good condition, free of excessive wear, carbon build-up, or cracks. If the rotor appears damaged, it’s recommended to replace it along with the distributor cap.
Step 7: Install the New Distributor Cap
Position the new distributor cap over the distributor, ensuring it sits flush and aligns with the screw holes or clips. Secure the new cap by tightening the screws or securing the clips.
Step 8: Reconnect the Ignition Wires
Attach the ignition wires to the new distributor cap in the correct order, using the labels you made earlier. Press each wire firmly onto the terminal until it clicks into place.
Step 9: Reconnect the Battery
Reattach the negative terminal cable to the battery and tighten the nut with a wrench. This will restore power to the vehicle.
Step 10: Test the Vehicle
Start your Oldsmobile 442 to ensure the engine runs smoothly. Listen for any signs of misfires or rough idling. If the engine runs normally, your job is complete.
By following these steps, you can replace the distributor cap on your 1969 Oldsmobile 442, ensuring your vehicle continues to run efficiently and reliably.