How to replace the distributor cap on a 1969 Chevrolet Camaro ZL1?
Owning a 1969 Chevrolet Camaro ZL1 is a sheer joy for any classic car enthusiast. However, like any other vehicle, it requires maintenance to ensure it runs smoothly. One of the common maintenance ta…
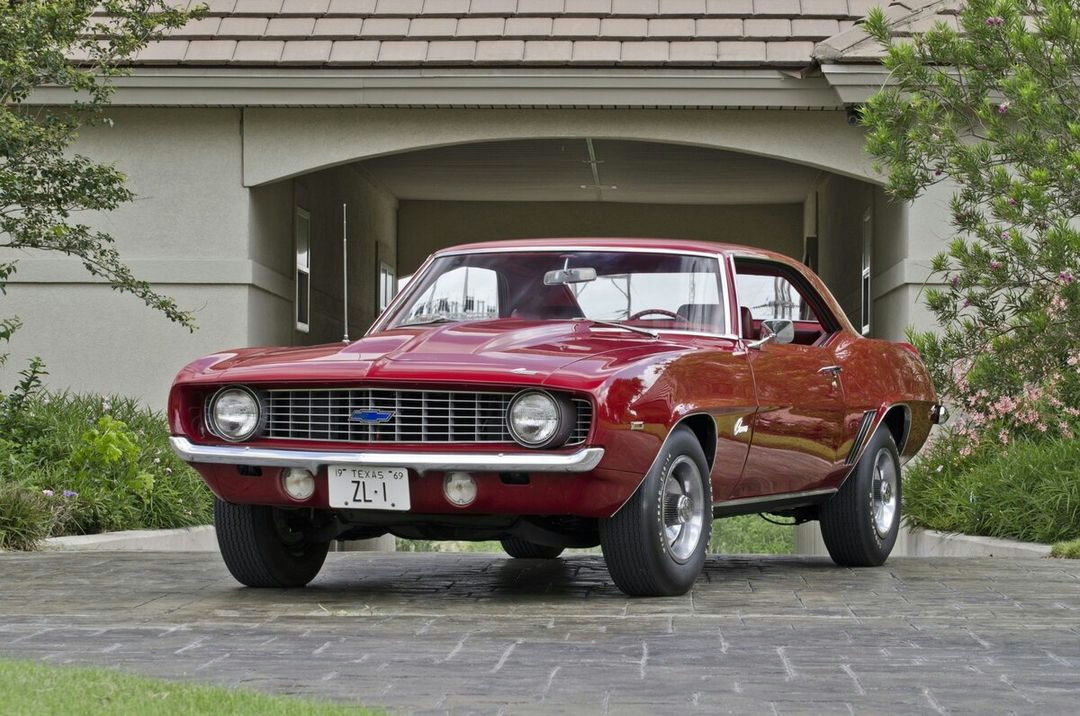
- Model
- 1969 Chevrolet Camaro ZL1
Owning a 1969 Chevrolet Camaro ZL1 is a sheer joy for any classic car enthusiast. However, like any other vehicle, it requires maintenance to ensure it runs smoothly. One of the common maintenance tasks involves replacing the distributor cap. If your Camaro is encountering issues such as misfiring, poor starting, or rough idling, a worn distributor cap might be the culprit. Here is how to solve this issue:
Step 1: Gather Necessary Tools and Parts
To replace the distributor cap, you will need a new distributor cap, a screwdriver, and possibly a flashlight. Ensure you have the correct distributor cap for the 1969 Camaro ZL1 model.
Step 2: Locate the Distributor Cap
The distributor cap is situated near the center rear of the engine bay. It is typically a round, plastic component with several spark plug wires attached to it.
Step 3: Label the Spark Plug Wires
Before removing any wires, label each one corresponding to its position on the cap. This step is crucial to avoid confusing the firing order. You can use masking tape and a marker for labeling.
Step 4: Remove the Spark Plug Wires
Gently twist and pull each spark plug wire off the old distributor cap. Be careful to detach them one by one to maintain the correct order.
Step 5: Unscrew the Distributor Cap
Using your screwdriver, locate the screws or clips holding the distributor cap in place. Carefully remove these fasteners. The cap should now be easily removable. Lift the old cap off, taking care not to disturb the distributor rotor beneath it.
Step 6: Inspect the Distributor Rotor
While the distributor rotor itself is not part of the cap, it’s worth inspecting for any signs of corrosion or wear. If necessary, replace the rotor as well.
Step 7: Install the New Distributor Cap
Place the new distributor cap over the rotor. Ensure it sits flush and is properly aligned with the mounting points. Secure the cap by tightening the screws or clips.
Step 8: Reattach the Spark Plug Wires
Carefully reattach each spark plug wire to the corresponding terminal on the new distributor cap, based on the labels you applied earlier.
Step 9: Double-Check Connections
Before starting the engine, double-check that all wires are securely attached and that the cap is firmly in place.
Step 10: Test the Engine
Start your Camaro’s engine to verify that it runs smoothly. Listen for any irregularities in engine performance such as misfires or irregular starts.
By following these steps, you should be able to replace the distributor cap on your 1969 Chevrolet Camaro ZL1 efficiently. Regular maintenance like this helps keep your classic car running at its best for years to come.