How to replace the distributor cap on a 1969 AMC AMX?
Replacing the distributor cap on a 1969 AMC AMX can be an essential maintenance task if your vehicle is experiencing misfires, rough idling, or difficulty starting. A worn or damaged distributor cap …
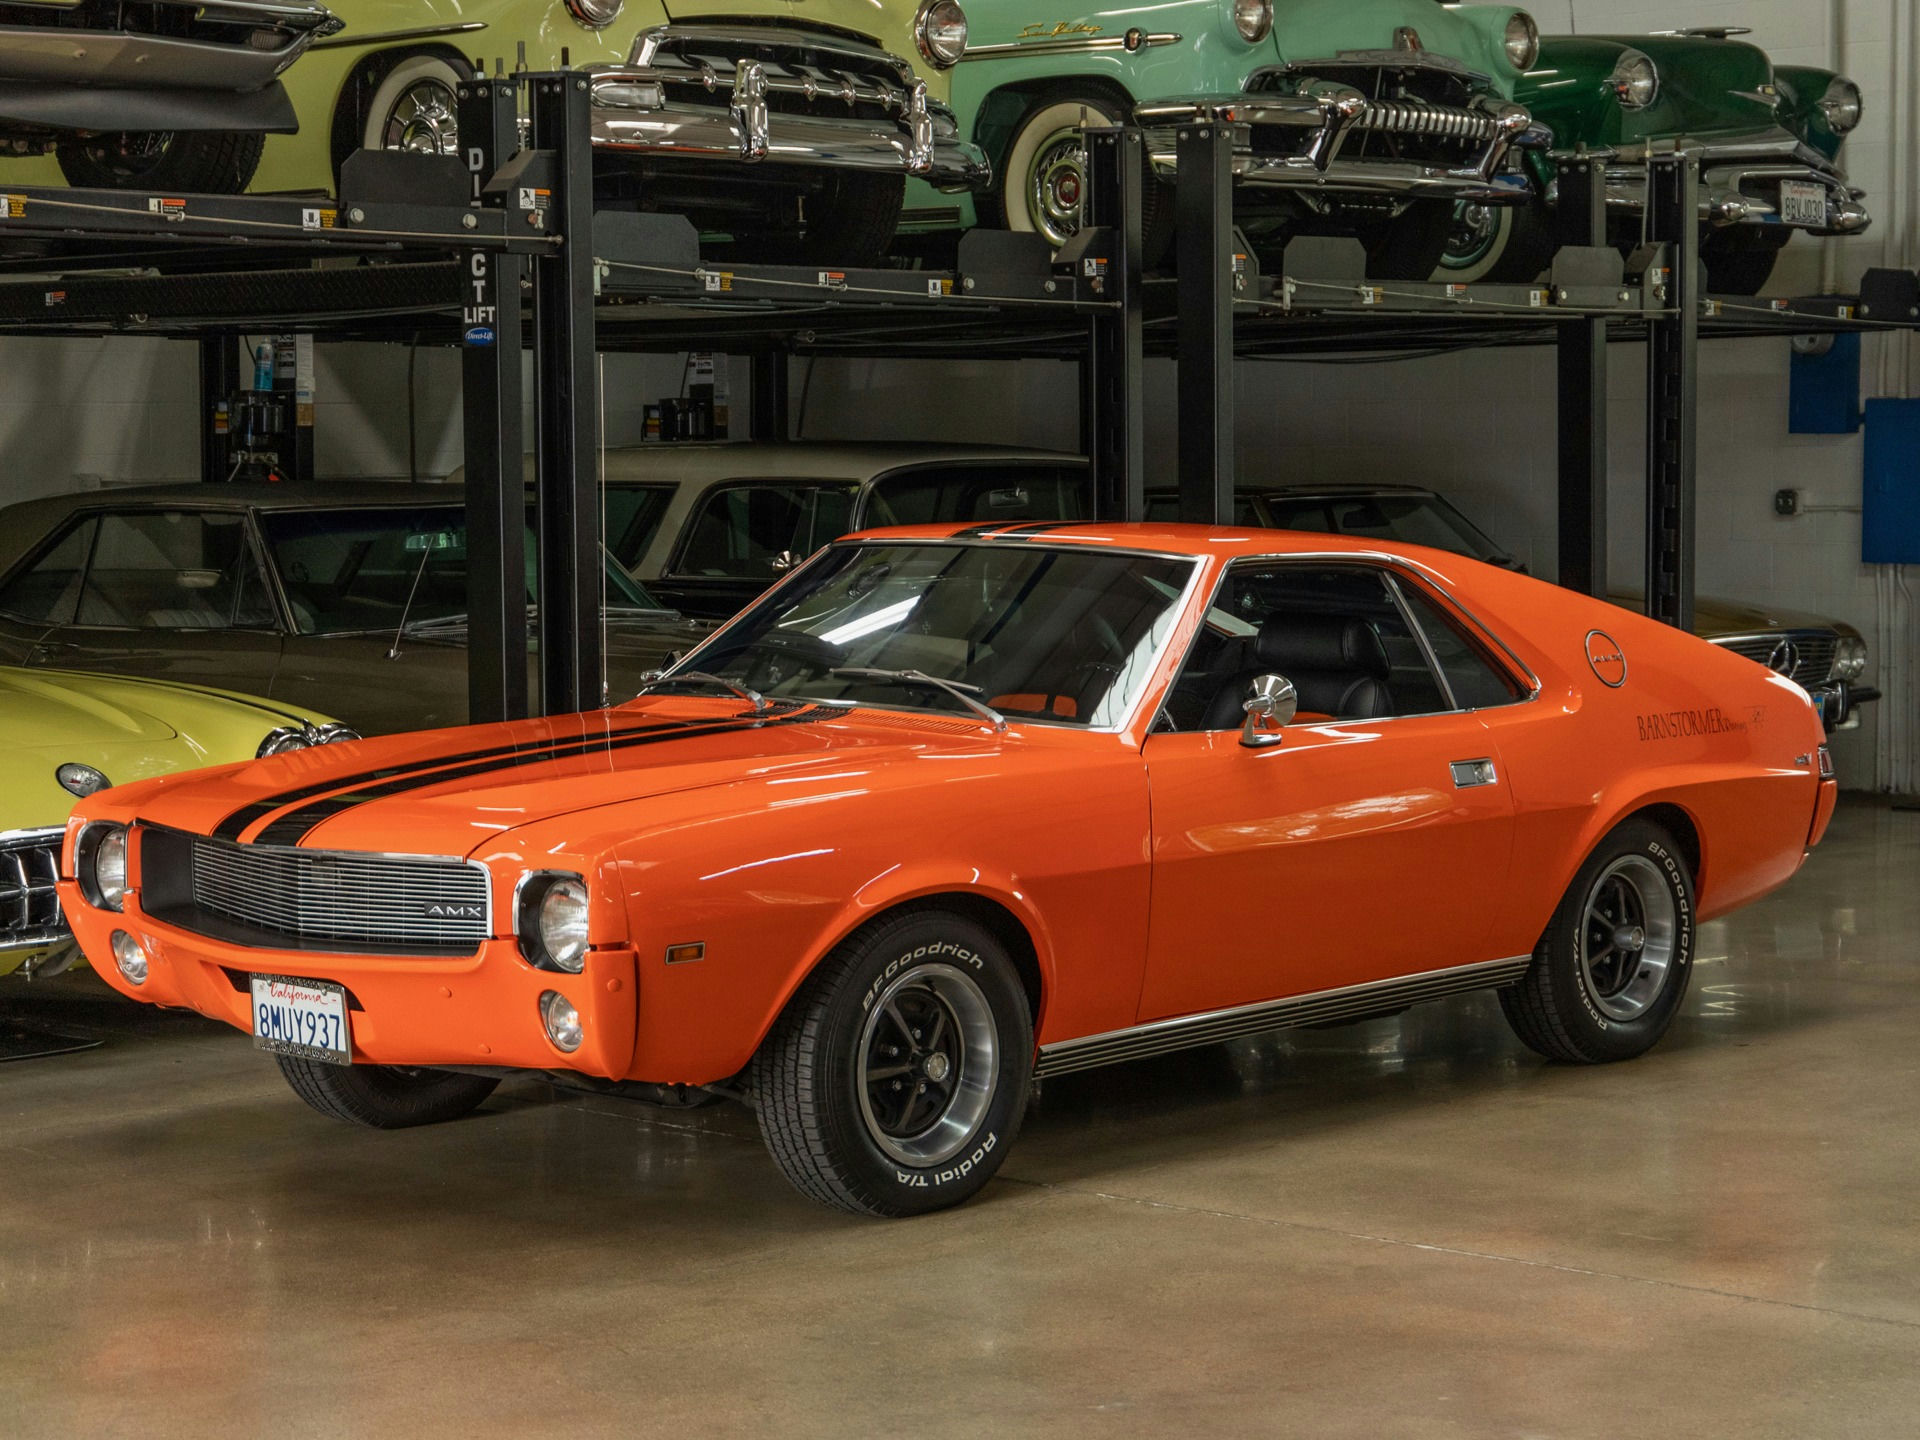
- Model
- 1969 AMC AMX
Replacing the distributor cap on a 1969 AMC AMX can be an essential maintenance task if your vehicle is experiencing misfires, rough idling, or difficulty starting. A worn or damaged distributor cap can impede the proper distribution of electrical current to your engine’s spark plugs, causing these issues. If you suspect that your distributor cap is the culprit, here is how to solve this issue.
Step 1: Gather Necessary Tools and Parts
Before you start, make sure you have the following tools and parts:
- New distributor cap (specific to 1969 AMC AMX)
- Screwdriver (usually a flathead)
- Pliers (optional)
- Gloves (optional)
- Marker or masking tape (optional, for labeling)
Step 2: Locate the Distributor Cap
Open the hood of your 1969 AMC AMX. The distributor is typically in the engine bay, towards the back of the engine block. The distributor cap is a round plastic component that has multiple wires connected to it. These are the spark plug wires, and they radiate from the top of the cap to the engine’s spark plugs.
Step 3: Mark the Spark Plug Wires
For easier reinstallation, mark each spark plug wire in relation to its corresponding terminal on the distributor cap. You can use a marker or masking tape to label them numerically. This way, you won't mix up the order during reassembly.
Step 4: Remove the Spark Plug Wires
Carefully remove each spark plug wire from the distributor cap by pulling on the boot (not the wire itself) to avoid damage. If they are stuck, gently use pliers to ease them off.
Step 5: Unscrew the Distributor Cap
Use your screwdriver to remove the screws or clips that hold the distributor cap in place. These are usually located on the sides of the cap. Once undone, lift the distributor cap off the distributor body.
Step 6: Inspect the Rotor
Before installing the new distributor cap, take a moment to inspect the rotor underneath the old cap. The rotor is a small component that spins within the distributor and helps transfer electrical current. If it is worn or damaged, replace it as well (rotor replacement involves simply pulling off the old rotor and fitting a new one in its place).
Step 7: Install the New Distributor Cap
Align the new distributor cap with the distributor body. Ensure it sits flush and the screw holes or clip points align properly. Fasten it using the screws or clips you previously removed.
Step 8: Reattach the Spark Plug Wires
Reconnect each spark plug wire to the new distributor cap according to the marks or labels you made earlier. Ensure they are firmly attached to avoid electrical issues.
Step 9: Start the Engine
With the new distributor cap in place, start the engine to ensure it runs smoothly. Listen for any signs of misfires or rough idling that might indicate an issue with the installation.
By following these steps carefully, you should be able to replace the distributor cap on your 1969 AMC AMX and restore proper engine performance. If issues persist, further diagnostics may be necessary.