How to replace the air filter on a 1970 Dodge Challenger R/T?
Replacing the air filter on a 1970 Dodge Challenger R/T is a crucial step in maintaining the engine’s efficiency and ensuring optimal performance. A dirty or clogged air filter can reduce acceleratio…
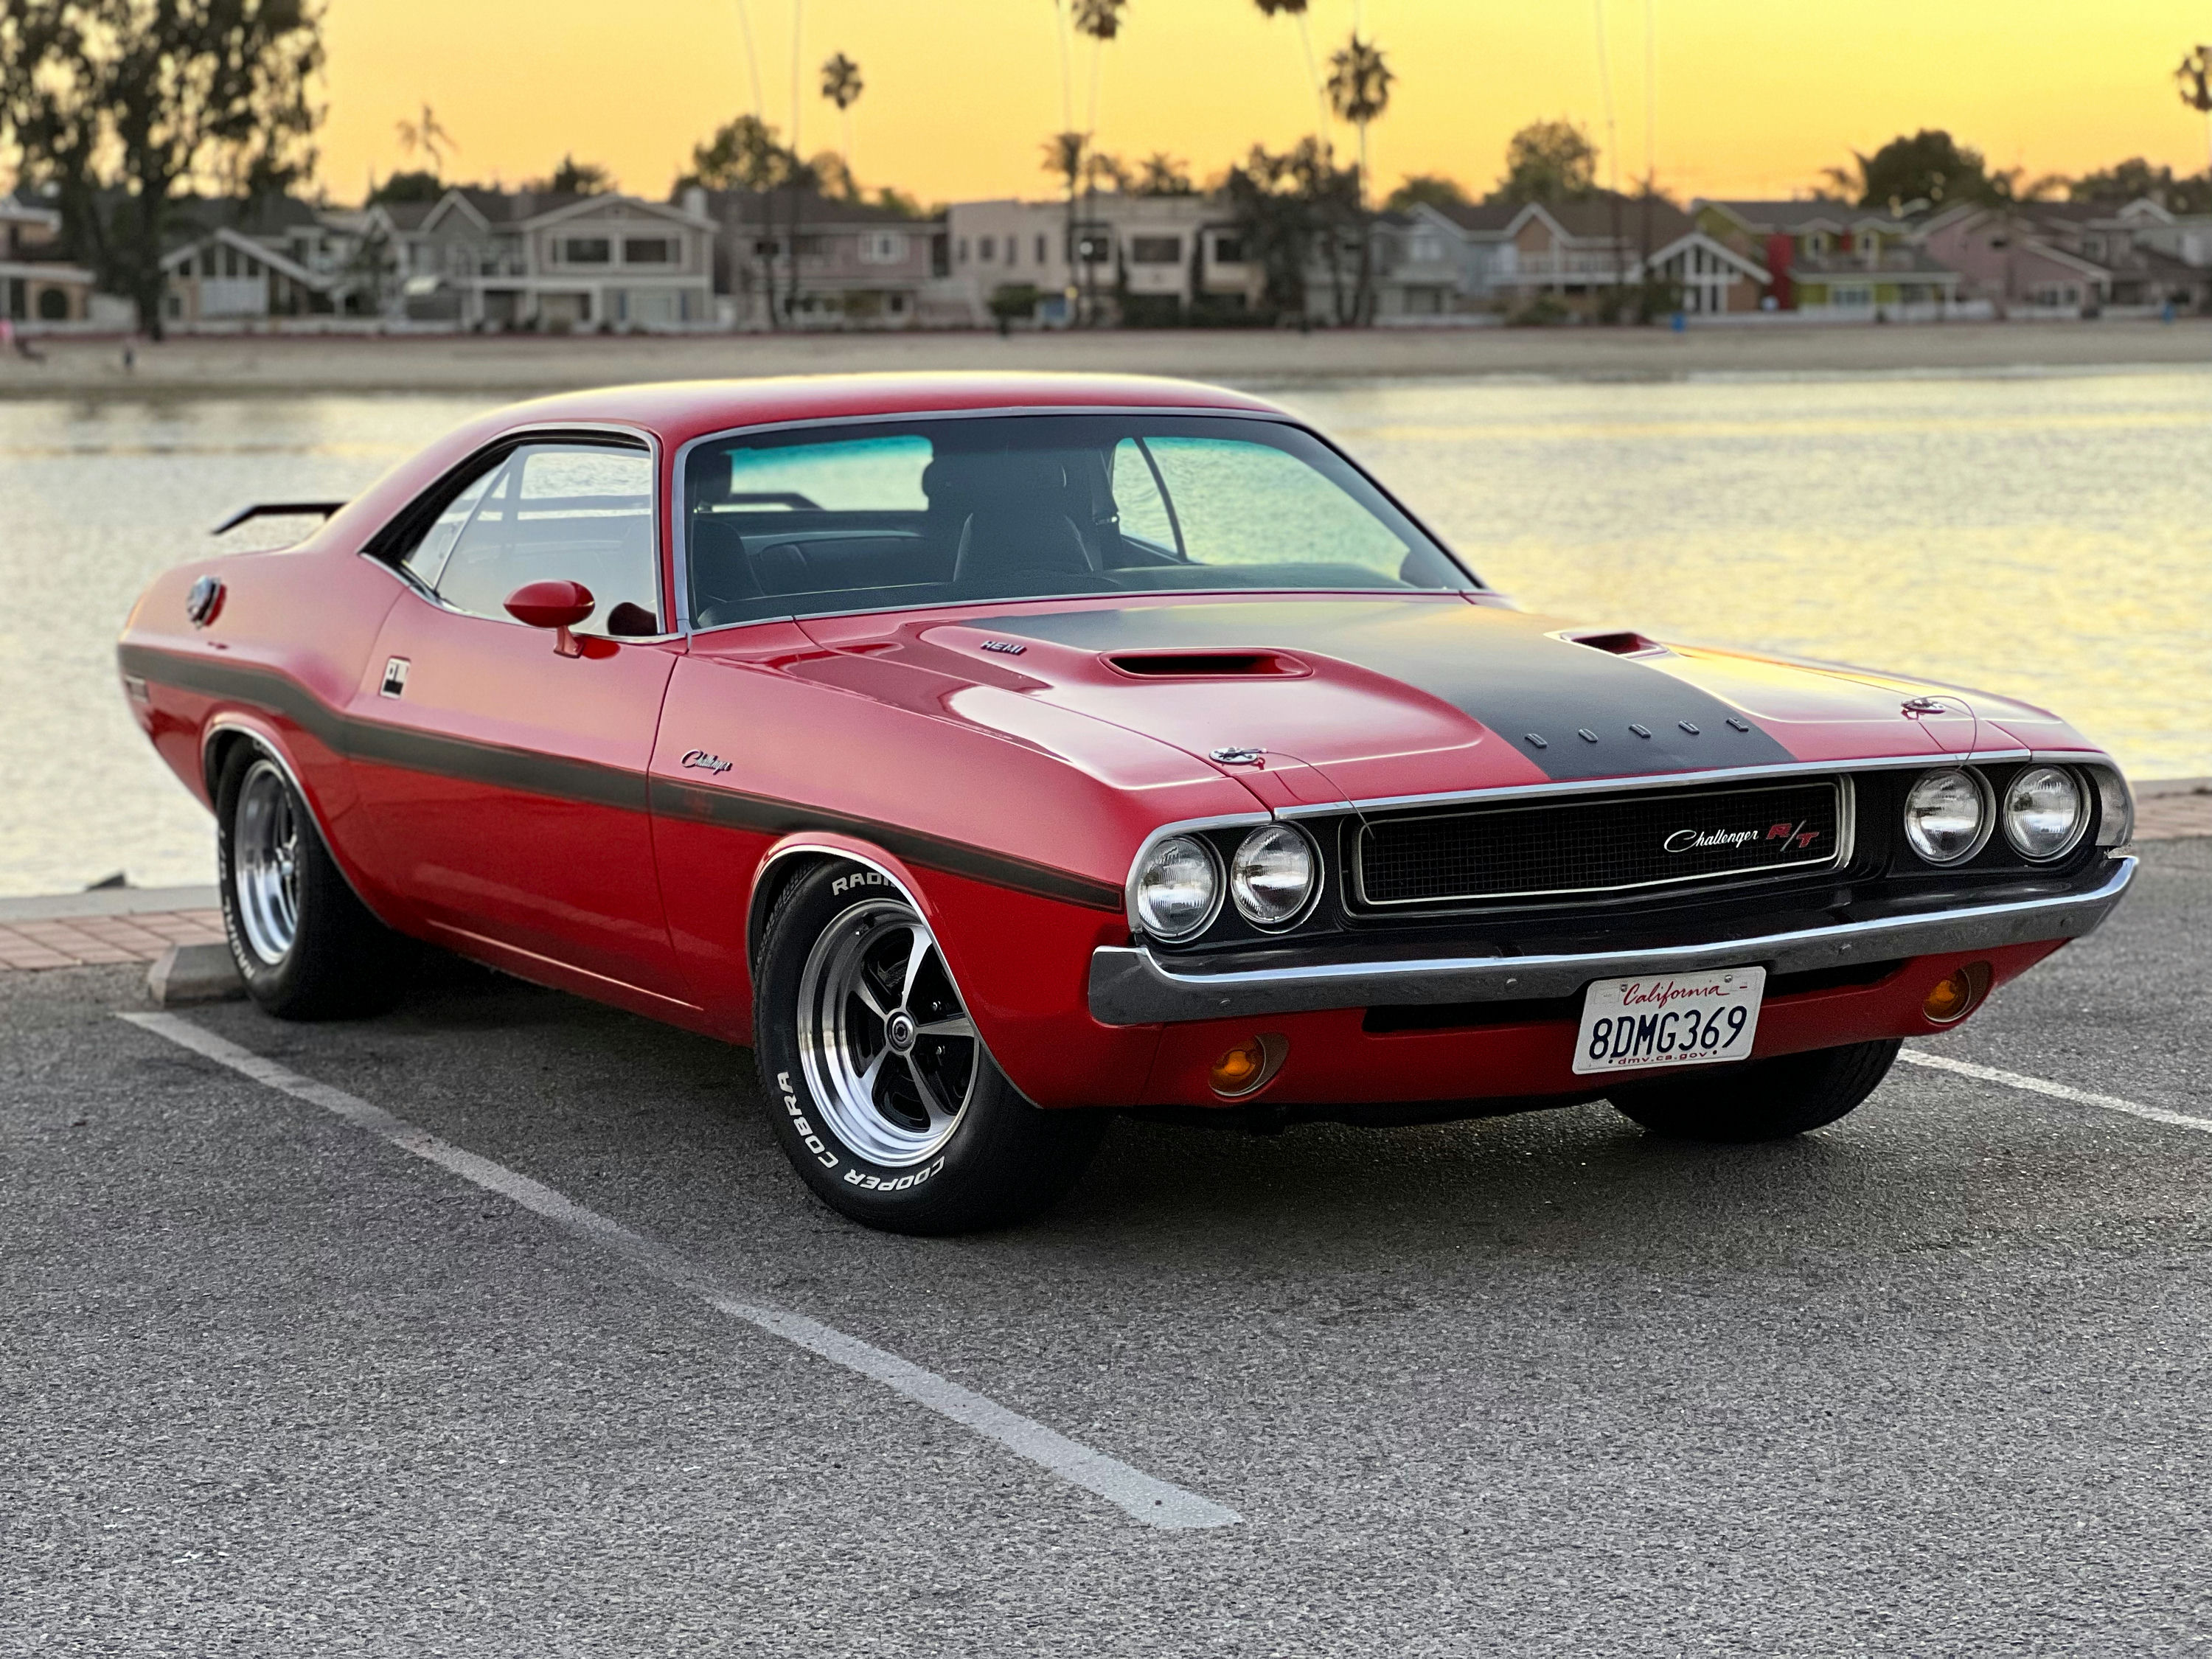
- Model
- 1970 Dodge Challenger R/T
Replacing the air filter on a 1970 Dodge Challenger R/T is a crucial step in maintaining the engine’s efficiency and ensuring optimal performance. A dirty or clogged air filter can reduce acceleration, lower fuel economy, and increase engine wear. If you notice a decrease in your car's performance, fuel efficiency, or detect unusual engine noises, you might need to replace the air filter. Here's how to solve this issue:
Step 1: Gather the Necessary Tools and Replacement Parts
Make sure you have the correct replacement air filter, which can be found at automotive stores or online retailers. You’ll also need a screwdriver (likely a flathead or Phillips depending on your air cleaner assembly) and possibly pliers.
Step 2: Locate the Air Cleaner Assembly
The air cleaner assembly is typically positioned atop the engine in the center. It is a large, round metallic housing that covers the air filter. The housing is held in place by a wing nut or a clamp.
Step 3: Remove the Air Cleaner Cover
Loosen and remove the wing nut or clamp securing the air cleaner cover. The wing nut is usually found in the middle of the cover. Place the nut in a safe spot so it won't get lost. Gently lift the cover off, revealing the air filter beneath.
Step 4: Take Out the Old Air Filter
The air filter is now exposed. It is a circular or oval-shaped component made of paper or foam material. Carefully lift and remove the old air filter from the housing, making sure not to let any debris fall into the carburetor.
Step 5: Clean the Air Cleaner Housing
Before installing the new air filter, take a few minutes to clean the inside of the air cleaner housing. Use a clean, dry cloth to wipe away any dust, dirt, or debris that may have accumulated. This ensures that no contaminants will enter the engine when the new filter is in place.
Step 6: Install the New Air Filter
Place the new air filter into the housing, ensuring it fits snugly and securely. The filter should sit flat without any gaps around the edges.
Step 7: Replace the Air Cleaner Cover
Reposition the air cleaner cover back onto the housing. Align it properly, ensuring it sits flat. Screw back the wing nut or clamp and tighten it securely but not excessively – you don't want to strip any threads or break the nut.
Step 8: Inspect Your Work
Double-check to make sure everything is properly reassembled. The cover should be secure, and the filter should not move. Start your engine to ensure everything is functioning correctly, and listen for any unusual noises.
By following these steps, you will ensure your 1970 Dodge Challenger R/T runs smoothly with a fresh, clean air supply, promoting better performance and fuel efficiency.