How to check and replace spark plugs on a 1969 Chevrolet Camaro ZL1?
Experiencing rough idling, poor acceleration, or difficulty starting your 1969 Chevrolet Camaro ZL1 could be signs of faulty spark plugs. Spark plugs are crucial components that ignite the air-fuel m…
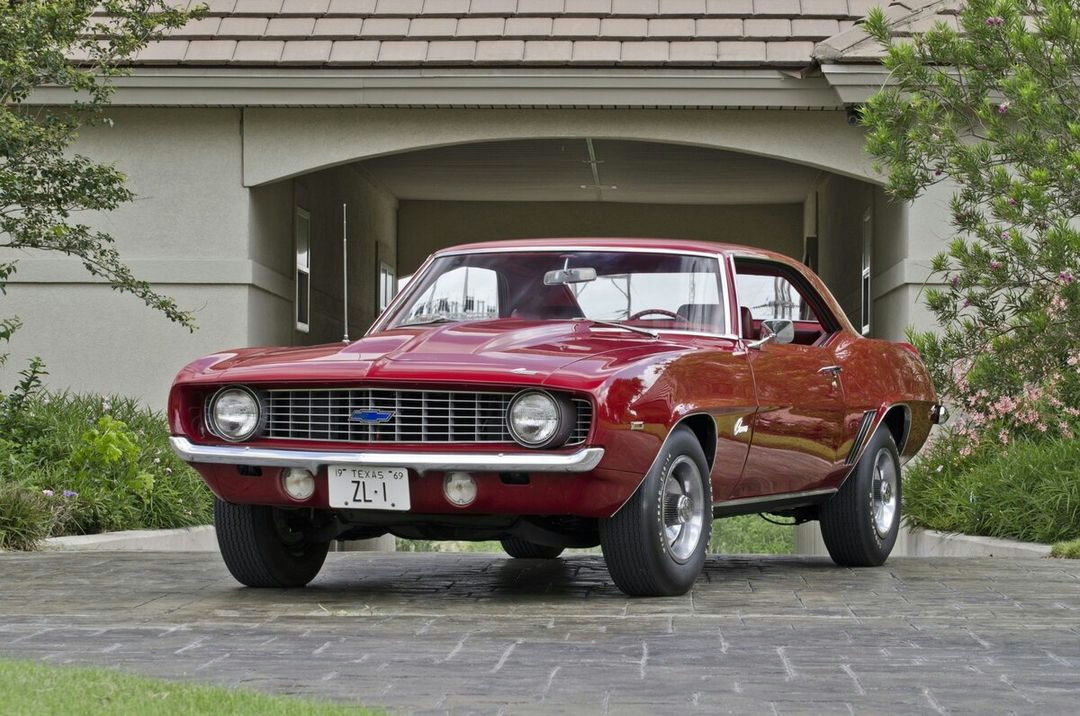
- Model
- 1969 Chevrolet Camaro ZL1
Experiencing rough idling, poor acceleration, or difficulty starting your 1969 Chevrolet Camaro ZL1 could be signs of faulty spark plugs. Spark plugs are crucial components that ignite the air-fuel mixture within the engine cylinders, and over time, they can wear out or become dirty, affecting your car's performance. Here is how to solve this issue:
Step 1: Gather Necessary Tools and Materials
Before starting, make sure to have the following tools and materials ready:
- Socket wrench with spark plug socket
- Spark plug gap gauge
- Ratchet extension (optional)
- New spark plugs
- Penetrating oil (optional, for stubborn spark plugs)
- Anti-seize lubricant (optional, for easier future removal)
Step 2: Locate the Spark Plugs
Open the hood and secure it. The spark plugs are situated on the sides of the engine block, with eight in total; four on the left bank (driver's side) and four on the right bank (passenger's side). Each spark plug is connected to a thick, rubbery spark plug wire leading from the distributor cap.
Step 3: Remove the Spark Plug Wires
One at a time, grasp the base of a spark plug wire and pull it off the spark plug. Avoid pulling on the wire itself to prevent damage. You may hear a slight pop as it disconnects.
Step 4: Remove the Old Spark Plugs
Using your socket wrench with a spark plug socket, carefully unscrew and remove the old spark plug. If it’s stubborn, you can apply a small amount of penetrating oil and let it sit for a few minutes. Once loose, lift the spark plug out, inspecting it for excessive wear or oil deposits.
Step 5: Check and Set the Gap on New Spark Plugs
Using the spark plug gap gauge, measure the gap on the new spark plug. The proper gap specification for a 1969 Camaro ZL1 can typically be found in the owner’s manual or service manual. Adjust the gap as needed by gently bending the ground electrode.
Step 6: Install the New Spark Plugs
Before installation, you may apply a small amount of anti-seize lubricant on the threads of the new spark plug to facilitate easier removal in the future. Carefully thread the spark plug into the cylinder head by hand to avoid cross-threading. Once it’s finger-tight, use the socket wrench to snug it up—don’t over-tighten.
Step 7: Reattach the Spark Plug Wires
Firmly push the spark plug wire back onto the new spark plug until it clicks into place. Ensure the wire is securely fitted to prevent any misfires.
Step 8: Repeat for All Spark Plugs
Continue the same process for the remaining spark plugs. Remember to handle each wire and plug one at a time to avoid mixing the wires up.
Step 9: Final Check
Once all new spark plugs are installed and their respective wires are reattached, give each wire a gentle tug to ensure they are all connected properly. Close the hood, start the engine, and listen for smooth idling and smooth acceleration during a test drive.
By following these steps, you will ensure your 1969 Chevrolet Camaro ZL1 runs smoothly and efficiently. Proper maintenance of spark plugs not only enhances performance but also prolongs the life of your engine.