How to check and replace spark plugs on a 1969 AMC AMX?
Decreased engine performance, poor fuel economy, rough idling, or trouble starting your 1969 AMC AMX can often be traced back to worn or faulty spark plugs. By understanding and maintaining these cri…
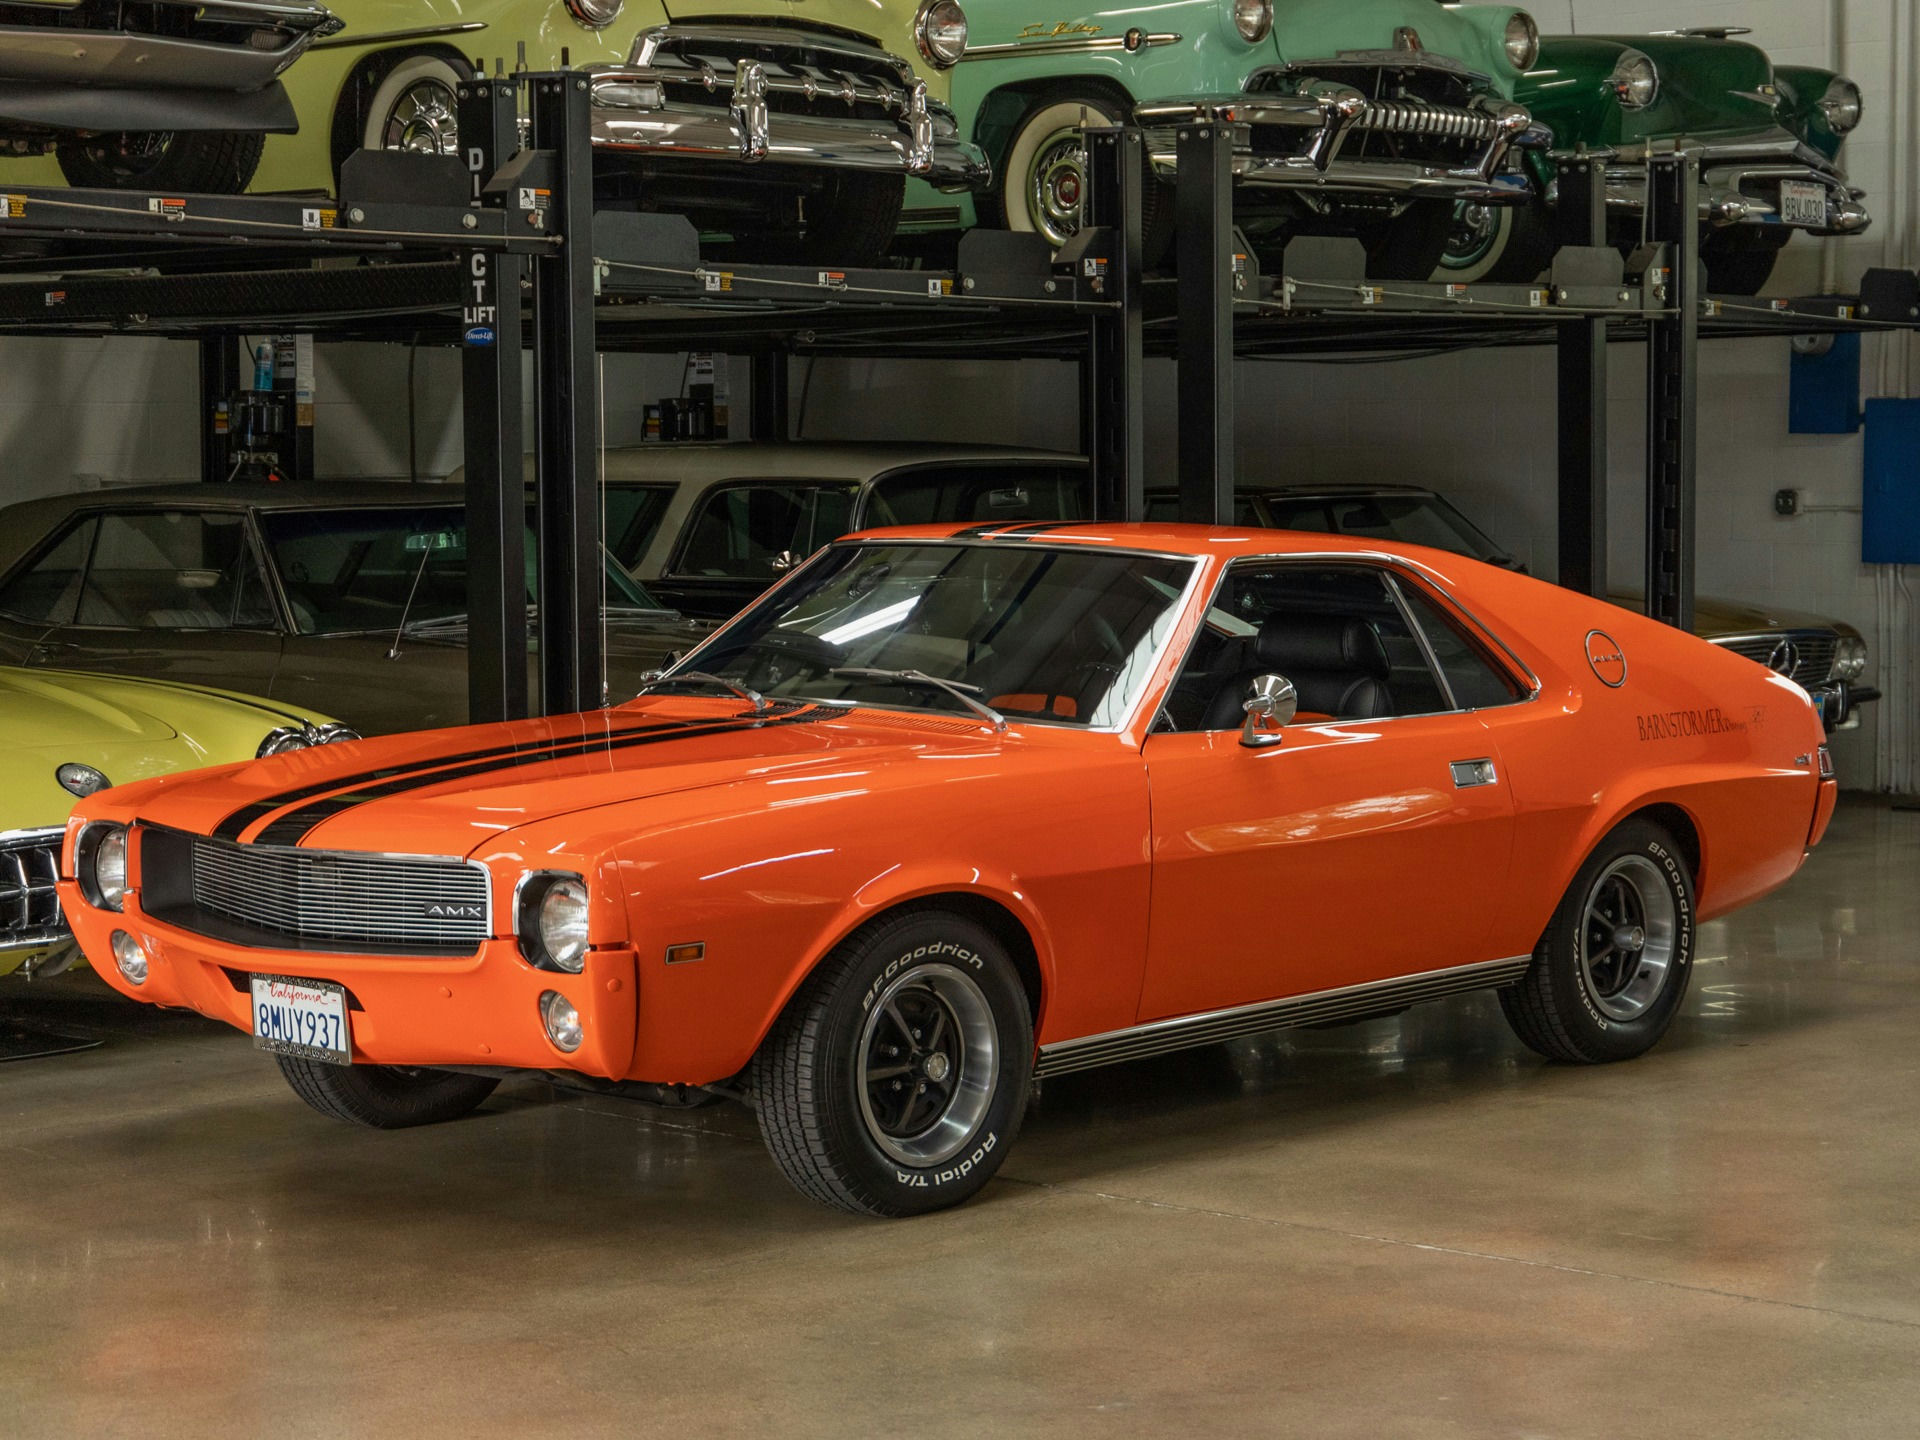
- Model
- 1969 AMC AMX
Decreased engine performance, poor fuel economy, rough idling, or trouble starting your 1969 AMC AMX can often be traced back to worn or faulty spark plugs. By understanding and maintaining these critical components, you can keep your classic car running smoothly. Here's how to solve this issue:
Step 1: Gather Necessary Tools and Parts
Before you begin, gather the following tools and parts:
- New spark plugs (the exact type specified in your owner's manual)
- Spark plug socket and ratchet
- Spark plug gap tool
- Extension bar (if necessary)
- Anti-seize lubricant
- Dielectric grease
- A clean cloth or compressed air
Step 2: Locate the Spark Plugs
Open the hood of your AMC AMX. The spark plugs are typically found on either side of the engine block, connected to the distributor by thick ignition wires. Each spark plug will be connected to a wire that runs to the distributor cap.
Step 3: Remove the Ignition Wires
Carefully remove the ignition wires from the spark plugs by gripping the boot (the larger end of the wire) and twisting slightly to loosen it. Pull straight out to avoid damaging the wire. It's important not to pull on the wire itself as this could damage the internal conductor.
Step 4: Clean the Area Around the Spark Plugs
Use a clean cloth or compressed air to remove any debris around the spark plugs. This prevents dirt from falling into the spark plug hole when you remove the plugs.
Step 5: Remove the Old Spark Plugs
Attach the spark plug socket to your ratchet and carefully insert it over the first spark plug. Turn counterclockwise to loosen and remove the spark plug. Repeat this process for all spark plugs.
Step 6: Check and Adjust New Spark Plugs
Before installing new spark plugs, use a spark plug gap tool to check the gap (the distance between the two electrodes at the base of the spark plug). Refer to your owner's manual for the correct gap measurement and adjust if necessary.
Step 7: Apply Anti-Seize Lubricant
Apply a small amount of anti-seize lubricant to the threads of the new spark plugs. This helps prevent them from seizing in the cylinder head and makes future removal easier.
Step 8: Install the New Spark Plugs
Carefully thread each new spark plug into its hole by hand to avoid cross-threading. Once hand-tight, use the spark plug socket and ratchet to tighten the spark plugs to the manufacturer’s specified torque setting.
Step 9: Apply Dielectric Grease
Apply a small amount of dielectric grease inside the boot of each ignition wire. This ensures a good connection and prevents moisture from causing corrosion.
Step 10: Reattach the Ignition Wires
Reattach the ignition wires to the new spark plugs, pressing firmly until they click into place. Make sure each wire is connected to the correct corresponding spark plug.
Step 11: Test the Engine
Start your AMC AMX to ensure it runs smoothly. Listen for any irregularities in the engine’s performance, which could indicate a misfire or incorrect installation.
By following these steps, you can effectively check and replace the spark plugs on your classic 1969 AMC AMX, ensuring it continues to deliver peak performance.