How to check and replace brake fluid on a 1971 Dodge Charger R/T?
Driving a 1971 Dodge Charger R/T is a thrilling experience, but maintaining its brake system is crucial for safe driving. One common issue that can arise is the need to check and potentially replace …
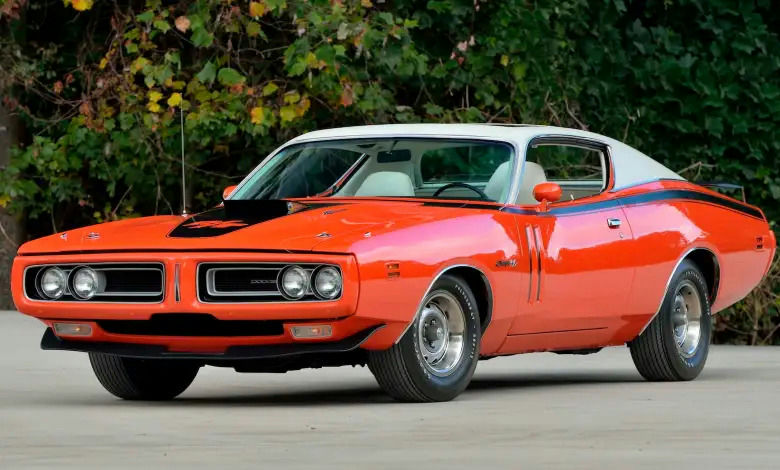
- Model
- 1971 Dodge Charger R/T
Driving a 1971 Dodge Charger R/T is a thrilling experience, but maintaining its brake system is crucial for safe driving. One common issue that can arise is the need to check and potentially replace the brake fluid. Symptoms of this problem include a spongy brake pedal, longer stopping distances, or a brake warning light on your dashboard. To ensure your classic muscle car stays in top condition and continues to perform safely, you need to regularly check and, if necessary, replace the brake fluid. Here is how to solve this issue.
Step 1: Gather Necessary Tools and Materials
Before you begin, ensure you have the following items:
- Brake fluid (DOT 3 or DOT 4, as recommended by the manufacturer)
- A clean, lint-free rag
- A small funnel
- A turkey baster or brake fluid vacuum pump
- Safety gloves and goggles
- Car jack and jack stands
Step 2: Locate the Brake Fluid Reservoir
Open the hood of your 1971 Dodge Charger R/T. The brake fluid reservoir is typically located on the driver's side of the engine bay, near the firewall. It is a small, rectangular, translucent plastic container, usually with a metal cap or a plastic cap labeled "Brake Fluid."
Step 3: Check the Brake Fluid Level and Condition
Carefully wipe off any dirt around the reservoir cap with a clean rag to prevent contamination when you open it. Remove the cap and inspect the fluid level and condition. The fluid should be clear or light amber. If it appears dark or murky, it’s time to replace it.
Step 4: Remove the Old Brake Fluid
Using a turkey baster or brake fluid vacuum pump, extract the old brake fluid from the reservoir. Dispose of the old fluid properly, as it is hazardous waste.
Step 5: Refill with New Brake Fluid
Pour the new brake fluid into the reservoir using a small funnel. Fill it up to the "Max" line on the reservoir. Do not overfill.
Step 6: Bleed the Brake Lines
After refilling the reservoir, you may need to bleed the brake lines to remove any air bubbles that may have entered the system. To do this:
- Lift the car using a car jack and support it securely on jack stands.
- Starting with the wheel farthest from the brake fluid reservoir (typically the passenger side rear wheel), locate the brake bleeder valve. It looks like a small nozzle on the brake caliper.
- Attach a clear plastic tube to the bleeder valve and place the other end in a container to catch the old fluid.
- Have an assistant press the brake pedal several times and hold it down.
- Open the bleeder valve slightly to allow the fluid to flow out, then close it before your assistant releases the brake pedal.
- Repeat this process until you see the new, clear fluid coming out of the bleeder valve.
- Repeat steps 2-6 for the other three wheels, moving sequentially from the farthest to the closest wheel to the reservoir.
Step 7: Recheck and Top Off Brake Fluid
Once the bleeding process is complete, recheck the brake fluid level in the reservoir and top it off as necessary. Ensure the reservoir cap is tightly secured.
Step 8: Test the Brake System
Lower your car from the jack stands. Before hitting the road, press the brake pedal several times to ensure it feels firm. Then, take a short, cautious drive to verify that the brakes are functioning correctly.
By following these steps, you can maintain the brake system of your 1971 Dodge Charger R/T in optimal condition, ensuring safe and reliable performance. Regular maintenance like this is vital for preserving the driving experience of your classic vehicle.