How to check and replace brake fluid on a 1970 Chevrolet Chevelle SS 454?
The brake system is a critical component of any vehicle, including the 1970 Chevrolet Chevelle SS 454. Over time, brake fluid can absorb moisture and contaminants, which can lead to decreased braking…
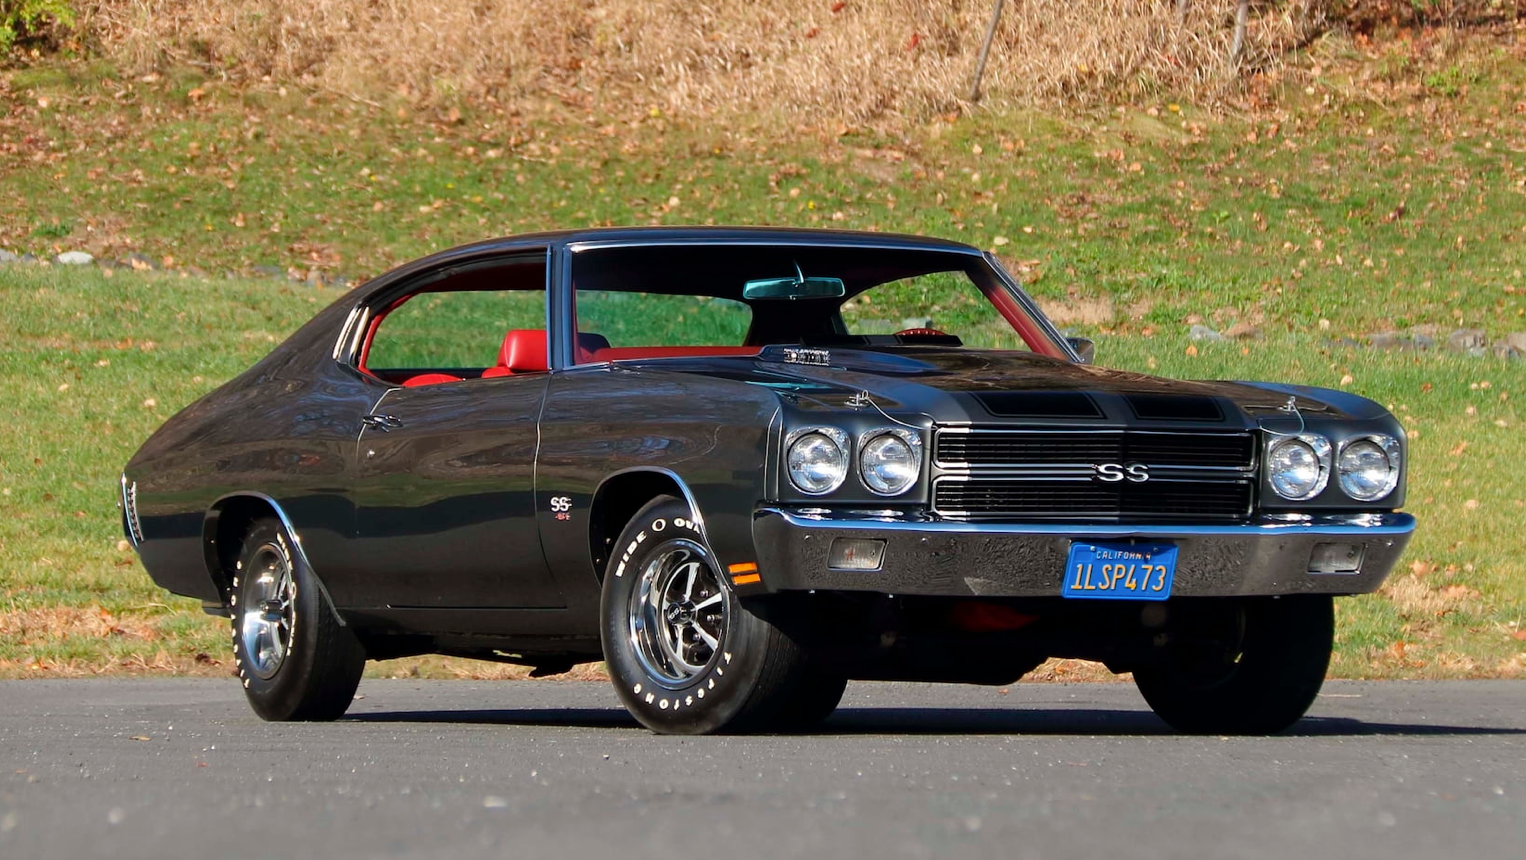
- Model
- 1970 Chevrolet Chevelle SS 454
The brake system is a critical component of any vehicle, including the 1970 Chevrolet Chevelle SS 454. Over time, brake fluid can absorb moisture and contaminants, which can lead to decreased braking efficiency and potential brake failure. A spongy brake pedal or a decrease in braking responsiveness might indicate it's time to check and possibly replace the brake fluid. Here is how to solve this issue.
Step 1: Gather Necessary Tools and Materials
Before starting, ensure you have the following:
- Fresh DOT 3 brake fluid (as recommended for the Chevelle)
- A wrench set
- A brake bleeder kit or a clear plastic tube and container
- A clean cloth or shop towels
- A turkey baster or similar tool for removing old fluid
- Safety gloves and goggles
Step 2: Locate the Brake Fluid Reservoir
Open the hood of the Chevelle and locate the brake fluid reservoir. It is situated on the driver’s side near the back of the engine bay, close to the firewall. The reservoir is a small, rectangular container with a cap marked with "Brake Fluid."
Step 3: Check the Brake Fluid Level and Condition
Carefully remove the cap from the brake fluid reservoir. Inspect the fluid level against the "MAX" and "MIN" marks on the side of the container. Normally, the fluid should be closer to the "MAX" level.
Check the color and clarity of the brake fluid. Fresh brake fluid is typically light amber. If the fluid appears dark or has particles, it’s time to replace it.
Step 4: Remove Old Brake Fluid from the Reservoir
Using the turkey baster or a similar tool, extract as much old brake fluid as possible from the reservoir. Be careful not to spill any fluid on the paint of your car, as brake fluid can damage the finish.
Step 5: Add Fresh Brake Fluid to the Reservoir
Pour new DOT 3 brake fluid into the reservoir until it reaches the "MAX" mark. Ensure the fluid is kept clean and free from contaminants during this process.
Step 6: Bleed the Brake System
Bleeding the brake system ensures that the new fluid properly replaces the old fluid throughout the system and removes any air bubbles. Here’s how:
- Start at the wheel farthest from the master cylinder, typically the passenger side rear wheel.
- Locate the bleeder valve on the brake caliper. It looks like a small nipple and is often covered with a rubber cap.
- Attach the clear plastic tube from the brake bleeder kit to the valve and place the other end into a container to catch the old fluid.
- Have an assistant press the brake pedal several times and hold it down.
- While the pedal is held down, use a wrench to open the bleeder valve slightly. Old fluid and air will escape through the tube.
- When the fluid flow slows down, close the bleeder valve and instruct your assistant to release the brake pedal.
- Repeat the process until clean, new brake fluid flows through the tube.
- Move to the next wheel (typically the driver side rear, then the passenger side front, and finally the driver side front) and repeat the bleeding process.
Step 7: Final Steps
Regularly check and refill the brake fluid reservoir during the bleeding process to ensure it never runs dry. Once all wheels are bled, fill the reservoir to the "MAX" level one final time.
Replace the reservoir cap, ensure all tools are removed from the engine bay, and close the hood.
Step 8: Test the Brake System
After completing the fluid replacement and bleeding process, test the brake pedal feel. It should be firm and responsive. Take the vehicle for a short drive and test the brakes at low speeds to ensure they function correctly.
By following these steps, you will have effectively checked and replaced the brake fluid in your 1970 Chevrolet Chevelle SS 454, ensuring optimal braking performance and safety.