How to check and replace brake fluid on a 1969 Pontiac GTO Judge?
Experiencing issues with your brakes is not only inconvenient but also dangerous, particularly in classic cars like the 1969 Pontiac GTO Judge. One common problem is the need to check and replace bra…
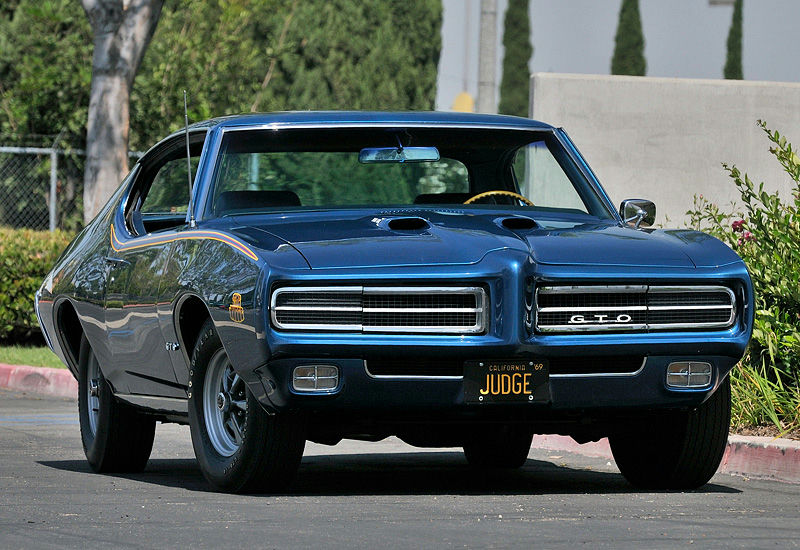
- Model
- 1969 Pontiac GTO Judge
Experiencing issues with your brakes is not only inconvenient but also dangerous, particularly in classic cars like the 1969 Pontiac GTO Judge. One common problem is the need to check and replace brake fluid, which can degrade over time and impair braking performance. Signs of brake fluid issues may include a spongy brake pedal, reduced braking effectiveness, or the brake warning light turning on. If you encounter any of these symptoms, here is how to solve this issue.
Step 1: Prepare Your Workspace
Before beginning, ensure that your GTO Judge is parked on a level surface and that the engine is turned off. Gather the necessary tools: a wrench set, brake fluid suitable for your vehicle (consult your owner’s manual for the correct type), a clean cloth, and a funnel.
Step 2: Locate the Brake Master Cylinder
The brake master cylinder in a 1969 Pontiac GTO Judge is located in the engine bay, near the firewall on the driver’s side. It is a metal reservoir with a cap that typically reads "Brake Fluid" or has a similar marking.
Step 3: Clean the Area
Using a clean cloth, wipe any dirt or debris from around the cap of the brake master cylinder. This prevents contamination of the brake fluid when you open the cap. Cleanliness is crucial to maintaining brake system integrity.
Step 4: Check the Brake Fluid Level
Carefully remove the cap from the brake master cylinder. Inside, you should see two compartments – one for the front brakes and one for the rear. The fluid level should be close to the 'Full' mark for both sections. If the fluid appears dark or murky, it needs replacing even if the level is correct.
Step 5: Add or Replace Brake Fluid
If the fluid level is low, slowly add the appropriate brake fluid using a funnel. Pour until the ‘Full’ mark is reached, ensuring you do not overfill. If the fluid needs replacing, use a turkey baster or a similar tool to remove the old fluid, then fill the reservoir with fresh brake fluid. Be sure to dispose of old brake fluid responsibly.
Step 6: Bleed the Brake System (if necessary)
Replacing brake fluid may introduce air into the system, which must be bled out. Locate the bleeder valves on each brake caliper or wheel cylinder. Attach a clear tube to the valve and place the other end in a container. Have a helper pump the brake pedal several times, hold it down, then open the bleeder valve to release air and old fluid. Close the valve before releasing the brake pedal. Repeat this process until you see clear, bubble-free fluid in the tube.
Step 7: Reassemble and Test
Once the brake fluid is at the correct level and any air has been bled from the system, replace the cap on the brake master cylinder securely. Clean up any spilled fluid, as brake fluid can damage paint. Start the engine and gently press the brake pedal to ensure it feels firm. Test the brakes in a safe area before driving normally.
By following these steps, you can ensure your 1969 Pontiac GTO Judge has fresh brake fluid and a responsive braking system, contributing to your safety and maintaining the car’s performance.