How to check and replace brake fluid on a 1969 Oldsmobile 442?
Keeping your 1969 Oldsmobile 442 in optimal condition involves regular maintenance, and one significant aspect of this is checking and replacing the brake fluid. Over time, brake fluid can absorb moi…
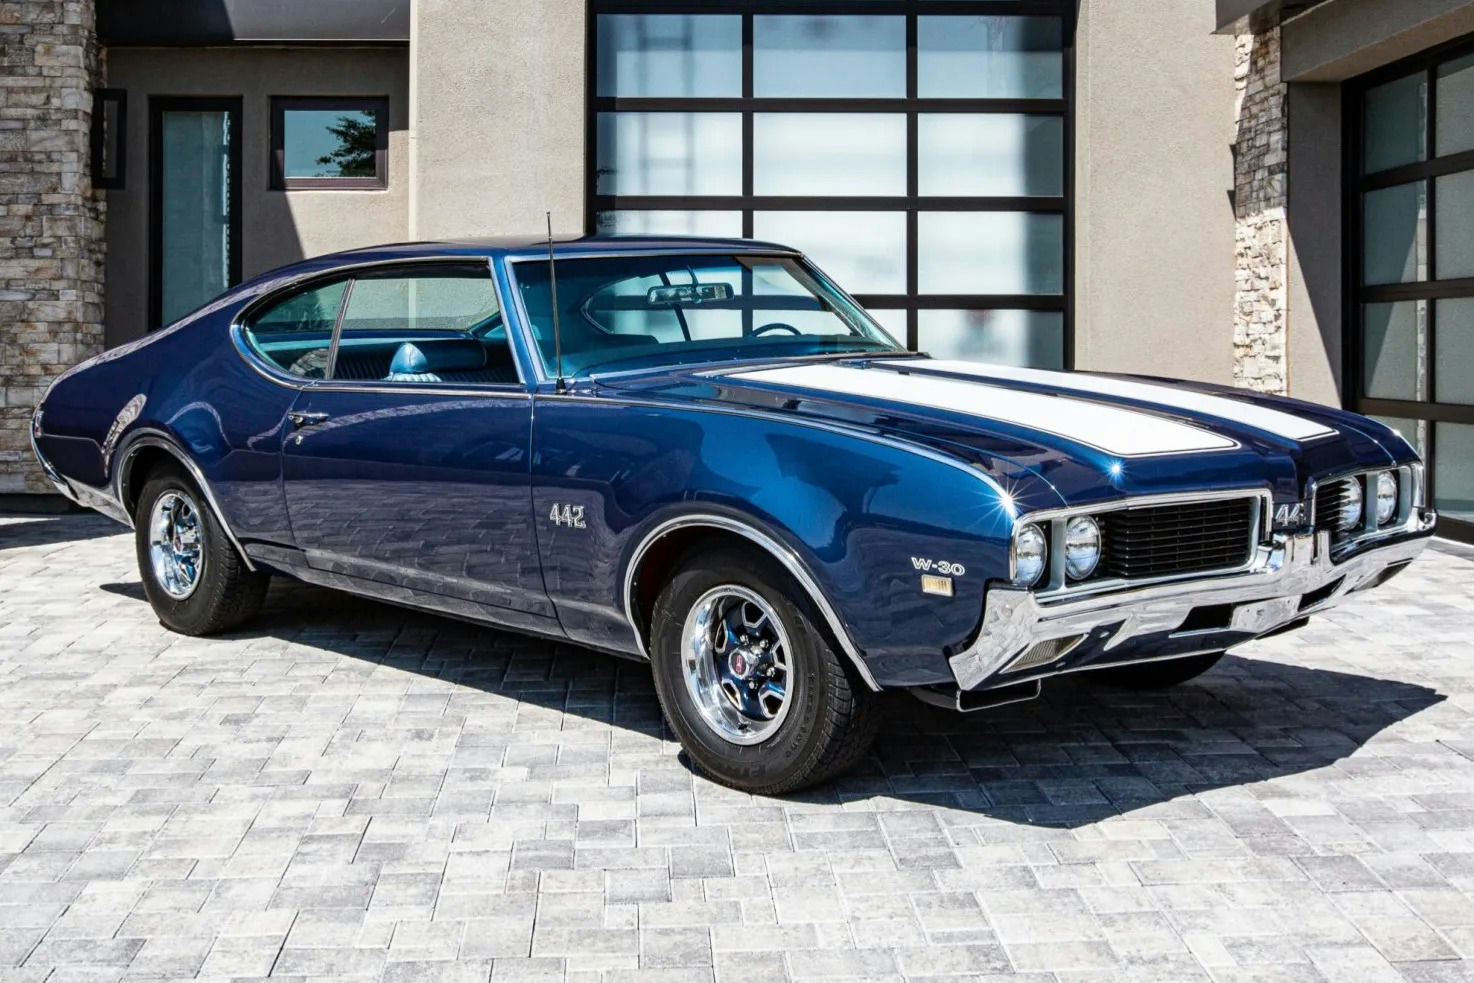
- Model
- 1969 Oldsmobile 442
Keeping your 1969 Oldsmobile 442 in optimal condition involves regular maintenance, and one significant aspect of this is checking and replacing the brake fluid. Over time, brake fluid can absorb moisture and become less effective, leading to potential braking issues. If you notice that your braking performance has declined or the brake pedal feels spongy, it might be time for a brake fluid change. Here is how to solve this issue:
Step 1: Locate the Master Cylinder
The master cylinder reservoir is typically located on the driver’s side of the engine bay, near the firewall. It is a small rectangular metal or plastic container with a screw-on or snap-on lid.
Step 2: Check the Brake Fluid Level and Condition
Carefully remove the lid of the master cylinder reservoir. Look inside to check the fluid level, which should be at or near the “Full” mark on the side of the reservoir. Also, inspect the color and clarity of the brake fluid. Fresh fluid is typically clear with a slight amber tint. If the fluid appears dark or murky, it needs to be replaced.
Step 3: Gather Required Tools and Materials
Before proceeding with replacing the brake fluid, gather the necessary tools and materials:
- New brake fluid (refer to the owner’s manual for the correct type)
- A turkey baster or a brake fluid vacuum pump
- A catch container
- Clean rags
- A wrench set
Step 4: Remove Old Brake Fluid
Using a turkey baster or a brake fluid vacuum pump, remove as much of the old brake fluid from the master cylinder reservoir as possible. Dispose of the old fluid responsibly.
Step 5: Refill with New Brake Fluid
Pour the new brake fluid into the master cylinder reservoir until it reaches the “Full” mark. Ensure that the fluid level doesn't overflow.
Step 6: Bleed the Brake Lines
This step ensures that any air trapped in the brake lines is removed, providing efficient braking. You’ll need a helper for this part.
- Locate the Bleeder Valves: The bleeder valves are found on the brake calipers or wheel cylinders. They look like small nipples with a hex nut at the base.
- Start with the brake line farthest from the master cylinder (typically the passenger side rear wheel).
- Loosen the Bleeder Valve: Ask your helper to press down on the brake pedal. As they do so, use a wrench to slightly loosen the bleeder valve. Brake fluid and air will escape through the valve. Tighten the valve before your helper releases the brake pedal.
- Repeat the Process: Continue this process until clear, bubble-free brake fluid is expelled. Repeat for each brake line, moving from the farthest to the nearest wheel.
Step 7: Top Off the Master Cylinder
After bleeding all the brake lines, check the master cylinder reservoir again and top it off with new brake fluid as needed. Make sure the fluid level is at the “Full” mark.
Step 8: Secure the Master Cylinder Lid
Once the fluid level is correct, securely replace the lid on the master cylinder. Ensure it is tight to prevent any contamination.
Step 9: Test the Brakes
Before driving, test the brakes to ensure they are functioning correctly. The brake pedal should feel firm, not spongy. Go for a short test drive to confirm that the vehicle stops effectively.
By following these steps, you can check and replace the brake fluid on your 1969 Oldsmobile 442, ensuring a safer and more responsive braking system.