How to check and replace brake fluid on a 1969 Chevrolet Camaro ZL1?
When dealing with a 1969 Chevrolet Camaro ZL1, ensuring the brake fluid is at the appropriate level and condition is essential for safe driving. Old or insufficient brake fluid can lead to a loss of …
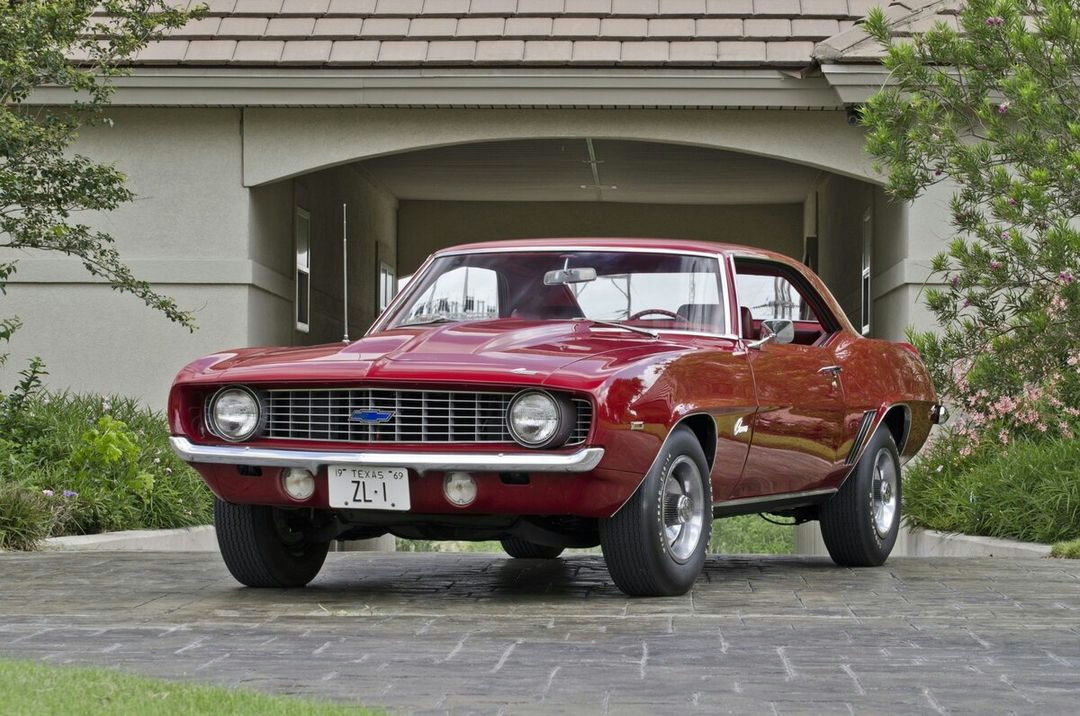
- Model
- 1969 Chevrolet Camaro ZL1
When dealing with a 1969 Chevrolet Camaro ZL1, ensuring the brake fluid is at the appropriate level and condition is essential for safe driving. Old or insufficient brake fluid can lead to a loss of braking efficiency, posing a significant safety risk. Symptoms of degraded brake fluid may include a spongy brake pedal, reduced braking power, or a brake warning light on the dashboard. Here is how to solve this issue.
Step 1: Gather Your Tools and Safety Gear
Before you begin, make sure you have the following:
- A new bottle of DOT 3 brake fluid.
- A suitable wrench for removing the master cylinder cap.
- A turkey baster or brake fluid syringe.
- A clean, lint-free cloth.
- A set of brake bleeder wrenches.
- Safety gloves and goggles.
Step 2: Locate the Master Cylinder Reservoir
First, you need to locate the master cylinder reservoir, which is situated in the engine bay. On your 1969 Chevrolet Camaro ZL1, this is typically found on the driver's side, near the firewall. It is a rectangular metal container with a lid secured by a clamp or screws.
Step 3: Check the Brake Fluid Level and Condition
Open the master cylinder reservoir by unclipping or unscrewing the lid. Be careful not to spill any fluid, as brake fluid can damage paint. The fluid level should be between the "MIN" and "MAX" marks. The fluid itself should be a clear, golden color. If it’s dark or muddy, it needs to be replaced.
Step 4: Remove Old Brake Fluid
Using a turkey baster or brake fluid syringe, draw out the old brake fluid from the reservoir. Be sure to dispose of the old fluid properly, as it is hazardous waste. Once most of the old fluid is out, use a clean, lint-free cloth to wipe away any residue inside the reservoir.
Step 5: Refill with Fresh Brake Fluid
Pour fresh DOT 3 brake fluid into the reservoir, filling it up to the "MAX" mark. Replace the lid securely to ensure no contaminants enter the system.
Step 6: Bleed the Brakes
To ensure the new fluid circulates through the entire braking system and to remove any air bubbles, the brakes need to be bled. Start with the wheel farthest from the master cylinder, typically the passenger-side rear wheel.
- Locate the brake bleeder valve on the wheel's brake caliper.
- Attach a clear hose to the valve, placing the other end into a container to catch the old fluid.
- Ask an assistant to press the brake pedal several times and hold it down.
- Open the bleeder valve using a suitable wrench. Fluid and air will flow out.
- Once the fluid runs clear without air bubbles, close the valve.
- Repeat this process for each wheel, moving toward the closest wheel to the master cylinder (passenger rear, driver rear, passenger front, driver front).
Step 7: Check the Fluid Level Again
After bleeding all four brakes, check the master cylinder reservoir again to ensure the fluid is at the "MAX" mark. Add more brake fluid if necessary.
Step 8: Test Your Brakes
Carefully test your brakes at low speed in a safe area to ensure they are functioning correctly. The brake pedal should feel firm and responsive.
By following these steps, you can ensure that your 1969 Chevrolet Camaro ZL1 has fresh, sufficient brake fluid, thereby maintaining optimal brake performance and safety.