How to check and replace brake fluid on a 1969 AMC AMX?
Over time, brake fluid can become contaminated with moisture and other impurities, reducing its effectiveness and potentially leading to brake failure. If you notice that your brakes feel spongy or l…
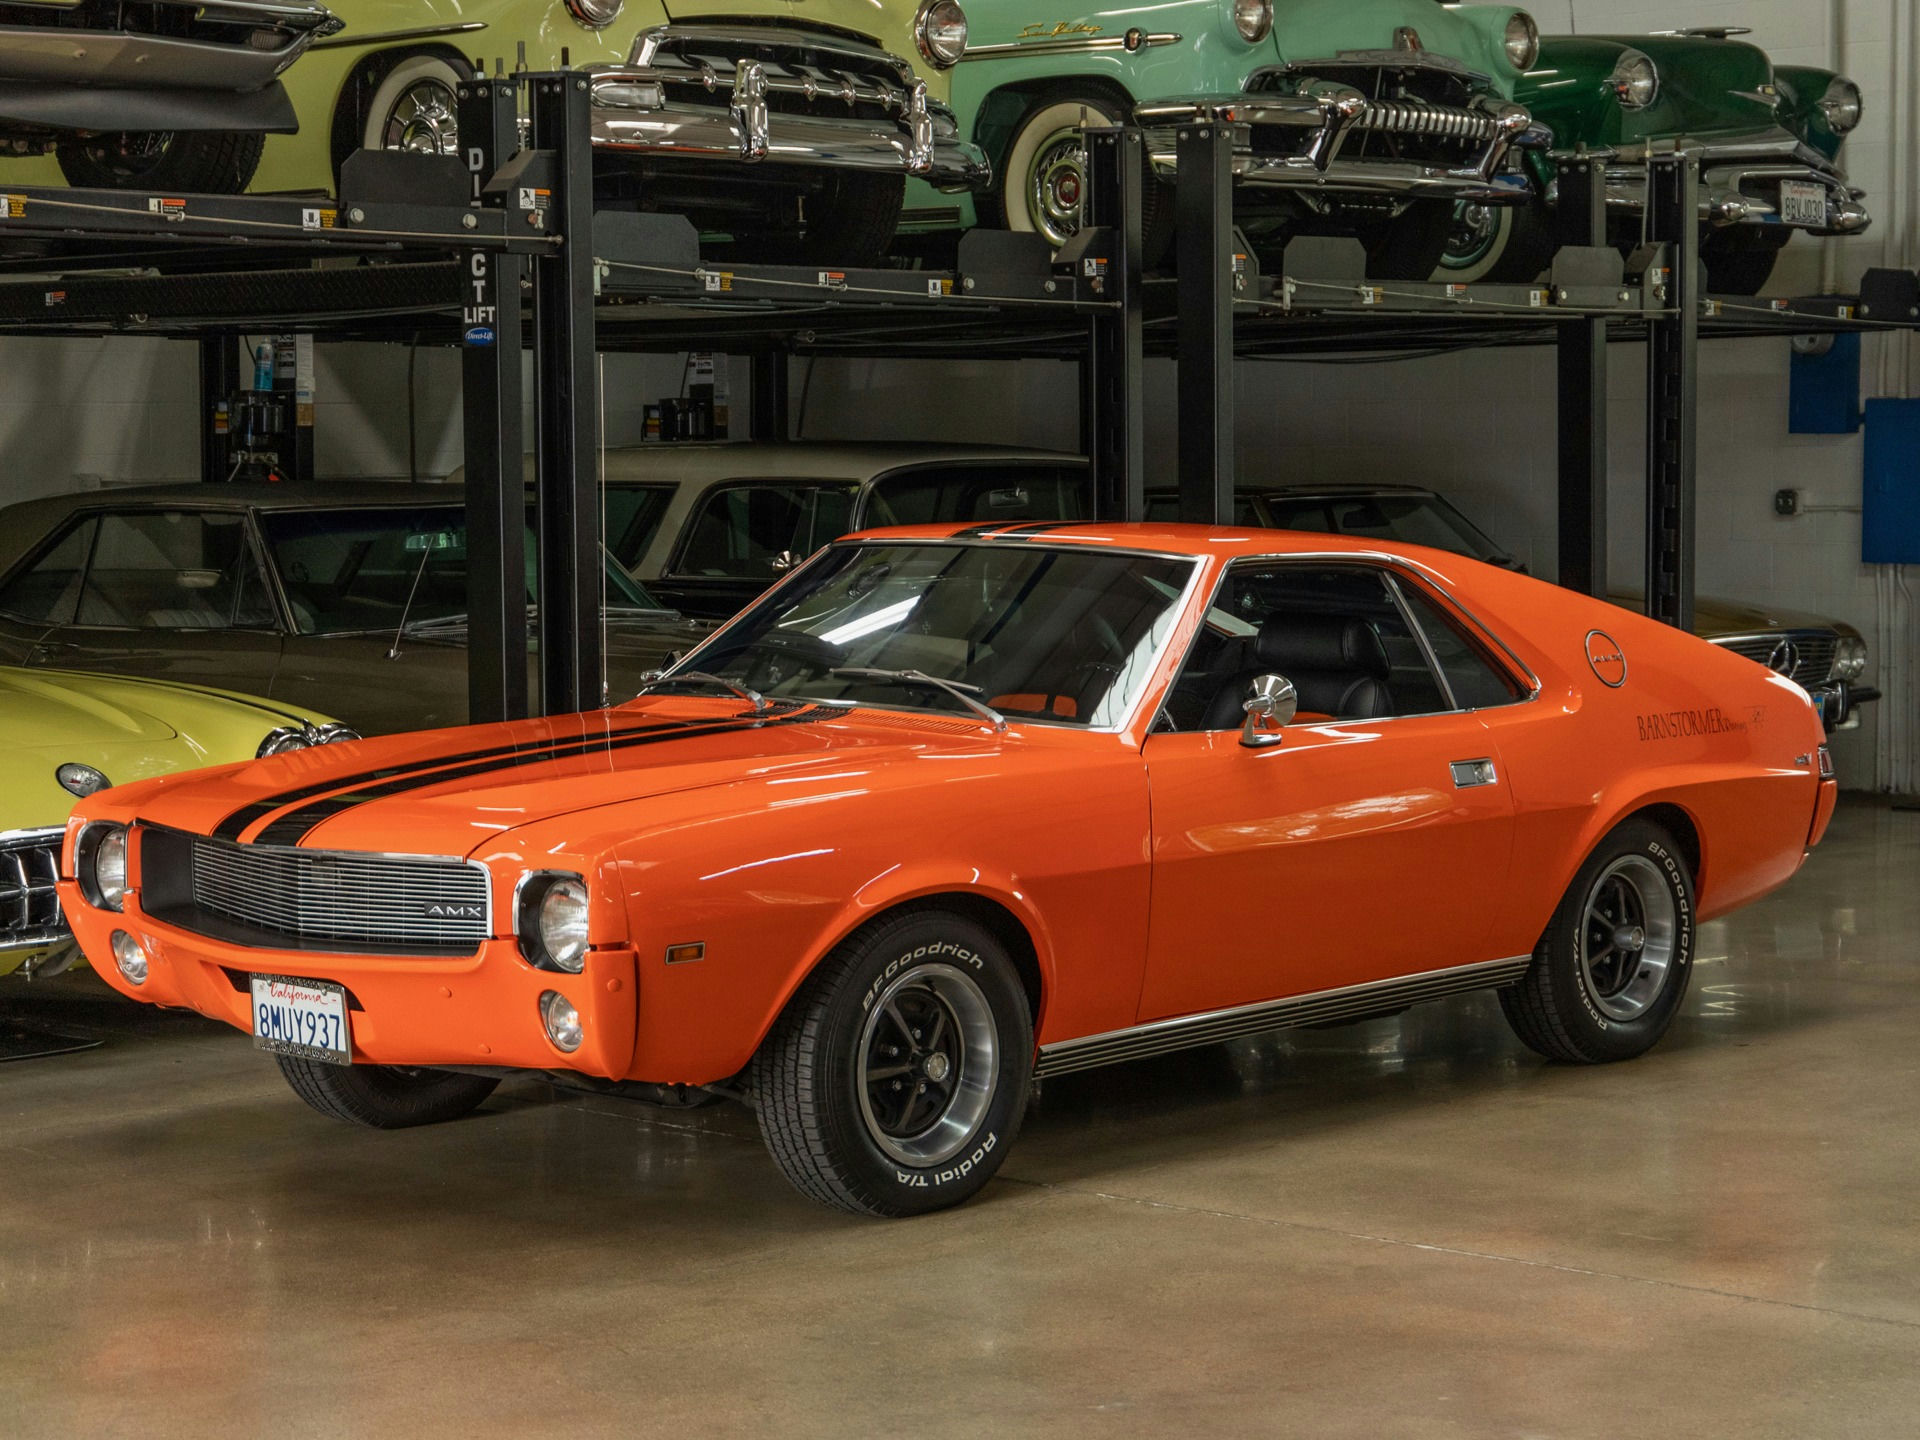
- Model
- 1969 AMC AMX
Over time, brake fluid can become contaminated with moisture and other impurities, reducing its effectiveness and potentially leading to brake failure. If you notice that your brakes feel spongy or less responsive, it might be time to check and replace your brake fluid. Performing this maintenance on your 1969 AMC AMX can ensure better brake performance and safety. Here is how to solve this issue:
Step 1: Locate the Brake Master Cylinder
The brake master cylinder in a 1969 AMC AMX is typically found in the engine bay, mounted on the driver's side near the firewall. It is a rectangular metal reservoir with a removable cap.
Step 2: Inspect the Brake Fluid Level and Condition
Once you've located the master cylinder, take off the cap, which may be held in place with a clamp or a screw cap. Inside, you will see the brake fluid. It should be nearly clear or have a light amber color. If it’s dark or dirty, the fluid needs to be replaced.
Step 3: Prepare Your Tools and Materials
Gather the necessary tools and materials, which include:
- A turkey baster or a fluid pump for extracting old fluid
- A new bottle of DOT 3 or DOT 4 brake fluid (consult your owner’s manual for specifications)
- A clean rag
- A small wrench or brake bleeder kit for bleeding the brakes
- A catch bottle for used brake fluid
Step 4: Remove the Old Brake Fluid
Use the turkey baster or fluid pump to extract the old brake fluid from the master cylinder reservoir. Be sure to remove as much as possible. Dispose of the old brake fluid properly; do not pour it down the drain.
Step 5: Add Fresh Brake Fluid
Fill the master cylinder reservoir with new brake fluid, making sure not to overfill. You will be topping off more fluid as you proceed with bleeding the brake system.
Step 6: Bleed the Brakes
Bleeding the brakes removes any air bubbles trapped in the brake lines:
- Start at the brake farthest from the master cylinder (usually the rear passenger side).
- Have an assistant pump the brake pedal several times and then hold it down.
- Use the small wrench to open the bleeder valve, allowing the fluid and air to escape into the catch bottle.
- Close the valve before your assistant releases the brake pedal.
- Repeat this process until clean, air-free brake fluid comes out.
- Move to the next brake (rear driver side, front passenger side, and finally front driver side) and repeat.
Step 7: Check and Refill the Master Cylinder
Periodically check the fluid level in the master cylinder during the bleeding process and refill as necessary. Make sure it never gets too low, as this can introduce air into the system.
Step 8: Final Inspection and Cleaning
After bleeding all four brakes, check the fluid level one last time and top it off if needed. Replace the master cylinder cap securely. Clean any spilled brake fluid around the master cylinder and other affected areas, as brake fluid can damage paint.
Step 9: Test Drive
Carefully test the brake performance in a safe area. The brake pedal should feel firm and responsive. If it feels spongy, there may still be air in the system, and further bleeding may be required.
By following these steps, you can ensure that your 1969 AMC AMX's brake system is functioning optimally, providing you with a safer driving experience.