How to check and refill differential fluid on a 1970 Plymouth Hemi 'Cuda?
Checking and refilling the differential fluid on a 1970 Plymouth Hemi 'Cuda is crucial for maintaining the vehicle's smooth performance and preventing damage to the rear axle. Low or contaminated dif…
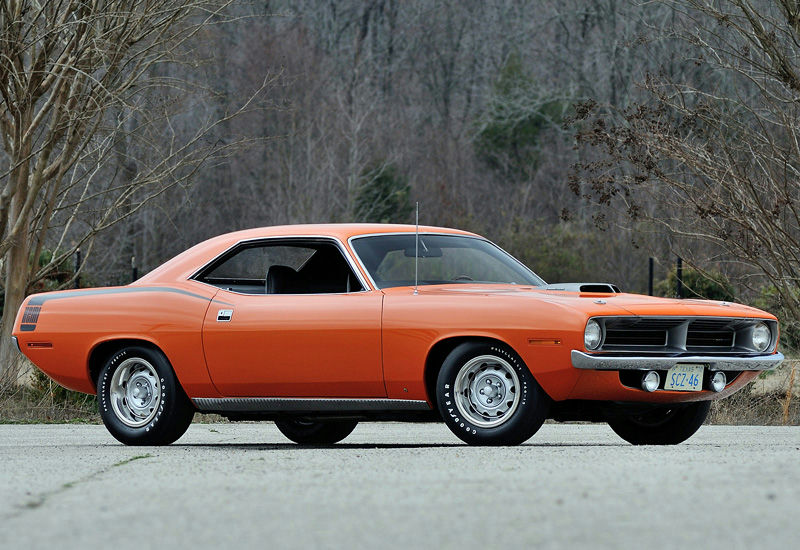
- Model
- 1970 Plymouth Hemi 'Cuda
Checking and refilling the differential fluid on a 1970 Plymouth Hemi 'Cuda is crucial for maintaining the vehicle's smooth performance and preventing damage to the rear axle. Low or contaminated differential fluid can lead to grinding noises, overheating, and ultimately, costly repairs. If you're noticing unusual sounds from the rear of your car or experiencing handling issues, it's time to give some attention to your differential fluid. Here's how to solve this issue:
Step 1: Gather Your Tools and Materials
Before you start, make sure you have the necessary tools and materials. You will need:
- A car jack and jack stands
- A socket wrench
- A fluid pump or squeeze bottle with a hose
- Differential fluid specific to your 1970 Hemi 'Cuda (check your owner's manual for the recommended type)
- A drain pan
- Clean rags
Step 2: Locate the Differential
Position yourself under the rear of the car. The differential is situated in the middle of the rear axle. It is a rounded, metal casing that houses the gears.
Step 3: Lift the Car
Use the car jack to lift the rear of the vehicle and place it securely on jack stands. Make sure the car is stable and on a flat surface before you crawl underneath.
Step 4: Clean the Area Around the Fill Plug
The fill plug is usually located on the front or side of the differential. It's a small plug that can be unscrewed with a socket wrench. Before you remove it, clean the area around the plug to prevent any debris from falling into the casing.
Step 5: Remove the Fill Plug
Use your socket wrench to carefully remove the fill plug. Set it aside in a safe place. Be ready with your drain pan as some fluid may dribble out.
Step 6: Check the Fluid Level
Insert your finger into the fill hole. The fluid level should be just below the edge of the hole. If you can’t reach any fluid, it’s time to refill.
Step 7: Refill the Differential
Attach the fluid pump or squeeze bottle to the differential fluid. Insert the hose into the fill hole and slowly add fluid. Periodically check the fluid level to ensure you don’t overfill it. Continue until the fluid level is just below the fill hole.
Step 8: Reinstall the Fill Plug
Once you've achieved the correct fluid level, clean the fill plug and the surrounding area. Screw the fill plug back into the differential and tighten it securely with the socket wrench.
Step 9: Clean Up and Lower the Car
Remove your tools and drain pan from under the car. Lower the vehicle carefully from the jack stands using the car jack. Ensure everything is cleared away and the area is clean.
Final Check
Start the car and take it for a short drive, listening for any unusual noises. If everything sounds and feels normal, you’ve successfully checked and refilled your differential fluid.
By following these steps, you can help ensure your 1970 Plymouth Hemi 'Cuda continues to run smoothly and avoid costly repairs. Regular maintenance of the differential fluid is an essential part of keeping this classic vehicle in top condition.