How to check and refill differential fluid on a 1970 Chevrolet Chevelle SS 454?
The differential fluid in your 1970 Chevrolet Chevelle SS 454 plays a vital role in ensuring the smooth operation of the vehicle's rear differential, minimizing friction and wear on various component…
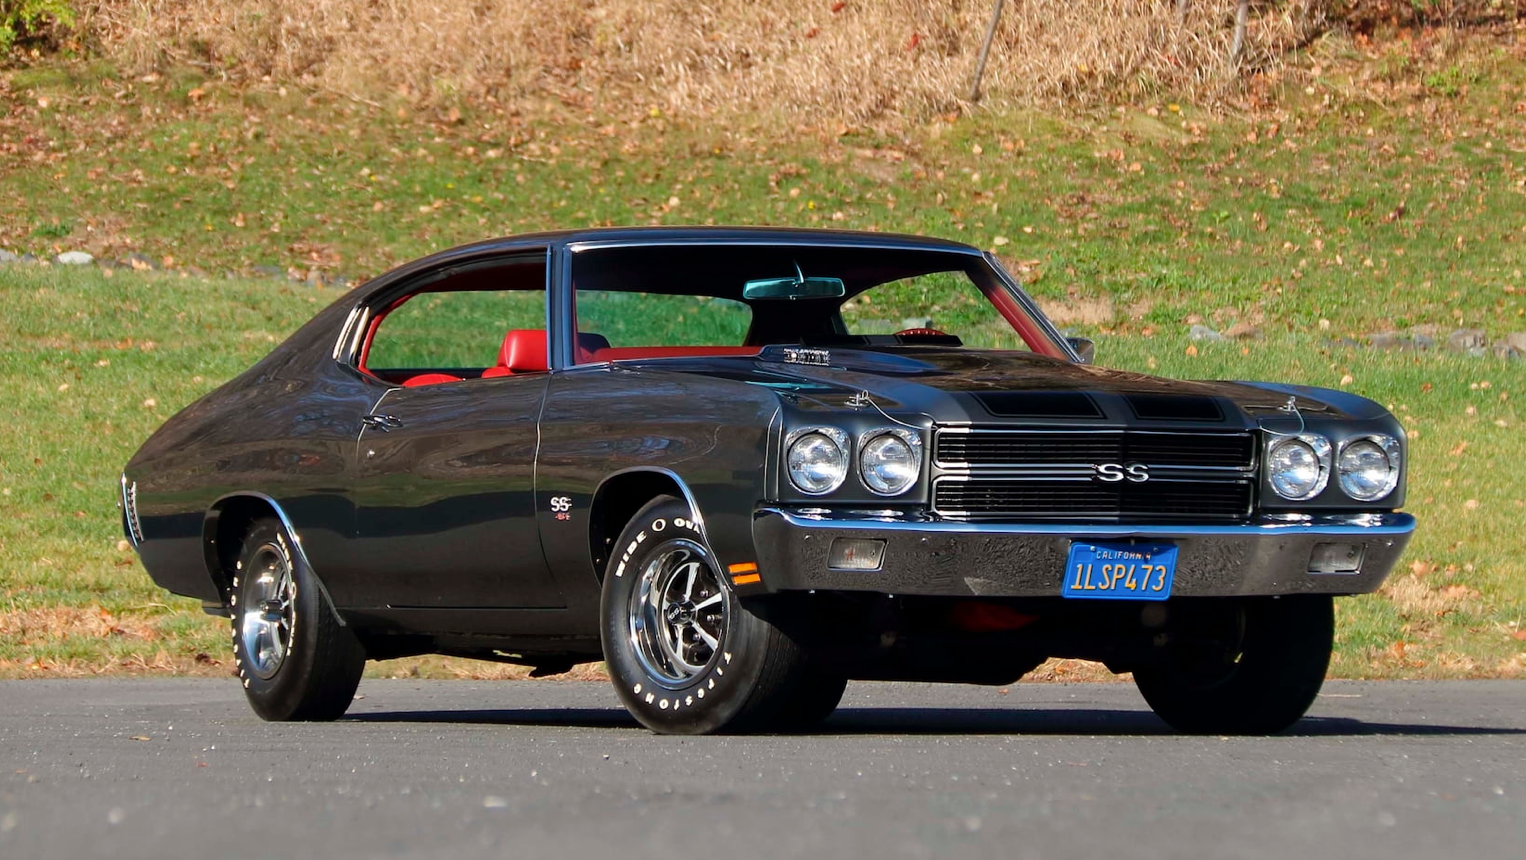
- Model
- 1970 Chevrolet Chevelle SS 454
The differential fluid in your 1970 Chevrolet Chevelle SS 454 plays a vital role in ensuring the smooth operation of the vehicle's rear differential, minimizing friction and wear on various components. Over time, this fluid can degrade or become contaminated, leading to potential damage and decreased performance. Symptoms that may indicate a low or compromised differential fluid include unusual whirring or grinding noises from the rear, vibrations during acceleration, or even difficulty in turning. To keep your Chevelle running at its best, it's essential to check and refill the differential fluid when needed. Here is how to solve this issue.
Step 1: Gather Necessary Tools and Supplies
Before starting, make sure you have the following tools and supplies:
- Jack and jack stands
- Wrench set (typically a 3/8-inch ratchet)
- Drain pan
- Replacement differential fluid (consult your owner's manual for the correct type and quantity)
- Clean rags or paper towels
- Differential gasket or RTV sealant if applicable
Step 2: Lift the Vehicle Safely
To access the differential, you'll need to get under the car:
- Park your Chevelle on a level surface and engage the parking brake.
- Use a jack to lift the rear of the vehicle and secure it with jack stands placed under the axle for stability. Always ensure the car is stable before proceeding.
Step 3: Locate the Differential Fill Plug
The differential fill plug can be found on the differential housing:
- Crawl under the vehicle from the rear to locate the differential case, which is a large, rounded metal casing in the center of the axle.
- Look for a plug partway up the rear of the differential case. It is typically square-headed and needs a 3/8-inch ratchet to remove.
Step 4: Check the Fluid Level
With the fill plug located:
- Place a drain pan under the differential to catch any drips.
- Use your 3/8-inch ratchet to remove the fill plug by turning it counter-clockwise.
- Carefully check the fluid level. It should be just below the edge of the fill hole. Insert your finger carefully into the hole to feel for the fluid. If you can't feel the fluid, it needs topping up.
Step 5: Refill the Differential Fluid
If the fluid level is low:
- Prepare the new differential fluid. Attach a piece of flexible tubing to the nozzle of the fluid container for easier application.
- Insert the end of the tubing into the fill hole and slowly squeeze the fluid into the differential until it starts to slightly overflow from the hole.
- Allow a few moments for excess fluid to drip out, indicating that it is now at the proper level.
Step 6: Re-secure the Fill Plug
Once you have reached the correct fluid level:
- Wipe off any excess fluid from around the fill hole with a clean rag or paper towel.
- Reinsert and tighten the fill plug securely using your 3/8-inch ratchet. Ensure it’s tight enough to prevent any leaks.
Step 7: Lower the Vehicle
After finishing with the differential:
- Carefully remove the jack stands and lower the car back to the ground using the jack.
- Perform a final check to ensure everything is secure and clean.
By following these steps, you can effectively check and refill the differential fluid on your 1970 Chevrolet Chevelle SS 454, ensuring your vehicle continues to operate smoothly and efficiently. Regular maintenance of differential fluid will help extend the lifespan of your differential components and avoid costly repairs down the line.