How to check and refill differential fluid on a 1969 Oldsmobile 442?
Checking and refilling differential fluid on a 1969 Oldsmobile 442 is an essential maintenance task to ensure the longevity and smooth operation of your vehicle’s rear differential. Over time, the fl…
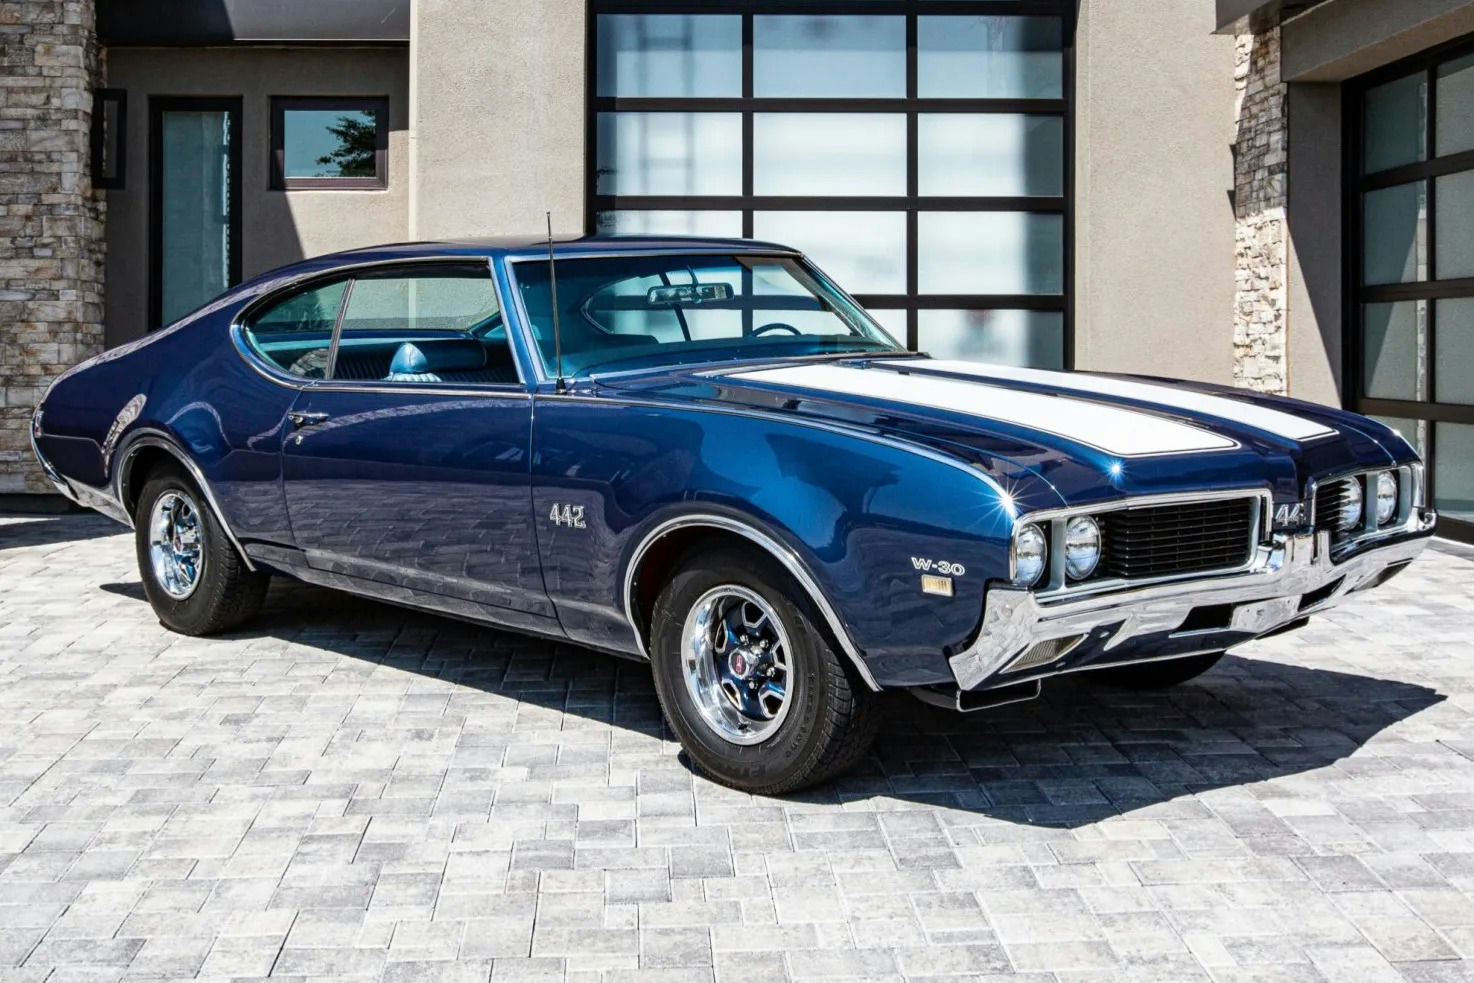
- Model
- 1969 Oldsmobile 442
Checking and refilling differential fluid on a 1969 Oldsmobile 442 is an essential maintenance task to ensure the longevity and smooth operation of your vehicle’s rear differential. Over time, the fluid can become contaminated or lose its effectiveness, leading to wear and damage. If you notice a whining noise from the rear, vibrations, or feel a decrease in overall driving smoothness, these may be signs that your differential fluid needs attention. Here is how to solve this issue:
Step 1: Gather Your Tools and Supplies
Before you start, make sure you have the following:
- A jack and jack stands
- A drain pan
- A socket wrench set
- Gear oil suitable for your differential
- A fluid pump or squeeze bottle for refilling
- Clean rags or paper towels
- Safety gloves and glasses
Step 2: Locate the Differential
The differential is situated at the rear of your vehicle, between the rear wheels. It is a bulky, usually round component housed in a metal casing. You will see a rounded cover secured with bolts on the back side.
Step 3: Lift the Vehicle
Safely lift the rear of the car using a jack and place it securely on jack stands. Ensure the car is on a flat, stable surface. Always follow safety protocols when working under a vehicle.
Step 4: Locate the Fill Plug
Find the fill plug on the differential casing. This plug is usually located midway up the cover and may have a square or hexagonal shape. It is designed to be unscrewed using a socket wrench or a ratchet extension.
Step 5: Remove the Fill Plug
Using your socket wrench, remove the fill plug. Be cautious, as some fluid may seep out, especially if the vehicle has recently been driven and the fluid is still warm. Place a drain pan underneath to catch any drips.
Step 6: Check the Fluid Level
Stick a clean finger into the fill hole to examine the fluid level. The differential fluid should be just below the edge of the fill hole. If you can't feel the fluid, it is likely low and needs to be refilled.
Step 7: Remove the Drain Plug (If Equipped) and Drain Old Fluid
If your differential has a drain plug (usually at the bottom of the casing), remove it with the socket wrench and allow the old fluid to completely drain into the drain pan. If there is no drain plug, you may need to remove the differential cover, but make sure to have an appropriate gasket to replace the old one for resealing.
Step 8: Replace the Drain Plug or Cover
Once the old fluid has drained, replace the drain plug and tighten it securely. If you removed the cover, install the new gasket, reattach the cover, and tighten the bolts in a crisscross pattern to ensure even pressure.
Step 9: Refill the Differential
Using a fluid pump or squeeze bottle, fill the differential with the appropriate gear oil until the fluid begins to slightly overflow from the fill hole. This indicates it has reached the correct level.
Step 10: Replace the Fill Plug
Reinsert and tighten the fill plug securely. Wipe down the area with a clean rag to remove any residual fluid.
Step 11: Lower the Vehicle
Carefully remove the jack stands and lower the car back to the ground.
Conclusion
Regularly maintaining your 1969 Oldsmobile 442’s differential fluid ensures smooth performance and prevents potential damage to the differential gears. By following these detailed steps, you can confidently check and refill the differential fluid, thereby extending the life of your vehicle and ensuring a smoother ride.