How to check and refill differential fluid on a 1969 Chevrolet Camaro ZL1?
Over time, the differential fluid in a 1969 Chevrolet Camaro ZL1 can break down or leak, potentially causing damage to the differential gears. Symptoms of low or contaminated differential fluid inclu…
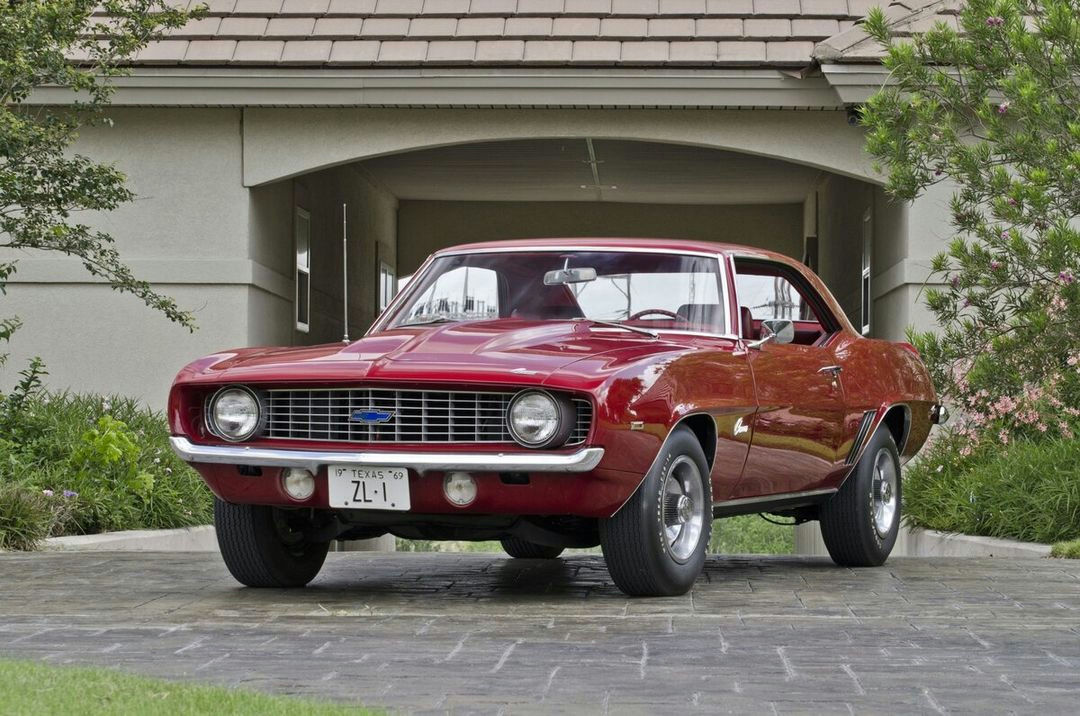
Model: 1969 Chevrolet Camaro ZL1
Over time, the differential fluid in a 1969 Chevrolet Camaro ZL1 can break down or leak, potentially causing damage to the differential gears. Symptoms of low or contaminated differential fluid include whining or grinding noises from the rear of the car, vibrations while driving, or poor handling. If your Camaro exhibits any of these issues, it's essential to check and, if necessary, refill the differential fluid. Here is how to solve this issue:
Join the AutoFame community. Become a member for free, add your car to the garage and tell its story. Join AutoFame.
Step 1: Gather the Necessary Tools and Supplies
To check and refill the differential fluid, you will need:
A jack and jack stands
A drain pan
A socket set
Gear oil (refer to the owner’s manual for the correct type and viscosity)
A fluid pump or a squeeze bottle with a nozzle
A clean rag or paper towels
Safety glasses and gloves
Step 2: Lift and Secure the Vehicle
Locate a safe, flat working area. Use a jack to lift the rear end of your Camaro, and then secure it on jack stands. Ensure the car is stable before proceeding.
Step 3: Locate the Differential
The differential is located between the rear wheels and is part of the axle housing. It is typically a rounded, metal casing.
Step 4: Clean the Differential Plug Area
Before removing any plugs, use a clean rag or paper towels to wipe away dirt and grime around the fill plug. This prevents contaminants from entering the differential.
Step 5: Remove the Fill Plug
The fill plug is usually located on the front or side of the differential casing. It might be a square or hexagonal plug. Use the appropriate socket or wrench to carefully remove the fill plug. This allows you to check the fluid level.
Step 6: Check the Fluid Level
Use your finger to feel inside the fill hole. The fluid should be close to the bottom edge of the hole. If you can't feel the fluid, it is likely low and needs to be refilled.
Step 7: Place the Drain Pan and Remove the Drain Plug (if applicable)
Some differentials have a drain plug at the bottom. If so, place a drain pan underneath and remove the plug to drain old fluid. If your differential design doesn't have a drain plug, you might need to remove the cover to drain the fluid. After draining, reinstall the drain plug or cover with a new gasket to prevent leaks.
Step 8: Refill the Differential
Attach a fluid pump or use a squeeze bottle with a nozzle to add the new gear oil into the fill hole. Fill until the oil begins to slightly spill out of the hole, indicating it has reached the correct level.
Step 9: Reinstall the Fill Plug
Once the differential is filled, reinstall the fill plug and tighten it securely using the appropriate socket or wrench.
Step 10: Lower the Vehicle and Clean Up
Carefully remove the jack stands and lower your Camaro back to the ground. Wipe away any spilled oil around the differential casing and properly dispose of the old fluid.
Have a car with a story like this? Become an AutoFame member and share it with people who love cars as much as you do.
By following these steps, you can ensure your 1969 Chevrolet Camaro ZL1's differential fluid is at the optimal level, helping to maintain the smooth and efficient operation of your vehicle. Regular maintenance of this nature can prevent costly repairs and prolong the life of your car’s differential system.
About AutoFame
AutoFame is a home for people who love cars and the stories behind them. Every car on a show field or in a garage has a history: who built it, who saved it, the road trips, the late nights in the shop and the people who helped along the way. AutoFame gives those stories a place to live, so they are not lost when the hood closes or the car changes hands.
Membership is free. Once you join, you can add your car to your own AutoFame garage with photos, specs and the story only you can tell. Restorations, survivors, daily drivers, race cars and family heirlooms all belong here. Other members can find your car, follow its progress and connect with you over the details that matter to car people.
Beyond member garages, AutoFame publishes stories, guides and features on the cars, builders and history that shape car culture. You will find buying and restoration guides, car parts explainers, special editions, the newest models and the classics that started it all. The AutoFame Gallery puts member cars on display for anyone to browse, and the AutoFame YouTube channel adds owner interviews, show highlights and the conversations that happen around a good car.
AutoFame is also built for the people who run car shows. Organizers use it to manage entries and judging, and judges score each car category by category on their phones, with a written guide for every category so nothing gets skipped. After a judged show, owners can see what their car was scored on and how it compared. Shows across the Texas Gulf Coast have run on AutoFame, including the Moody Gardens Car Show in Galveston, Good Grub and Gears, and Keels and Wheels at Lakewood Yacht Club.
AutoFame was founded by Kevin Brady, whose own life in cars began long before he started building tools for the hobby. The idea is simple: the people who love these cars should have one place to share them, learn from each other and keep the stories going.
Whether you own a show winner, a project that is still in pieces or simply love reading about great cars, there is room for you here.
Be part of the AutoFame community. Join free and become a member today.