How to change the oil on a 1969 Oldsmobile 442?
Changing the oil on a classic car like a 1969 Oldsmobile 442 is an essential maintenance task that ensures the engine continues to run smoothly and efficiently. Over time, old oil can become contamin…
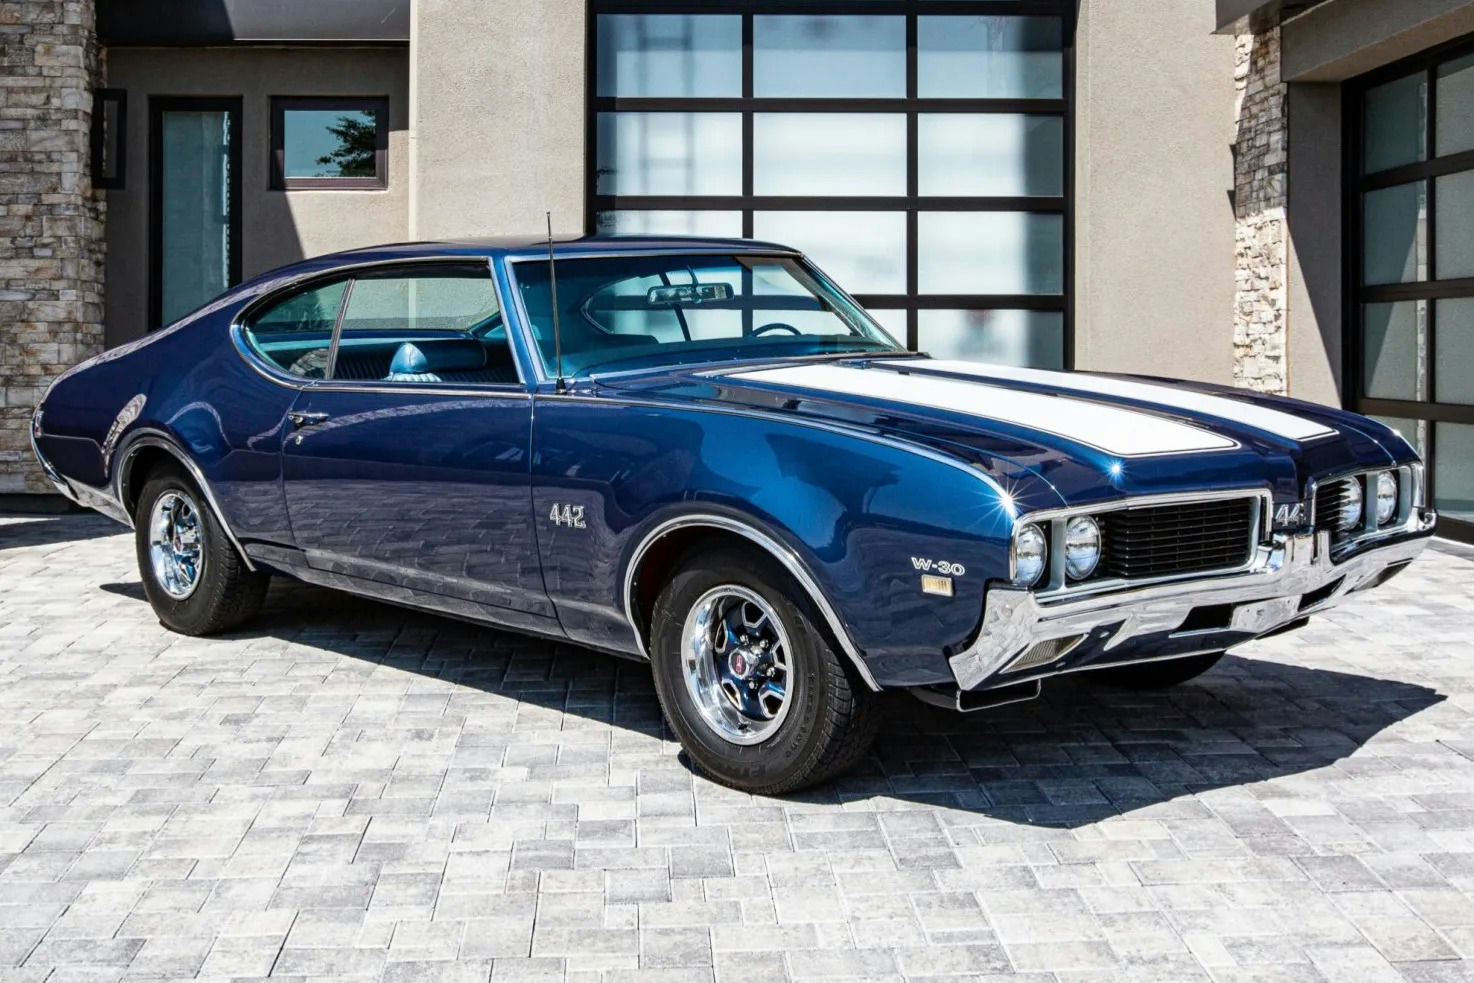
- Model
- 1969 Oldsmobile 442
Changing the oil on a classic car like a 1969 Oldsmobile 442 is an essential maintenance task that ensures the engine continues to run smoothly and efficiently. Over time, old oil can become contaminated with dirt and debris, reducing its effectiveness at lubricating critical engine components. If neglected, this can lead to increased wear and potential damage. Here is how to solve this issue.
Step 1: Gather Necessary Tools and Supplies
Before starting the oil change, make sure you have the following items:
- New oil filter (specific to 1969 Oldsmobile 442)
- Engine oil (check your owner's manual for the correct type and quantity)
- Oil filter wrench
- Socket wrench set
- Drain pan
- Funnel
- Clean rags
- Car jack and jack stands or ramps
Step 2: Prepare the Vehicle
Park your Oldsmobile 442 on a flat, level surface. Ensure the engine is off and cool to prevent burns from hot oil. Engage the parking brake for safety. If needed, lift the front of the car using a car jack and secure it with jack stands or use ramps.
Step 3: Locate the Oil Drain Plug
Underneath the car, locate the oil drain plug on the oil pan. The oil pan is a large, metal container sitting at the very bottom of the engine. The drain plug is typically a single bolt at the lowest point of the pan.
Step 4: Drain the Old Oil
Place the drain pan directly under the oil drain plug. Using a socket wrench, turn the drain plug counterclockwise to remove it. Allow all the old oil to drain out completely. This may take several minutes. Once the oil is fully drained, replace the drain plug and tighten it securely with the socket wrench.
Step 5: Locate and Remove the Oil Filter
The oil filter is usually located on the side of the engine and can be a cylindrical, metal component. On the 1969 Oldsmobile 442, it is likely towards the front, driver's side of the engine bay. Use the oil filter wrench to turn it counterclockwise until it comes off. Be prepared for some oil to spill out as you remove it, so make sure the drain pan is still in place.
Step 6: Install the New Oil Filter
Before installing the new oil filter, apply a small amount of new engine oil to the rubber gasket on top of the filter. This ensures a secure seal and makes removal easier next time. Screw the new filter onto the engine by turning it clockwise until it's hand-tight. Then use the oil filter wrench to give it an additional ¾ turn for proper tension.
Step 7: Add New Engine Oil
Open the hood and locate the oil cap, which is typically found on the top center of the engine. It's a round plastic cap marked with an oil can symbol and often has a small handle. Remove the cap and insert a funnel into the opening. Slowly pour the correct amount of new engine oil into the engine.
Step 8: Check Oil Levels
After adding the new oil, replace the oil cap securely and run the engine for a few minutes. Turn off the engine and wait for a couple of minutes to let the oil settle. Use the dipstick to check the oil level. The dipstick, usually located near the oil cap, is a long metal rod with markings to indicate the oil level. If the level is below the "full" mark, add more oil as necessary.
Step 9: Clean Up and Dispose of Old Oil
Properly dispose of the old oil and oil filter by taking them to a recycling center or an auto parts store that offers oil disposal services. Clean up any spills with rags or an absorbent material.
By following these steps, you can ensure that your 1969 Oldsmobile 442 runs smoothly with fresh, clean oil. Regular oil changes are an essential part of vehicle maintenance that will keep your classic car in top condition for years to come.