How to change the oil on a 1969 Chevrolet Camaro ZL1?
Changing the oil on a 1969 Chevrolet Camaro ZL1 is an essential part of regular maintenance to ensure the engine runs smoothly and efficiently. Neglecting this task can lead to decreased performance …
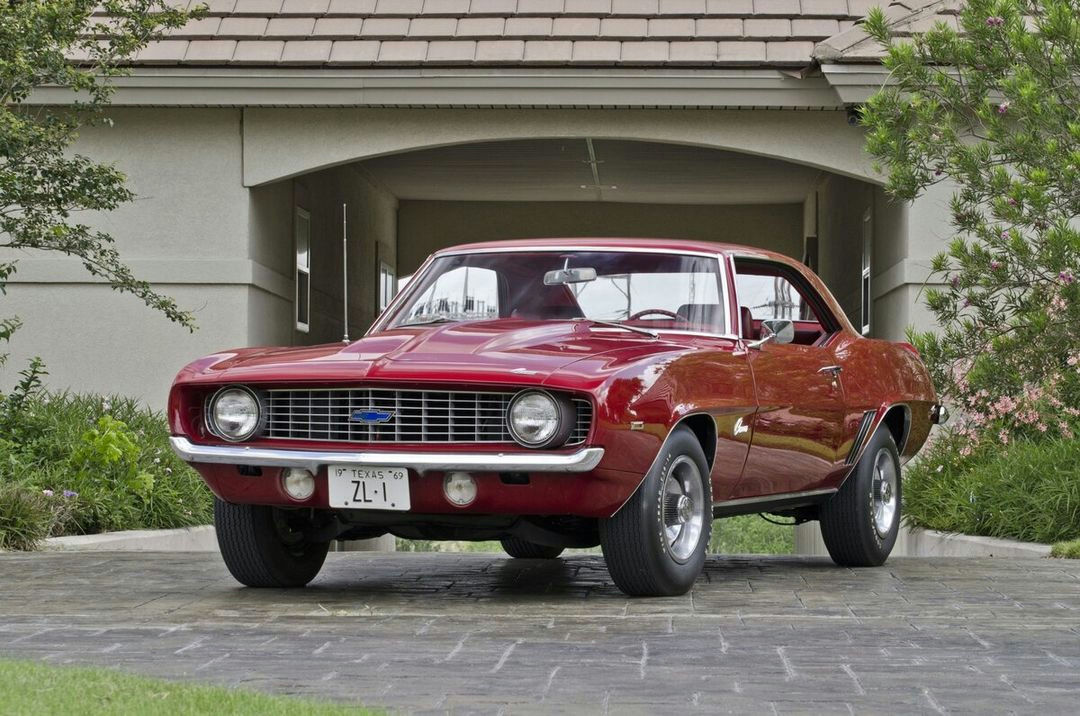
Model: 1969 Chevrolet Camaro ZL1
Changing the oil on a 1969 Chevrolet Camaro ZL1 is an essential part of regular maintenance to ensure the engine runs smoothly and efficiently. Neglecting this task can lead to decreased performance and potential engine damage. If you're noticing dirty oil, engine noise, or the oil change indicator light is on, it's likely time to replace the oil. Here's how to resolve this issue:
Join the AutoFame community. Become a member for free, add your car to the garage and tell its story. Join AutoFame.
Step 1: Gather Necessary Tools and Supplies
Before starting, make sure you have the following items:
New oil filter
5 quarts of high-quality motor oil (check the owner's manual for specifications)
Oil filter wrench
Oil drain pan
Socket wrench set
Funnel
Clean rag
Car jack and jack stands
Step 2: Prepare the Vehicle
First, ensure that your Camaro is parked on a flat, level surface. Engage the parking brake for safety. If necessary, use a car jack to lift the front of the vehicle and place it securely on jack stands to gain better access to the oil pan.
Step 3: Locate the Oil Drain Plug and Drain the Oil
Underneath the car, locate the oil pan, which is a large, flat metal container on the bottom of the engine. The oil drain plug is a bolt located at the lowest point of the oil pan. Position your oil drain pan beneath the drain plug. Use your socket wrench to carefully remove the drain plug, allowing the old oil to flow into the drain pan. Be cautious as the oil may be hot.
Step 4: Replace the Oil Filter
While the oil is draining, locate the oil filter. It is typically a cylindrical, metal canister attached to the engine block, often on the side. Use the oil filter wrench to loosen and remove the old oil filter. Some residual oil may spill out, so be prepared with your drain pan or a rag. Before installing the new oil filter, lightly coat the rubber gasket on the top of the filter with fresh oil to ensure a proper seal. Screw the new filter into place by hand until it is snug, then tighten it an additional quarter turn.
Step 5: Reinstall the Oil Drain Plug
Once the old oil has completely drained, clean the drain plug and the area around the oil pan opening with a rag. Reinstall the drain plug and tighten it securely with your socket wrench.
Step 6: Add New Oil
Lower the car if it was raised. Open the hood and locate the oil cap, which is typically found on the top center of the engine, marked with a yellow oil can symbol. Remove the oil cap and place a funnel into the opening. Pour in the recommended amount of new oil (usually around 5 quarts, but check your manual). After adding the oil, replace the oil cap, ensuring it is tightly secured.
Step 7: Check the Oil Level
Start the engine and let it run for a few minutes to circulate the new oil. Turn off the engine and wait a few moments for the oil to settle. Use the dipstick (usually located near the front of the engine bay, with a yellow or orange handle) to check the oil level. Pull out the dipstick, wipe it clean with a rag, reinsert it fully, and then pull it out again to check the level. The oil should be within the marked area on the dipstick. If necessary, add more oil to reach the proper level.
Have a car with a story like this? Become an AutoFame member and share it with people who love cars as much as you do.
Step 8: Dispose of Old Oil and Filter Properly
Collect all used oil and the old oil filter, and take them to an appropriate recycling center or auto parts store that accepts used oil. Do not dispose of these materials in the trash or down the drain.
By following these steps, you can successfully change the oil on your 1969 Chevrolet Camaro ZL1 and keep your engine running smoothly. Regular oil changes are crucial for maintaining the health and longevity of your vehicle.
About AutoFame
AutoFame is a home for people who love cars and the stories behind them. Every car on a show field or in a garage has a history: who built it, who saved it, the road trips, the late nights in the shop and the people who helped along the way. AutoFame gives those stories a place to live, so they are not lost when the hood closes or the car changes hands.
Membership is free. Once you join, you can add your car to your own AutoFame garage with photos, specs and the story only you can tell. Restorations, survivors, daily drivers, race cars and family heirlooms all belong here. Other members can find your car, follow its progress and connect with you over the details that matter to car people.
Beyond member garages, AutoFame publishes stories, guides and features on the cars, builders and history that shape car culture. You will find buying and restoration guides, car parts explainers, special editions, the newest models and the classics that started it all. The AutoFame Gallery puts member cars on display for anyone to browse, and the AutoFame YouTube channel adds owner interviews, show highlights and the conversations that happen around a good car.
AutoFame is also built for the people who run car shows. Organizers use it to manage entries and judging, and judges score each car category by category on their phones, with a written guide for every category so nothing gets skipped. After a judged show, owners can see what their car was scored on and how it compared. Shows across the Texas Gulf Coast have run on AutoFame, including the Moody Gardens Car Show in Galveston, Good Grub and Gears, and Keels and Wheels at Lakewood Yacht Club.
AutoFame was founded by Kevin Brady, whose own life in cars began long before he started building tools for the hobby. The idea is simple: the people who love these cars should have one place to share them, learn from each other and keep the stories going.
Whether you own a show winner, a project that is still in pieces or simply love reading about great cars, there is room for you here.
Be part of the AutoFame community. Join free and become a member today.