How to change the oil on a 1969 AMC AMX?
Changing the oil in your 1969 AMC AMX is a crucial maintenance task that ensures the longevity and performance of your classic car's engine. Over time, oil degrades and accumulates impurities, which …
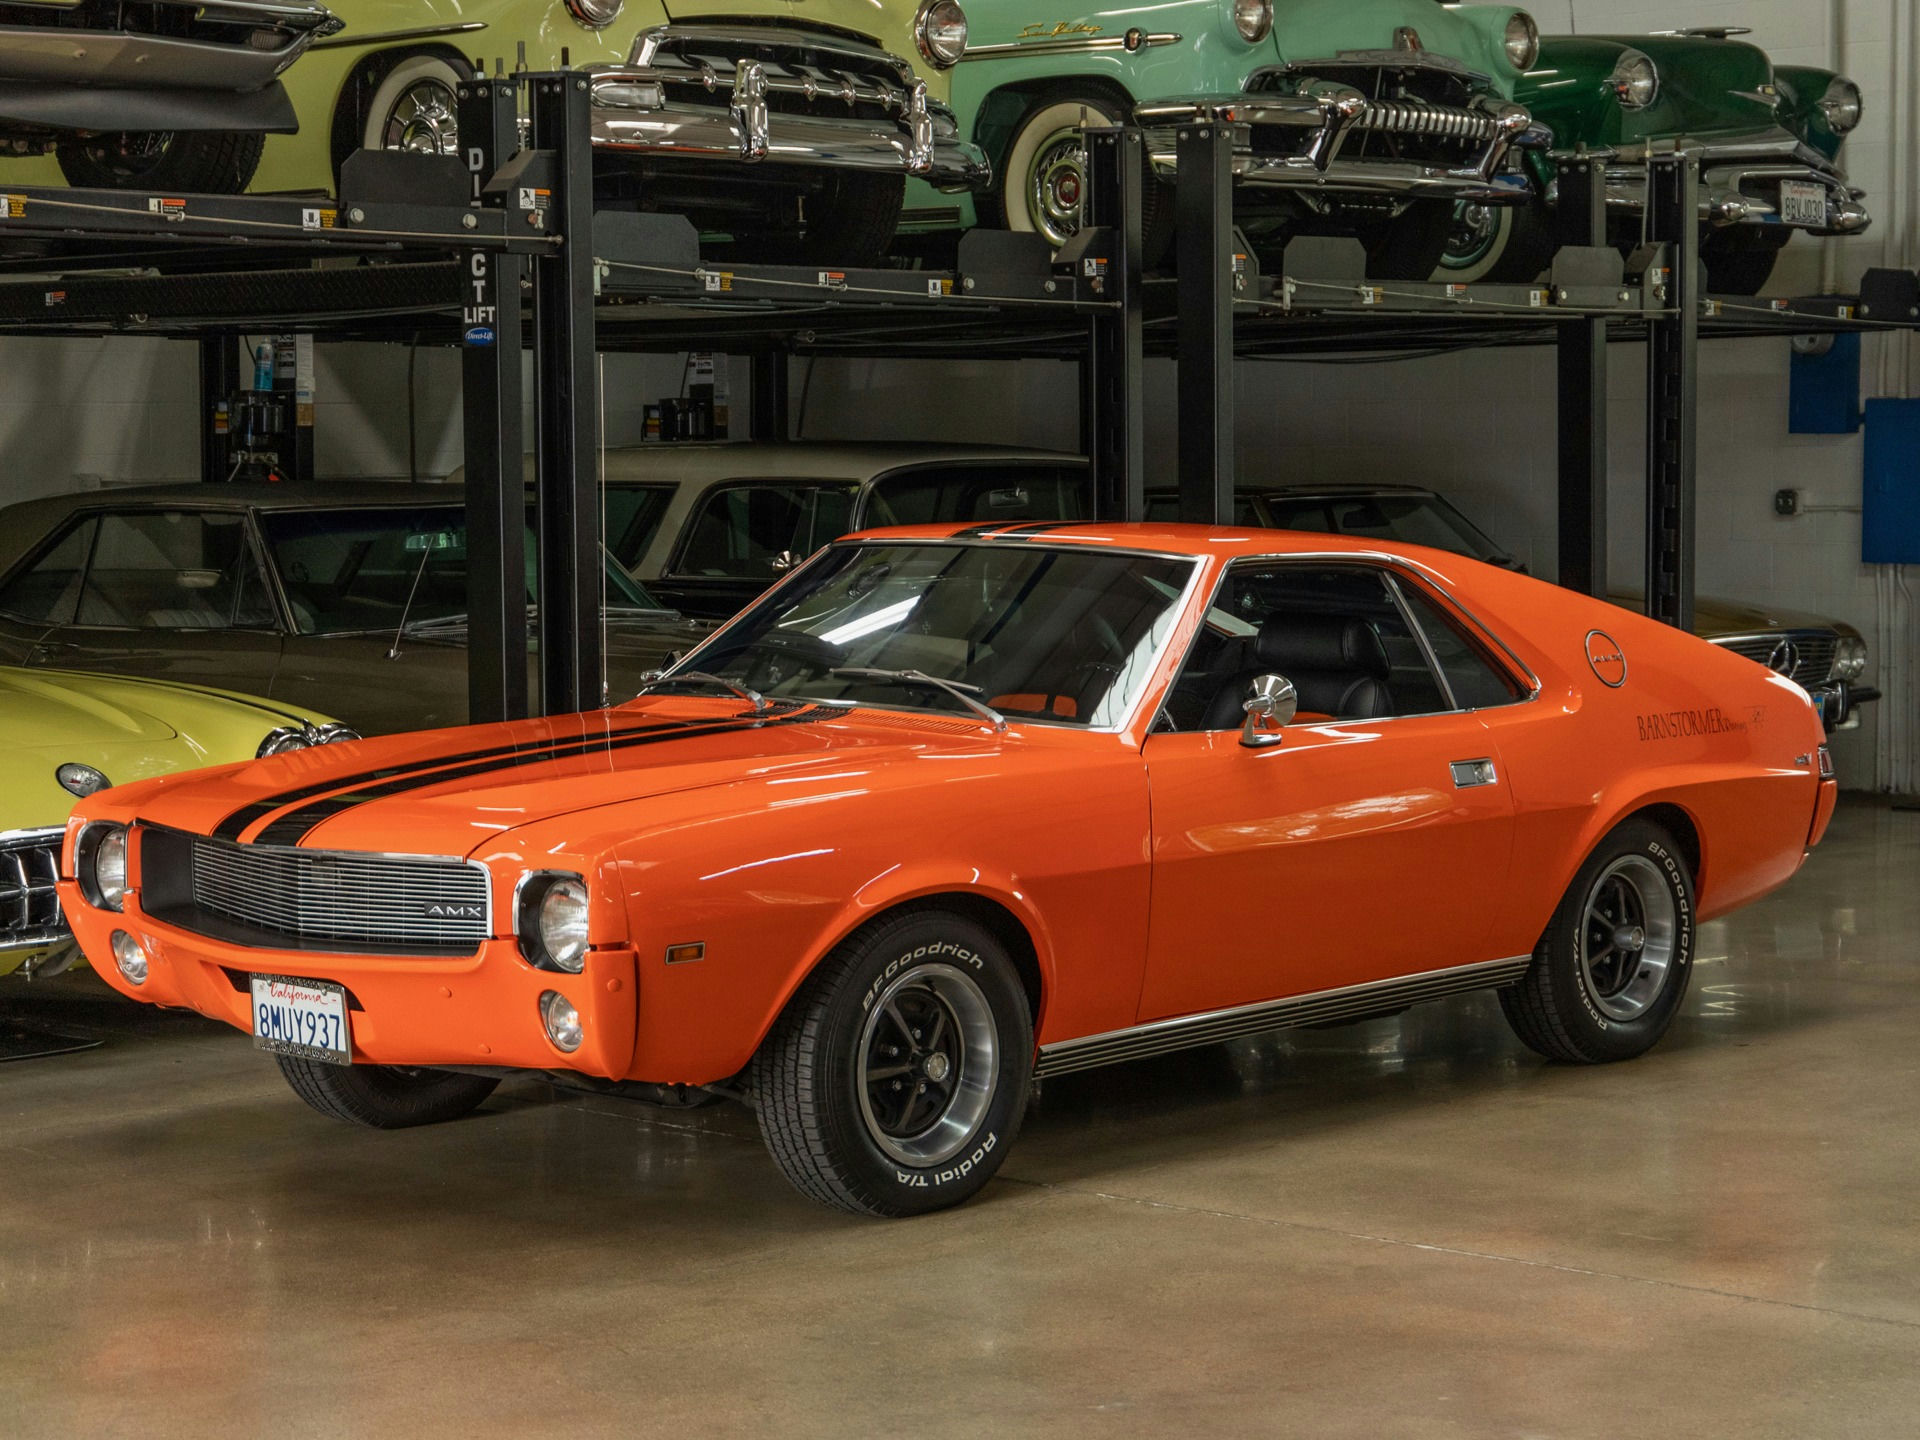
- Model
- 1969 AMC AMX
Changing the oil in your 1969 AMC AMX is a crucial maintenance task that ensures the longevity and performance of your classic car's engine. Over time, oil degrades and accumulates impurities, which can cause increased wear and tear. If your engine is running louder than usual or you notice a decrease in performance, it might be time for an oil change. Here is how to solve this issue:
Step 1: Gather Essential Tools and Supplies
You'll need the following items:
- New oil (consult your owner's manual for the specific type and quantity)
- New oil filter
- Oil filter wrench
- Socket wrench or spanner
- Oil drain pan
- Funnel
- Rags or paper towels
- Jack and jack stands or ramps (if needed)
- Gloves
Step 2: Prepare the Vehicle
- Locate a safe, flat surface: Park your AMX on a level surface to ensure safety and accuracy during the oil change.
- Jack up the car: If necessary, use a jack and jack stands to lift the vehicle, providing enough clearance to access the oil drain plug and oil filter. Make sure the car is securely supported.
Step 3: Drain Old Oil
- Locate the oil drain plug: This is situated at the bottom of the oil pan, which is located underneath the engine. It’s a large nut or bolt.
- Place the oil drain pan: Position the pan directly under the oil drain plug to catch the old oil.
- Remove the drain plug: Use your socket wrench to slowly unscrew the drain plug. Be careful as the oil may be hot if you’ve recently run the engine.
- Allow oil to drain completely: Once the oil flow reduces to a slow drip, you’re ready to move to the next step. Replace and tighten the drain plug securely.
Step 4: Replace the Oil Filter
- Locate the oil filter: Typically found on the side or toward the front of the engine block. The oil filter is a cylindrical, metal canister.
- Remove the old oil filter: Use your oil filter wrench to unscrew the filter counterclockwise. Have your drain pan ready as some extra oil will release.
- Prepare and install the new filter: Apply a thin layer of fresh oil to the rubber gasket on the new filter to ensure a good seal. Screw the new filter in place, turning it clockwise by hand until it’s snug, then another ¾ turn to ensure it’s secure.
Step 5: Add New Oil
- Locate the oil filler cap: This cap is usually located at the top center of the engine. It’s a round plastic cap often marked with a yellow oil can symbol.
- Remove the oil cap: Twist the cap counterclockwise to remove it.
- Insert a funnel: Place a funnel in the oil filler hole to prevent spills.
- Pour in the new oil: Gradually add the required amount of oil (check your owner's manual for specifics).
- Replace the oil filler cap: Once the oil is added, securely replace the oil cap.
Step 6: Check the Oil Level
- Allow the oil to settle: Wait a few minutes for the oil to drain into the oil pan.
- Check the dipstick: Pull out the dipstick, wipe it clean with a rag, insert it back fully, and then pull it out again to check the oil level. It should be between the 'full' and 'add' marks.
- Top up if necessary: If the level is low, add a small amount of oil and recheck.
Step 7: Clean Up and Dispose of Old Oil
- Clean up any spills: Wipe down any oil spills around the engine bay.
- Dispose of old oil and filter: Take the used oil and filter to a recycling center or automotive parts store that accepts used oil for recycling.
Following these steps will ensure your 1969 AMC AMX runs smoothly with fresh, clean oil, contributing to a longer-lasting engine and better overall performance.