How to adjust valve clearance on a 1971 Dodge Charger R/T?
Adjusting valve clearance on a 1971 Dodge Charger R/T is a critical part of maintaining your classic car's performance and longevity. Incorrect valve clearance can lead to poor engine performance, no…
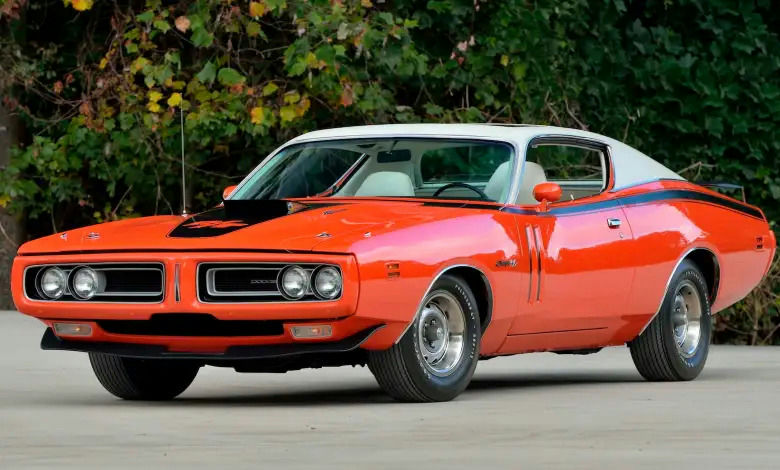
- Model
- 1971 Dodge Charger R/T
Adjusting valve clearance on a 1971 Dodge Charger R/T is a critical part of maintaining your classic car's performance and longevity. Incorrect valve clearance can lead to poor engine performance, noise, and increased wear on the valvetrain components. Here’s how to solve this issue systematically.
Step 1: Gather the Necessary Tools and Materials
Before you begin, you'll need the following:
- Feeler gauges: A set of thin metal strips of varying thickness.
- Wrenches: Commonly, 3/8” and 1/2” wrenches are needed.
- Screwdriver: A flathead or Phillips depending on the valve adjuster.
- Service manual: For specific clearance specifications and procedures.
Step 2: Prepare the Vehicle
- Park the Vehicle Safely: Make sure the car is on a flat, stable surface. Engage the parking brake.
- Open the Hood: The hood latch is typically located under the dashboard, near the driver's side kick panel. Pull the latch and lift the hood.
- Disconnect the Battery: For safety, locate the battery (on the driver’s side near the front of the engine bay) and disconnect the negative terminal using a wrench.
Step 3: Remove the Valve Covers
- Locate the Valve Covers: At the top center of the engine, two rectangular metal covers.
- Remove the Bolts: Use a socket wrench to remove the securing bolts around the perimeter of each valve cover.
- Lift the Valve Covers Off: Carefully remove each cover and set them aside, along with their gaskets.
Step 4: Rotate the Engine to TDC (Top Dead Center)
- Locate the Harmonic Balancer: It's at the front of the engine, connected to the crankshaft pulley.
- Manually Rotate the Engine: Using a breaker bar or ratchet with a socket on the harmonic balancer bolt, turn the engine until the timing mark on the balancer aligns with the "0" mark on the timing tab.
Step 5: Check and Adjust Valve Clearance
- Identify the Valve Pairs: At TDC, both intake and exhaust valves for cylinder #1 should be fully closed.
- Use Feeler Gauges: Slide the correct thickness gauge (as specified by your service manual, often around 0.010” for intake and 0.020” for exhaust) between the rocker arm and the valve stem tip.
- Adjust the Set Screw: If the gauge doesn’t slide in with slight resistance, loosen the lock nut with a wrench and adjust the set screw (center of the rocker arm) with a screwdriver.
- Tighten the Lock Nut: Once adjusted, hold the set screw in place with the screwdriver and tighten the lock nut.
Step 6: Rotate and Repeat
- Rotate the Crankshaft 90 Degrees: Move to the next cylinder in the firing order. The firing order for the 1971 Dodge Charger R/T (with a 440 engine) is: 1-8-4-3-6-5-7-2.
- Adjust Valves for Next Cylinder: Repeat the process of checking and adjusting the valve clearance for each cylinder.
Step 7: Reassemble
- Reinstall the Valve Covers: Replace gaskets if necessary, and secure the valve covers with their bolts.
- Reconnect the Battery: Attach the negative terminal back to the battery securely.
- Close the Hood: Ensure everything is back in place before lowering the hood.
Step 8: Test the Engine
- Start the Engine: Carefully start your Dodge Charger and listen for any unusual noises that could indicate improper valve clearance.
- Fine-Tune as Necessary: If you hear any persistent tapping, recheck the valve clearance.
By following these steps, you can ensure that your 1971 Dodge Charger R/T’s valves are properly adjusted, promoting smooth engine operation and longevity.