How to adjust valve clearance on a 1969 Pontiac GTO Judge?
Adjusting the valve clearance on a 1969 Pontiac GTO Judge is a crucial maintenance task that ensures the engine operates smoothly. Inaccurate valve clearance can result in poor engine performance, no…
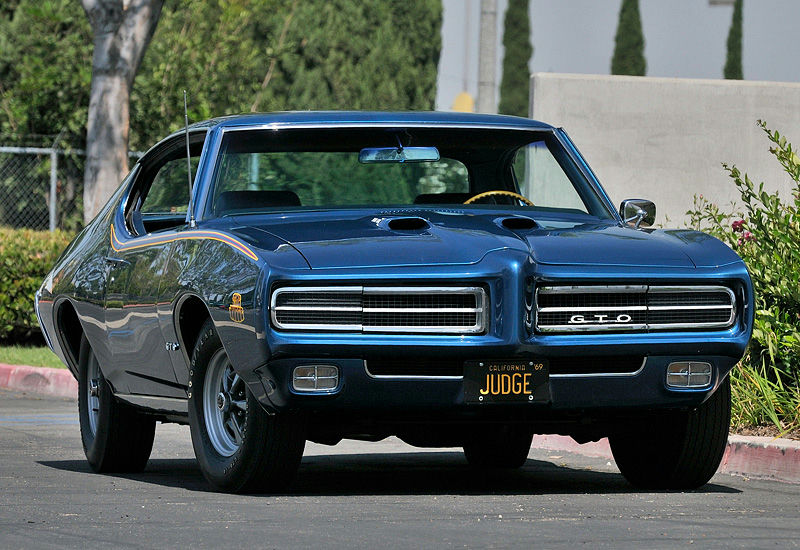
- Model
- 1969 Pontiac GTO Judge
Adjusting the valve clearance on a 1969 Pontiac GTO Judge is a crucial maintenance task that ensures the engine operates smoothly. Inaccurate valve clearance can result in poor engine performance, noise, or even damage to engine components. Recognizing signs like unusual engine noise (ticking or tapping), rough idling, or diminished performance might indicate the need to adjust the valve clearance. Here is how to solve this issue:
Step 1: Gather the Necessary Tools
Before you start, ensure you have the following tools:
- Feeler gauges
- Wrenches (typically a combination of sizes)
- Socket set
- Screwdrivers
- A shop manual for your Pontiac GTO Judge (optional, but helpful)
Step 2: Locate the Rocker Covers
Open the hood and locate the rocker covers. They are positioned on top of the engine's cylinder heads and are usually secured by a series of bolts or screws. The rocker covers on the 1969 Pontiac GTO Judge are metallic and situated at the left and right sides of the engine's top.
Step 3: Remove the Rocker Covers
Using your wrench, carefully remove the bolts or screws that hold the rocker covers in place. Gently lift the covers off, taking care not to damage the gasket underneath. Place the covers aside in a safe location.
Step 4: Rotate the Engine to Top Dead Center (TDC)
Turn the engine manually by using a socket and ratchet on the crankshaft pulley bolt, typically located at the front lower part of the engine. Look for timing marks on the crankshaft pulley and engine block that indicate TDC. Align these marks to position the engine at TDC for cylinder number one.
Step 5: Adjust the Valve Clearance
- Identify the Rocker Arms: The rocker arms sit atop the valves. They have a pivotal role in transferring motion from the camshaft to the valve stems.
- Use a Feeler Gauge: Insert the appropriate feeler gauge size (refer to your shop manual for the specific clearance) between the valve tip and the rocker arm.
- Adjust the Clearance: Loosen the locknut on the rocker arm using a wrench. Turn the adjusting screw with a screwdriver to either increase or decrease the clearance until you feel a slight drag on the feeler gauge. Once the desired clearance is achieved, hold the screw steady and tighten the locknut securely.
Step 6: Repeat for All Valves
Following the correct firing order, rotate the crankshaft 90 degrees to move to the next cylinder, and repeat the process for each valve. Ensure all valves have the correct clearance settings.
Step 7: Reassemble the Components
After adjusting all valves, reattach the rocker covers, ensuring the gaskets are properly seated to prevent oil leaks. Tighten the bolts or screws securely.
Step 8: Final Check
After reassembling, start the engine and listen for any unusual noises. Properly adjusted valves should result in a quieter and smoother running engine.
By carefully following these steps, you can ensure that your 1969 Pontiac GTO Judge's valves are correctly adjusted, leading to optimal engine performance.