How to adjust valve clearance on a 1969 Oldsmobile 442?
When dealing with a classic muscle car like the 1969 Oldsmobile 442, it's essential to ensure that all engine components are properly adjusted for optimal performance. Valve clearance, which refers t…
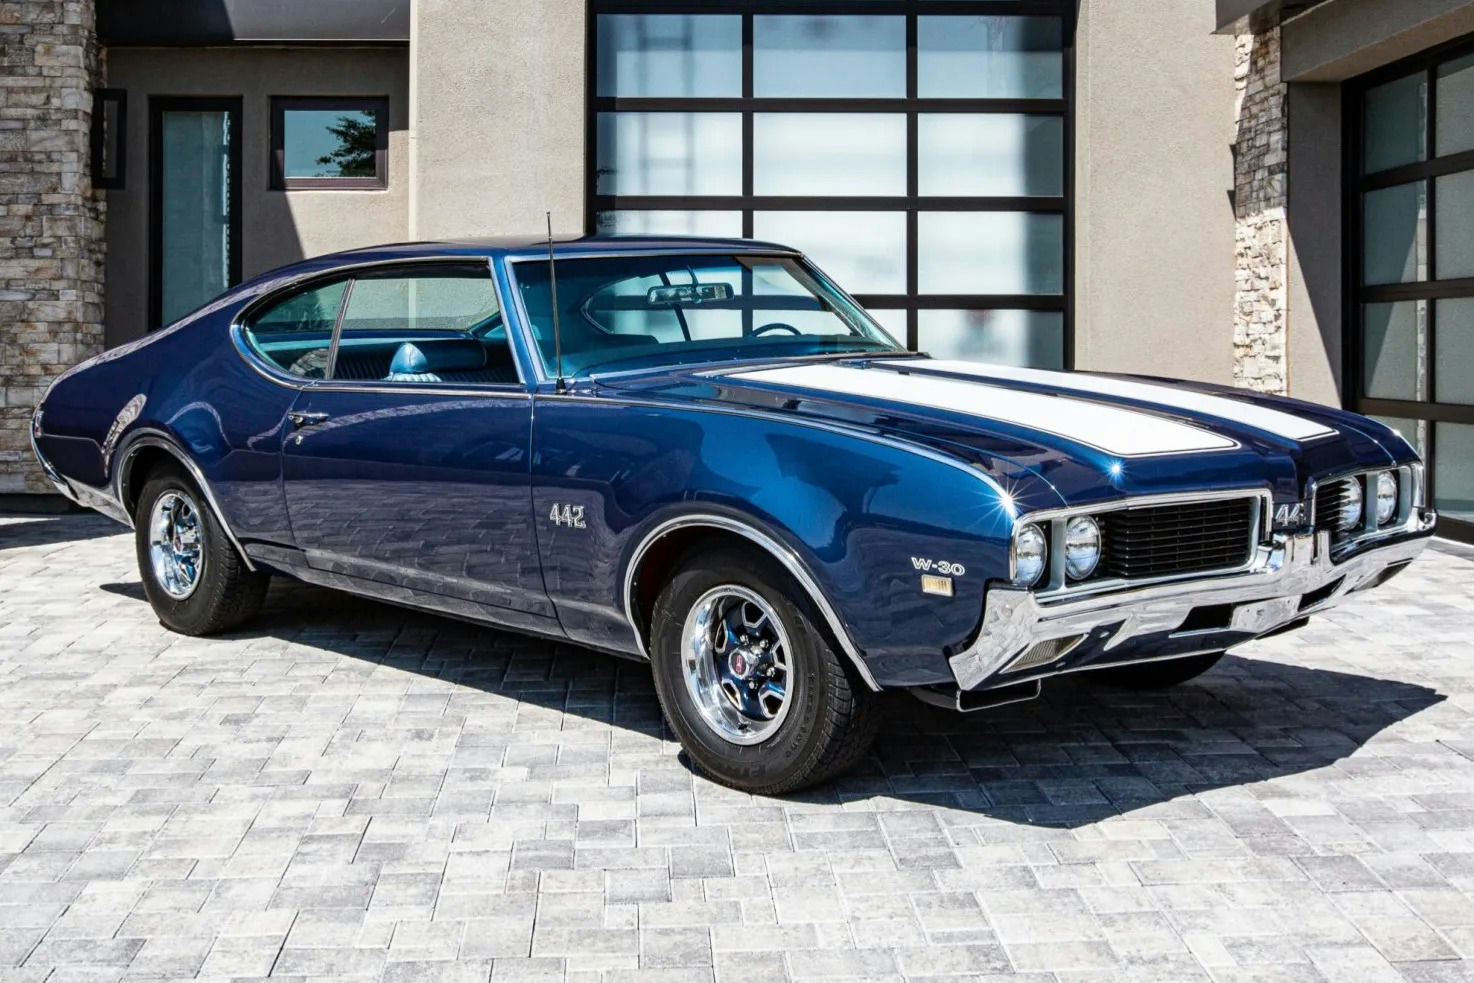
- Model
- 1969 Oldsmobile 442
When dealing with a classic muscle car like the 1969 Oldsmobile 442, it's essential to ensure that all engine components are properly adjusted for optimal performance. Valve clearance, which refers to the gap between the valve and the rocker arm, is a critical adjustment that can impact engine efficiency, noise, and overall performance. If you notice odd sounds or a loss of power, improper valve clearance could be the culprit. Here is how to solve this issue.
Step 1: Gather Your Tools and Materials
Before starting, ensure you have the necessary tools: a feeler gauge, a wrench set, a flathead screwdriver, and a socket set. You might also need a valve cover gasket if the old one gets damaged during removal.
Step 2: Locate and Remove the Valve Covers
The valve covers are located on the top sides of the engine, covering the valves. These are typically rectangular metal pieces secured by a series of bolts. Use your socket set to remove these bolts and gently lift the valve covers off. Be careful not to damage the gaskets underneath unless you have replacements.
Step 3: Rotate the Engine to Top Dead Center (TDC)
To adjust valve clearance accurately, the engine must be at TDC. This means the piston in the first cylinder is at its highest point in the compression stroke. To find TDC:
- Use a socket wrench on the crankshaft pulley bolt to rotate the engine.
- Watch the timing mark on the crankshaft pulley align with the "0" mark on the timing tab.
- Verify the first cylinder is at TDC by ensuring both the intake and exhaust valves are closed.
Step 4: Check and Adjust Valve Clearances
With the engine at TDC, use the feeler gauge to measure the gap between the rocker arm and the valve stem. Each valve has a specific clearance specification from the manufacturer.
- Insert the feeler gauge into the gap. There should be slight resistance.
- If adjustment is needed, use a wrench to loosen the lock nut on the rocker arm.
- Adjust the clearance by turning the adjustment screw with a flathead screwdriver until the feeler gauge slips through with slight resistance.
- Tighten the lock nut while holding the adjustment screw in place.
Step 5: Rotate the Engine and Repeat
After adjusting valves at TDC for the first cylinder, rotate the engine 90 degrees to bring the next cylinder to TDC in the firing order sequence. Repeat the adjustment process for each cylinder.
Step 6: Reinstall the Valve Covers
Once all valve clearances are adjusted, reapply a small amount of gasket sealant to the valve cover gaskets if necessary. Carefully reposition the valve covers over the valves and secure them with the bolts removed earlier.
Step 7: Final Checks and Start the Engine
Double-check that all tools are removed from the engine bay and that everything is secured. Start the engine and listen for any abnormal sounds. The engine should run smoothly with no excessive noise.
By following these detailed steps and ensuring precise adjustments, your 1969 Oldsmobile 442’s engine should run more efficiently and reliably, bringing back that classic power and performance.