How to adjust the timing on a 1970 Dodge Challenger R/T?
Adjusting the timing on a 1970 Dodge Challenger R/T can improve engine performance, fuel efficiency, and overall drivability. You may notice issues like poor acceleration, engine knocking, or even ro…
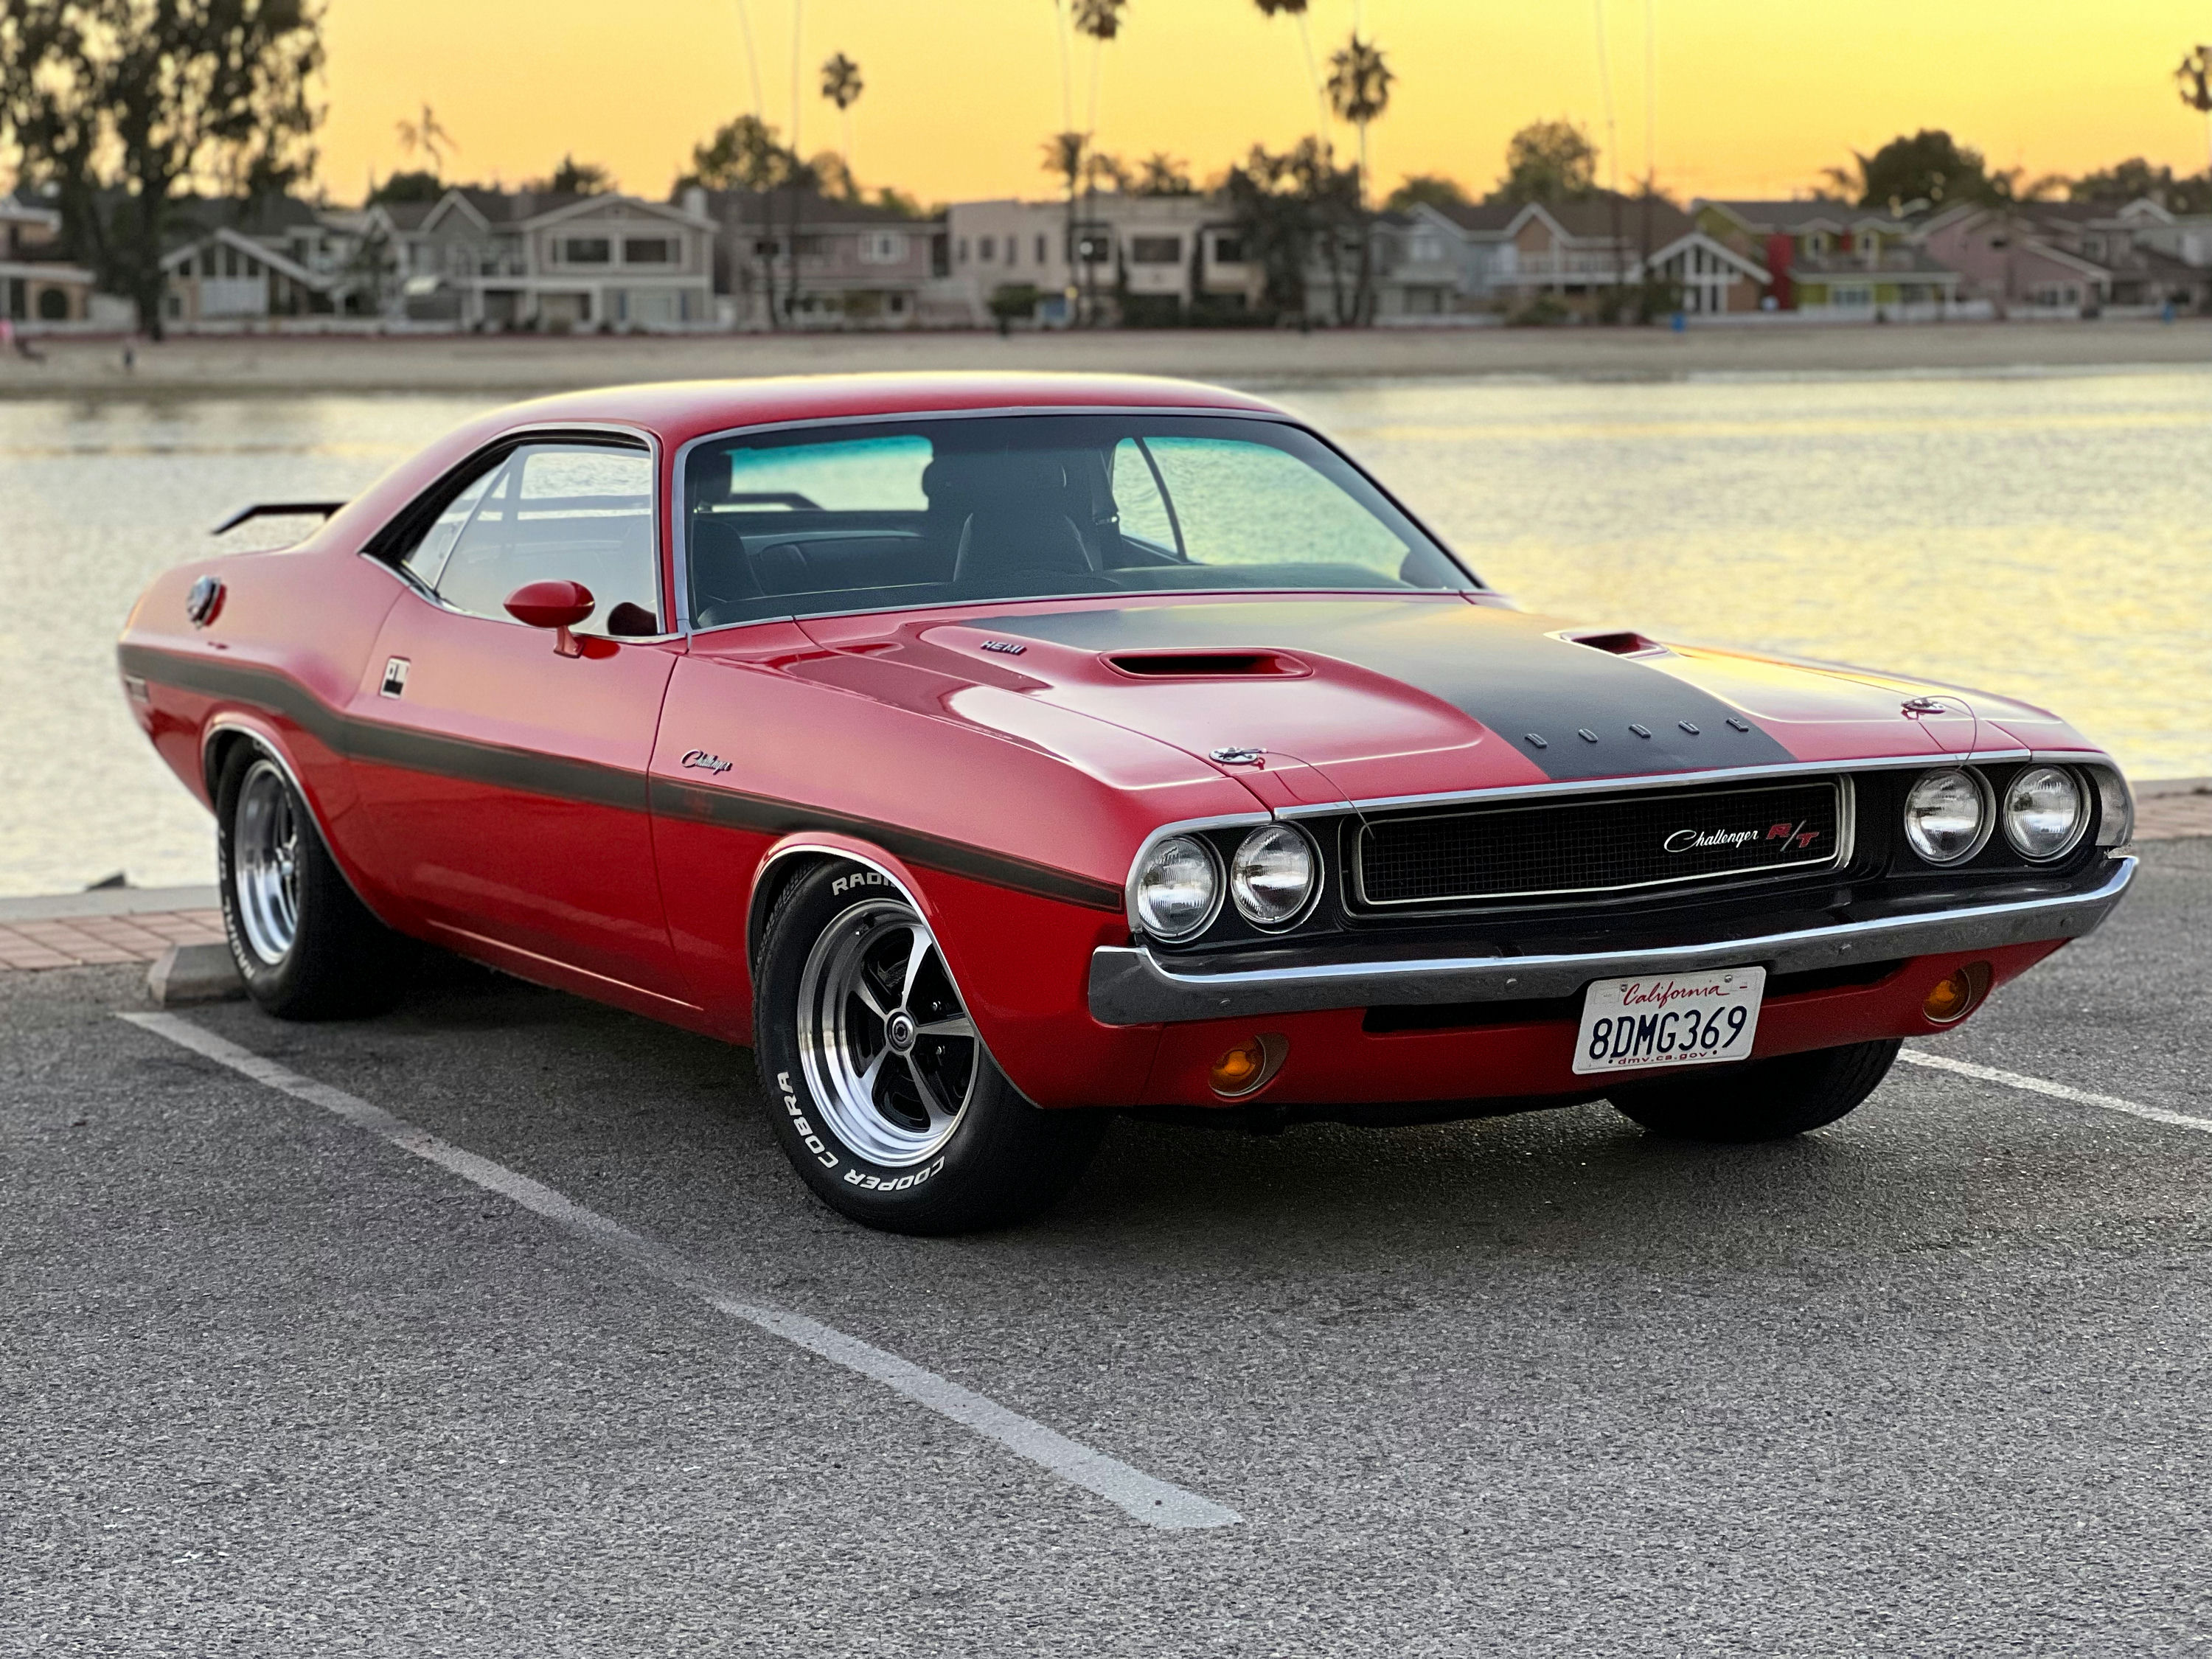
- Model
- 1970 Dodge Challenger R/T
Adjusting the timing on a 1970 Dodge Challenger R/T can improve engine performance, fuel efficiency, and overall drivability. You may notice issues like poor acceleration, engine knocking, or even rough idling, which can often be traced back to incorrect timing. Ensuring the correct timing is set is crucial for the engine to function properly. Here is how to solve this issue:
Step 1: Gather Necessary Tools
Before starting, you'll need a few tools:
- Timing light
- Wrench set
- Chalk or a bright marker
Step 2: Locate the Harmonic Balancer
Open the hood and find the engine bay. The harmonic balancer is found at the front of the engine, around the crankshaft area. It appears as a large, round pulley with timing marks on its outer edge. This component rotates with the engine.
Step 3: Identify the Timing Marks
Clean off the harmonic balancer with a rag to make the timing marks easier to see. The marks include lines or numbers indicating degrees of timing. Use chalk or a marker to highlight the desired timing mark. Typically, the factory specification for a 1970 Dodge Challenger R/T is around 8-12 degrees Before Top Dead Center (BTDC), but consult your service manual for exact specs.
Step 4: Connect the Timing Light
Attach the timing light to the battery of the vehicle—red to positive and black to negative. Next, connect the timing light's inductive pickup to the #1 spark plug wire, which is usually the first wire on the front passenger-side cylinder.
Step 5: Start the Engine
Start your car and let it idle until it reaches normal operating temperature. Ensure the timing light is working by pressing the trigger and pointing it at the harmonic balancer. You should see the timing mark illuminated.
Step 6: Adjust the Distributor
Locate the distributor at the top of the engine. It has a cap with several spark plug wires attached to it. Loosen the bolt that holds the distributor clamp using a wrench. Be cautious not to remove it entirely.
Rotate the distributor slightly:
- Turning it clockwise will retard the timing.
- Turning it counterclockwise will advance the timing.
Step 7: Use the Timing Light to Set the Timing
As you rotate the distributor, keep the timing light pointed at the harmonic balancer. Align the illuminated timing mark with the factory-specified timing indicator on the timing cover.
Step 8: Tighten the Distributor Clamp
Once the timing is correctly set, carefully tighten the bolt on the distributor clamp without altering the distributor's position.
Step 9: Double-check the Timing
Recheck the timing with the timing light to ensure that the timing mark remains correctly aligned.
Step 10: Turn Off the Engine and Remove Tools
Shut off the engine and disconnect the timing light and any other tools.
By following these steps, you will have successfully adjusted the timing on your 1970 Dodge Challenger R/T, likely improving its performance and running characteristics.