How to adjust the timing on a 1969 Chevrolet Camaro ZL1?
Adjusting the timing on a 1969 Chevrolet Camaro ZL1 is crucial for optimal engine performance and fuel efficiency. Timing that is off can cause a range of issues, including poor acceleration, rough i…
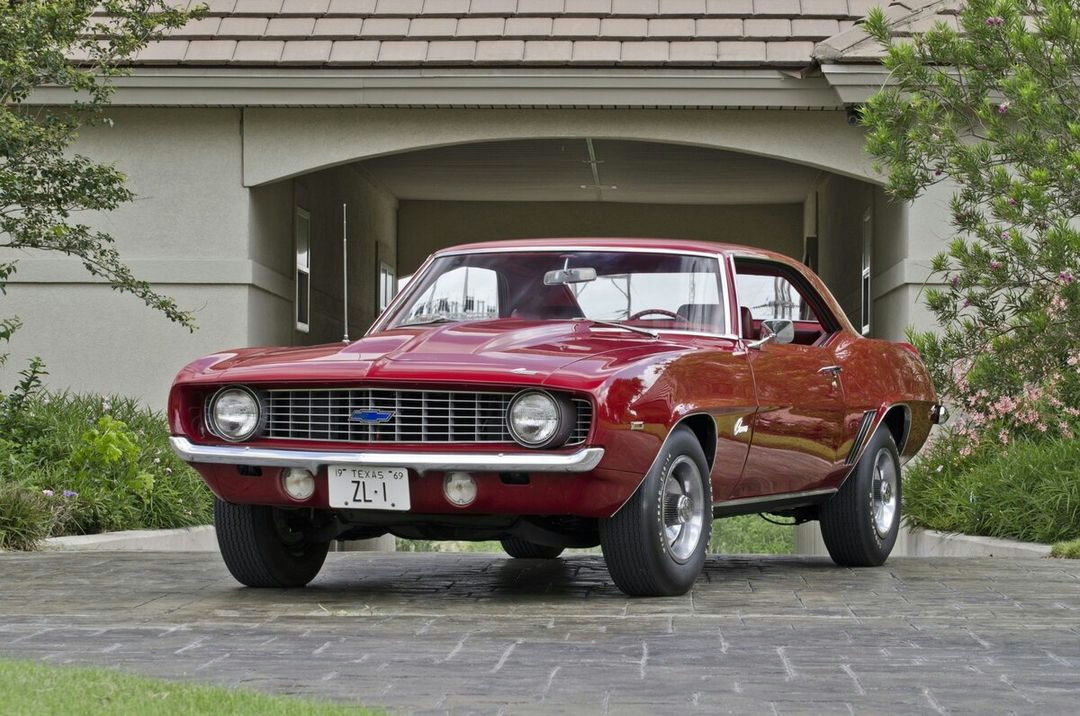
- Model
- 1969 Chevrolet Camaro ZL1
Adjusting the timing on a 1969 Chevrolet Camaro ZL1 is crucial for optimal engine performance and fuel efficiency. Timing that is off can cause a range of issues, including poor acceleration, rough idling, increased fuel consumption, and engine knocking. If you're experiencing any of these symptoms, it might be time to check and adjust your timing. Here is how to solve this issue:
Step 1: Gather the Necessary Tools and Equipment
Before you begin, make sure you have the following tools and equipment:
- Timing light
- Wrench set
- Screwdriver
- Chalk or a bright-colored marker
- Timing tape or timing marks on your harmonic balancer
Step 2: Locate the Harmonic Balancer and Timing Marks
Pop the hood of your Camaro. The harmonic balancer is situated at the very front of the engine. It's a circular, metal component connected to the crankshaft, near the bottom-center of the engine bay. You will see timing marks etched on the harmonic balancer, or you will need to apply timing tape if they are not clearly visible.
Step 3: Connect the Timing Light
Connect the timing light to your engine. Attach the induction pickup to the number one spark plug wire, which is located on the driver's side, first cylinder in the sequence. Then, connect the positive and negative clamps of the timing light to the car battery’s corresponding terminals.
Step 4: Mark the Timing Indicator
Using chalk or a bright marker, highlight the timing mark on the harmonic balancer. This helps make the marks more visible while using the timing light.
Step 5: Start the Engine
Start your Camaro and let it reach normal operating temperature. Rev the engine slightly and then let it settle to its idle speed.
Step 6: Check the Initial Timing
Aim the timing light at the harmonic balancer and the timing pointer. The timing pointer is a small, fixed metal tab or pointer located at the front-center of the timing cover. When the light flashes, it will illuminate the timing marks, allowing you to see the current timing setting. Chevrolet typically recommends an initial timing setting of around 4-6° BTDC (Before Top Dead Center) for the ZL1 engine.
Step 7: Adjust the Timing
If the timing is off, you'll need to adjust the distributor. The distributor is located at the rear of the engine, near the firewall.
- Loosen the hold-down bolt at the base of the distributor using a wrench.
- Slightly rotate the distributor to advance or retard the timing. Turning it counterclockwise advances the timing, while turning it clockwise retards it.
- Tighten the hold-down bolt once the desired timing is achieved.
Step 8: Re-check and Finalize
After adjusting, re-check the timing with the timing light to ensure it matches the recommended specification. If precise, turn off the engine, disconnect the timing light, and remove any tools.
Step 9: Test Drive
Take the vehicle for a test drive to ensure the adjustments have resolved the symptoms you were experiencing. Listen for any engine knocking or pinging and feel for smooth acceleration.
By following these steps carefully, you can effectively adjust the timing on your 1969 Chevrolet Camaro ZL1, ensuring your classic muscle car runs smoothly and efficiently.