How to adjust the timing on a 1969 AMC AMX?
When it comes to classic cars such as the 1969 AMC AMX, ensuring that the engine timing is properly set is crucial for optimal performance and longevity. Improper timing can lead to various issues, s…
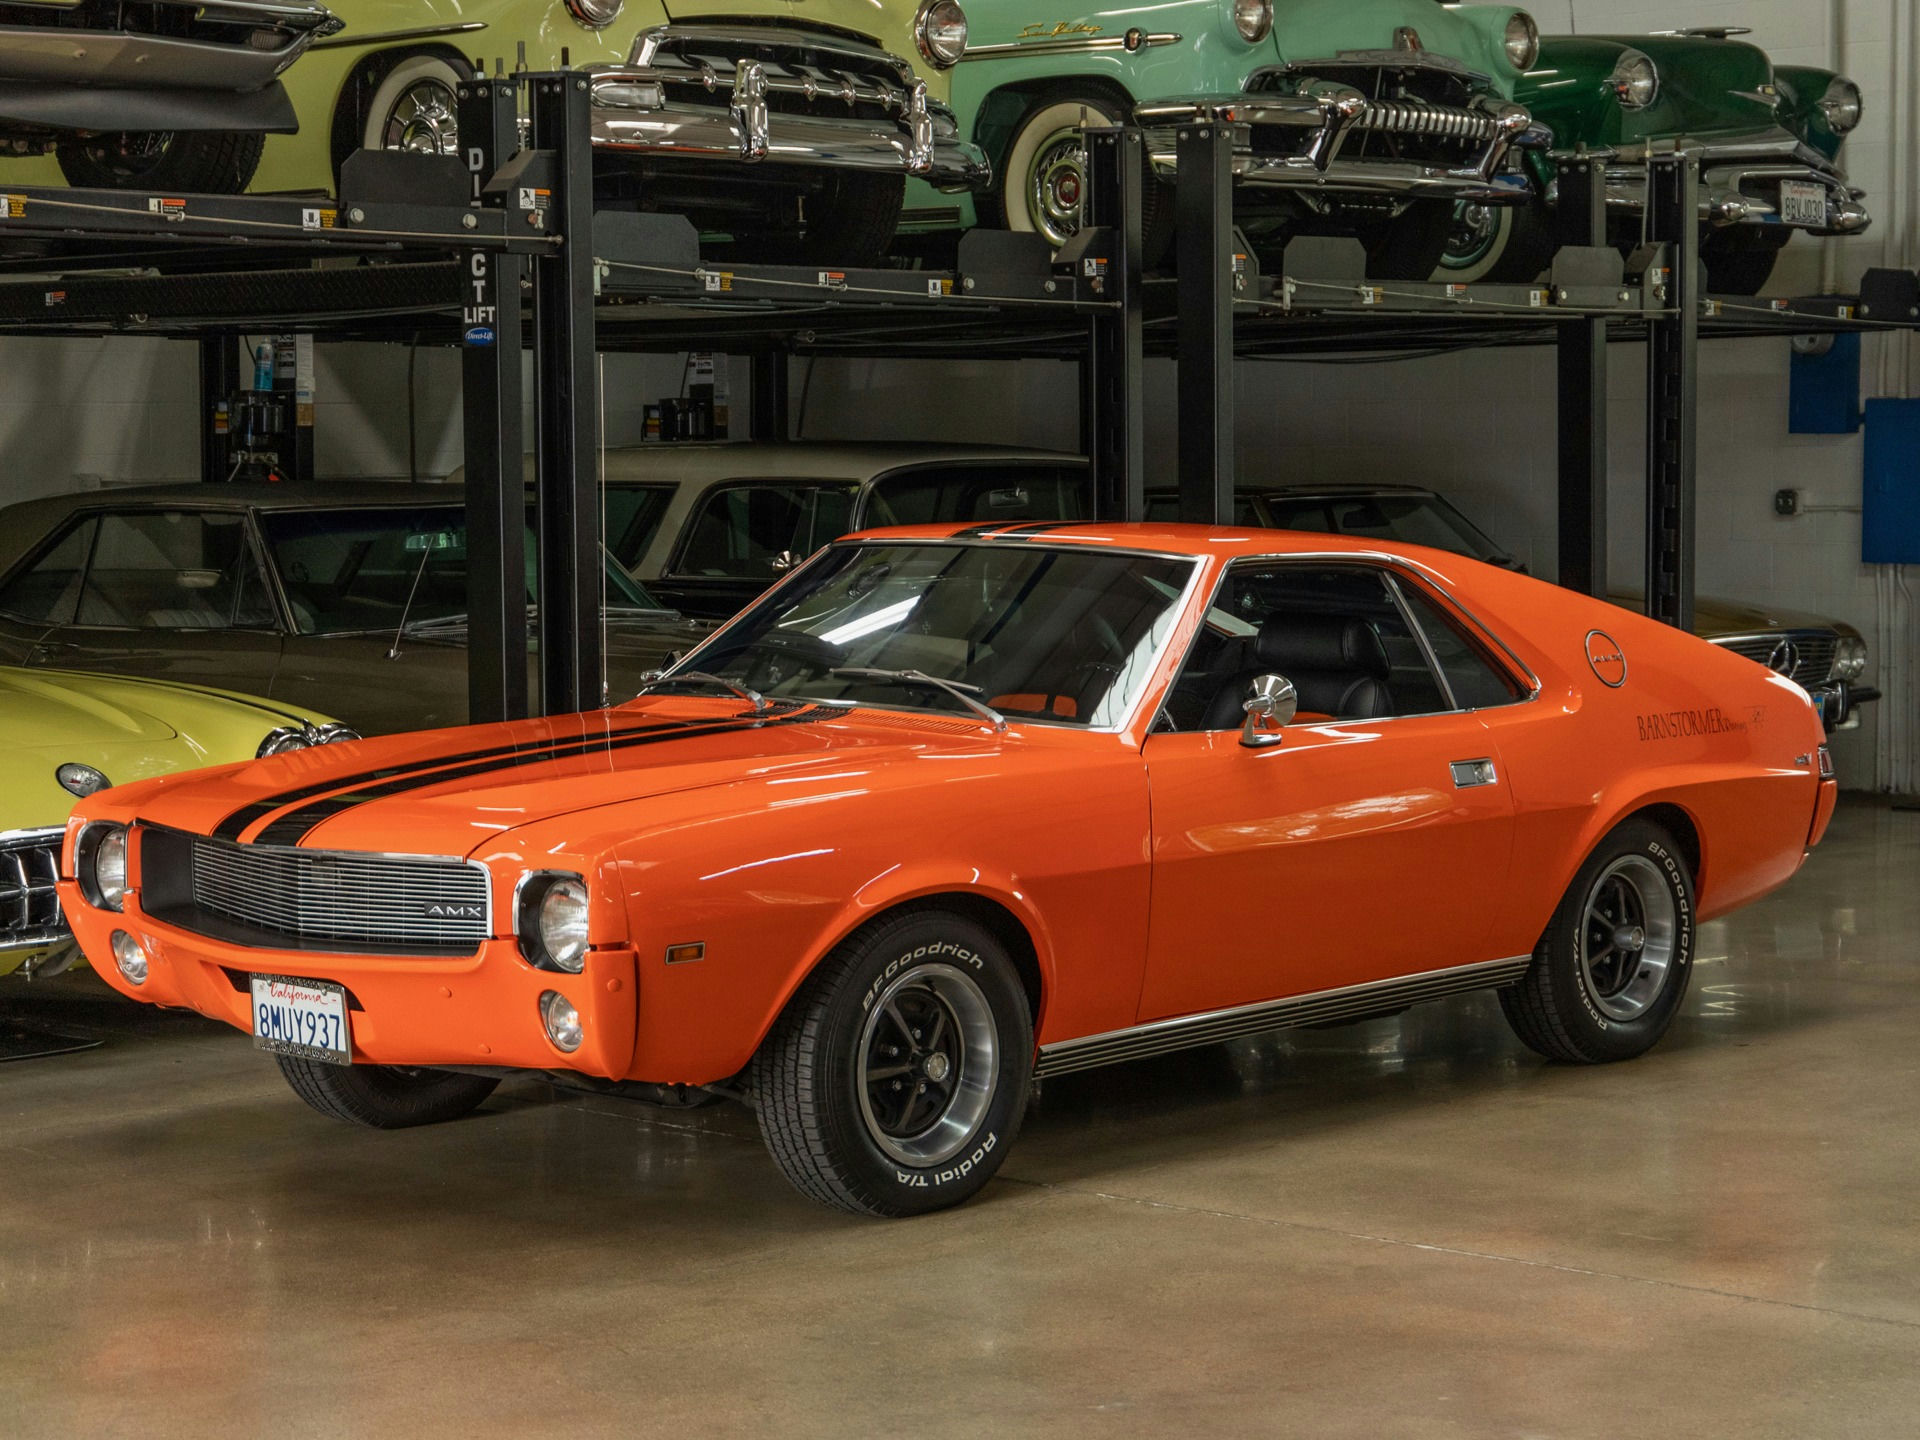
- Model
- 1969 AMC AMX
When it comes to classic cars such as the 1969 AMC AMX, ensuring that the engine timing is properly set is crucial for optimal performance and longevity. Improper timing can lead to various issues, such as poor engine performance, knocking, or even starting problems. Here's how you can resolve this issue:
Step 1: Prepare the Vehicle
Begin by parking your 1969 AMC AMX on a flat, level surface and ensure it's in a secure position by engaging the parking brake. Make sure the engine is off and cooled down to avoid any potential injuries.
Step 2: Locate the Timing Marks
Open the hood of the vehicle. The timing marks are usually found on the harmonic balancer and the timing cover. The harmonic balancer is located at the front of the engine, attached to the crankshaft. It resembles a round metal disc. The timing cover, which is part of the engine block, will have a small pointer or scale used for alignment. Ensure these areas are clean and visible.
Step 3: Connect the Timing Light
You'll need a timing light for this task. Clip the inductive pickup, which is a part of the timing light, onto the number one spark plug wire. The number one cylinder is typically the front cylinder on the driver side. Ensure the timing light's power connections are properly attached to the battery terminals.
Step 4: Start the Engine
Start the engine and let it idle. Ensure it's running smoothly at your vehicle’s recommended idle speed. This information can usually be found in the vehicle's manual.
Step 5: Check the Base Timing
Point the timing light at the harmonic balancer and timing cover. The strobe light will make the timing marks appear stationary. You should see the alignment between the timing mark on the harmonic balancer and the pointer on the timing cover. Refer to your AMC AMX's manual for the correct timing specification, usually measured in degrees before or after top dead center (BTDC or ATDC).
Step 6: Adjust the Timing
If the timing marks are not aligned as per specifications:
- Locate the distributor, which is a cylindrical component at the rear of the engine connected to the camshaft.
- Loosen the hold-down bolt at the base of the distributor using an appropriate wrench. Be careful not to completely remove the bolt.
- Gently rotate the distributor to advance or retard the timing. Turning it clockwise typically retards the timing, while counterclockwise advances it.
- Watch the timing marks with the timing light and continue adjusting until the marks align perfectly with the specified degree on the timing scale.
Step 7: Tighten the Distributor
Once the timing is correctly set, carefully tighten the hold-down bolt at the base of the distributor to lock it in place. Make sure the adjustment does not change while tightening.
Step 8: Recheck and Fine-Tune
After securing the distributor, recheck the timing with the timing light to ensure it hasn't moved. Make any minor adjustments if necessary. Verify that the engine is running smoothly and at the correct idle speed.
Step 9: Turn off the Engine and Disconnect
Turn off the engine and carefully disconnect the timing light from the spark plug wire and battery.
Step 10: Final Checks
Close the hood and take your AMC AMX for a short test drive to ensure it runs efficiently and responds well to throttle input. Listen for any signs of engine knocking or irregular performance.
By following these steps, you can accurately adjust the timing on your 1969 AMC AMX, ensuring peak performance and smooth operation of your classic machine.